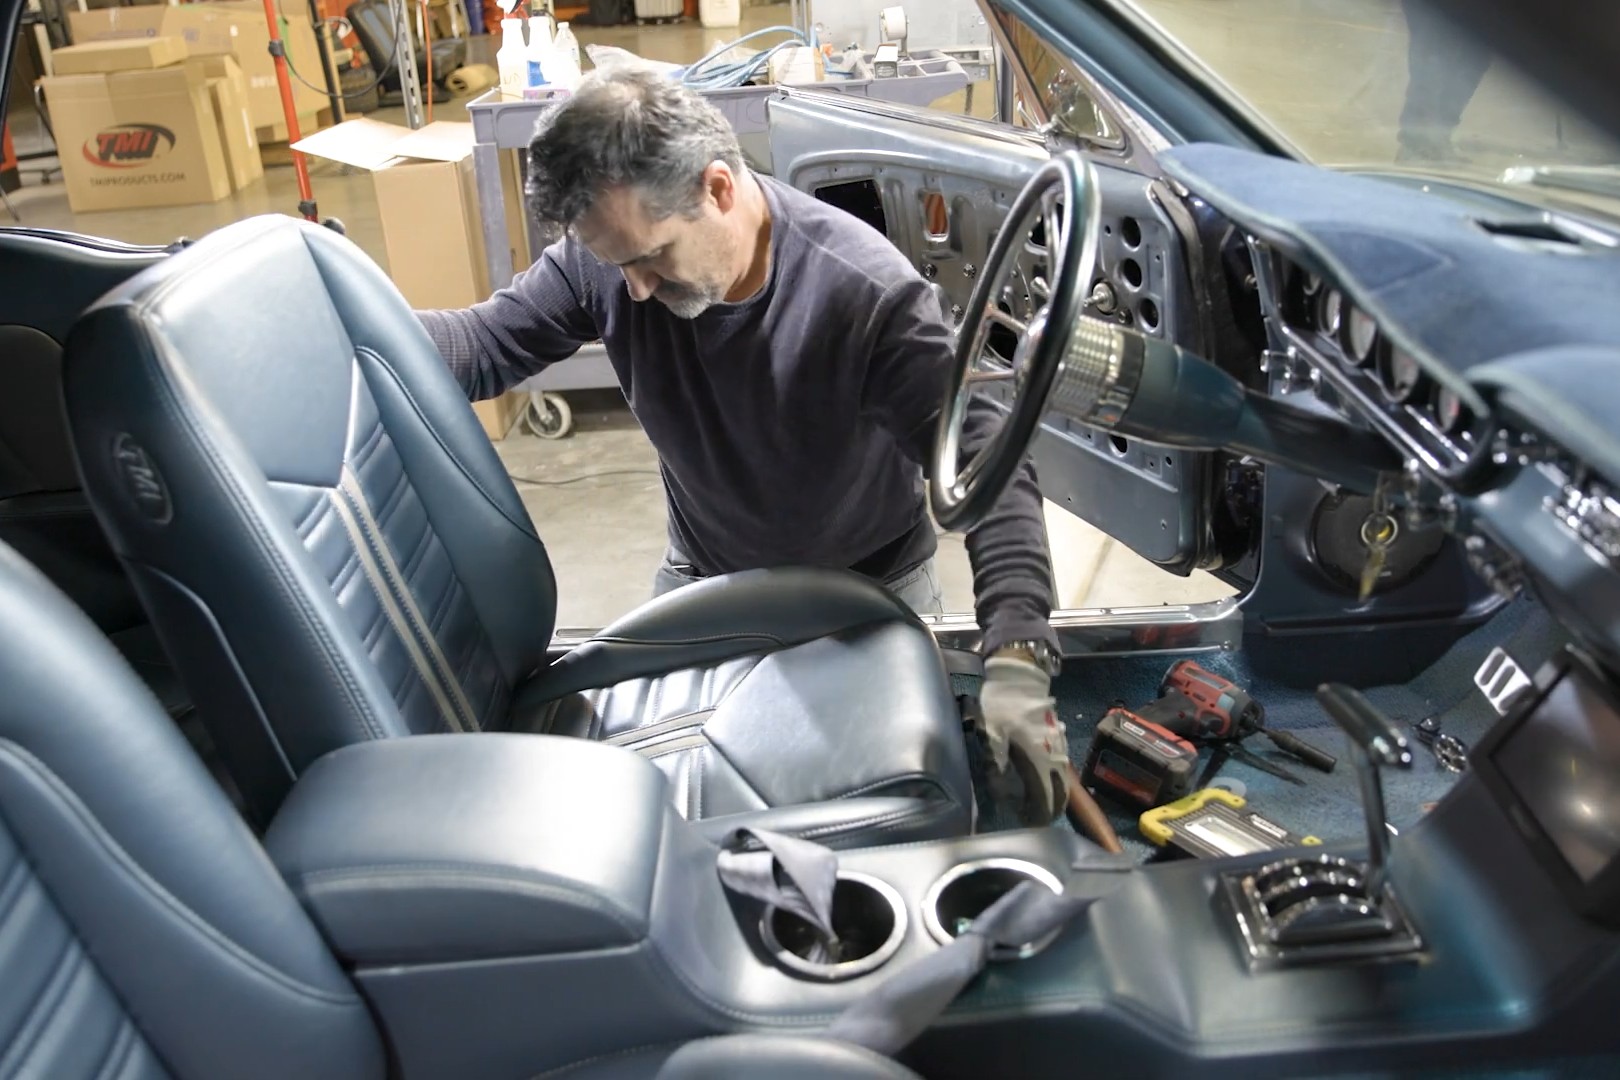
Giving a classic 1965 Mustang a fresh interior often starts with new bucket seats – a popular swap for better comfort and style. Kits like those from TMI Products simplify the Mustang Bucket Seat installation for DIY builders. The company offered an in-depth look at what goes into this upgrade, from unbolting the old ones to settling into the new, in the video above.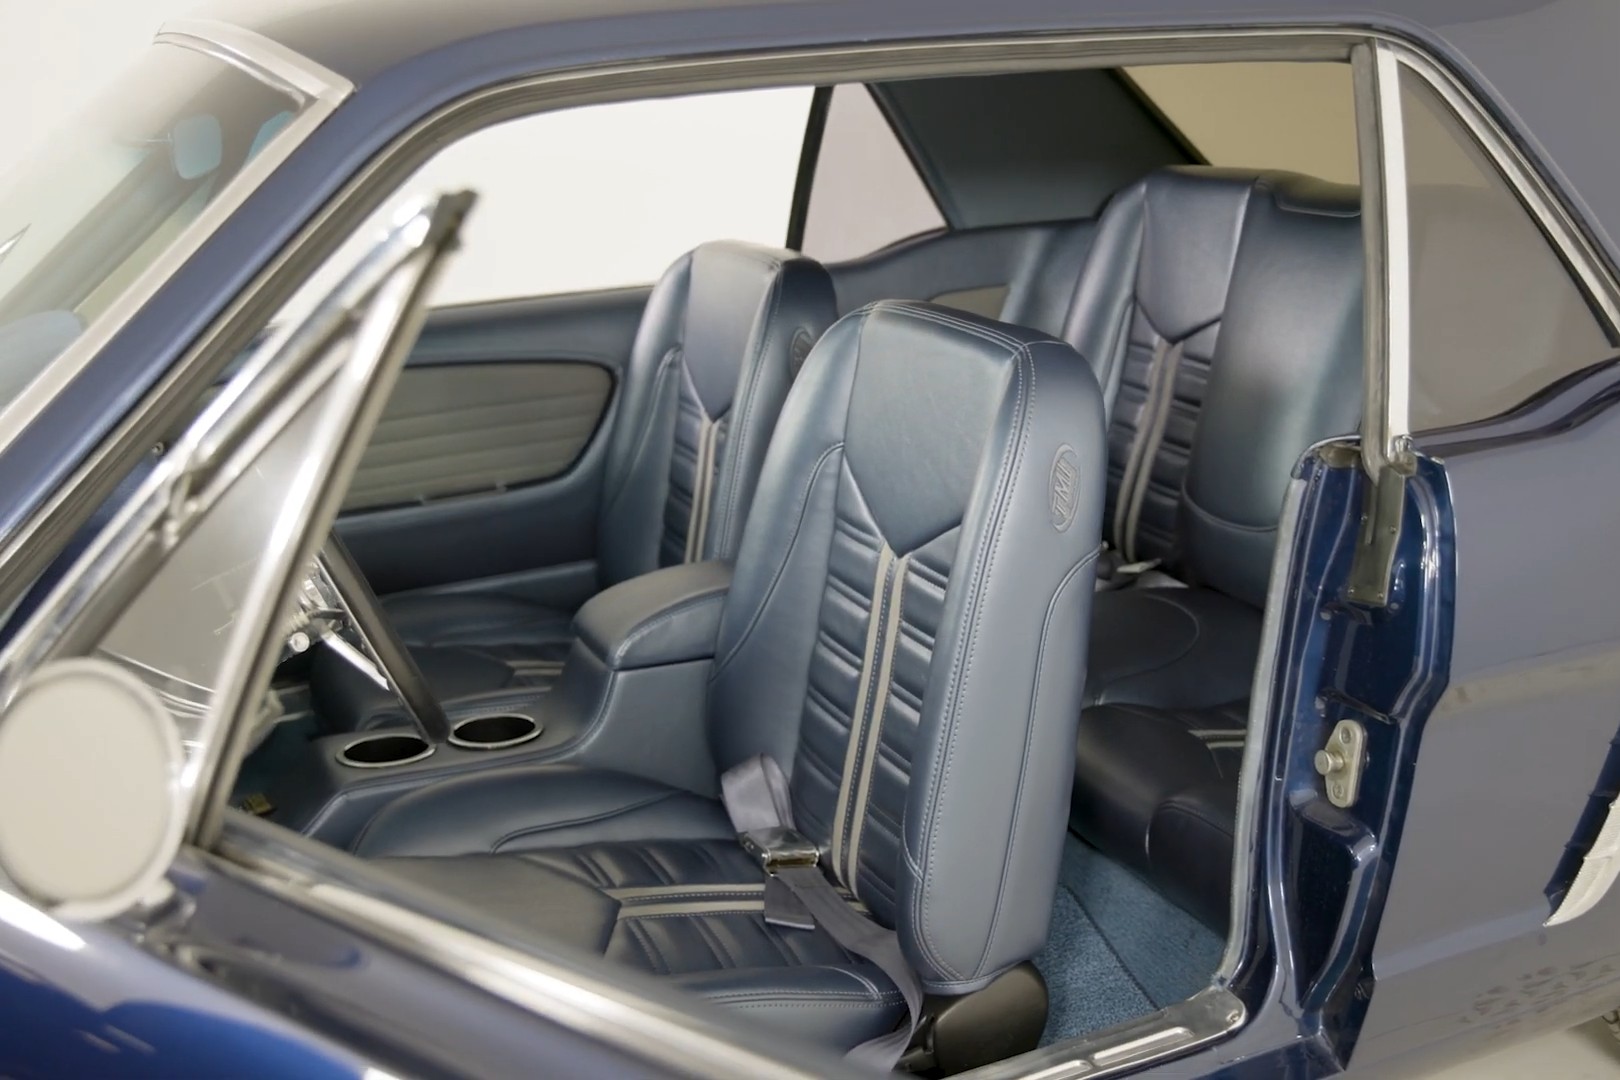 The process kicks off, as you’d expect, by removing the Mustang’s tired original seats. With those out of the way, the next step is assembling the new TMI seat sliders and mounting brackets, usually done on a workbench.
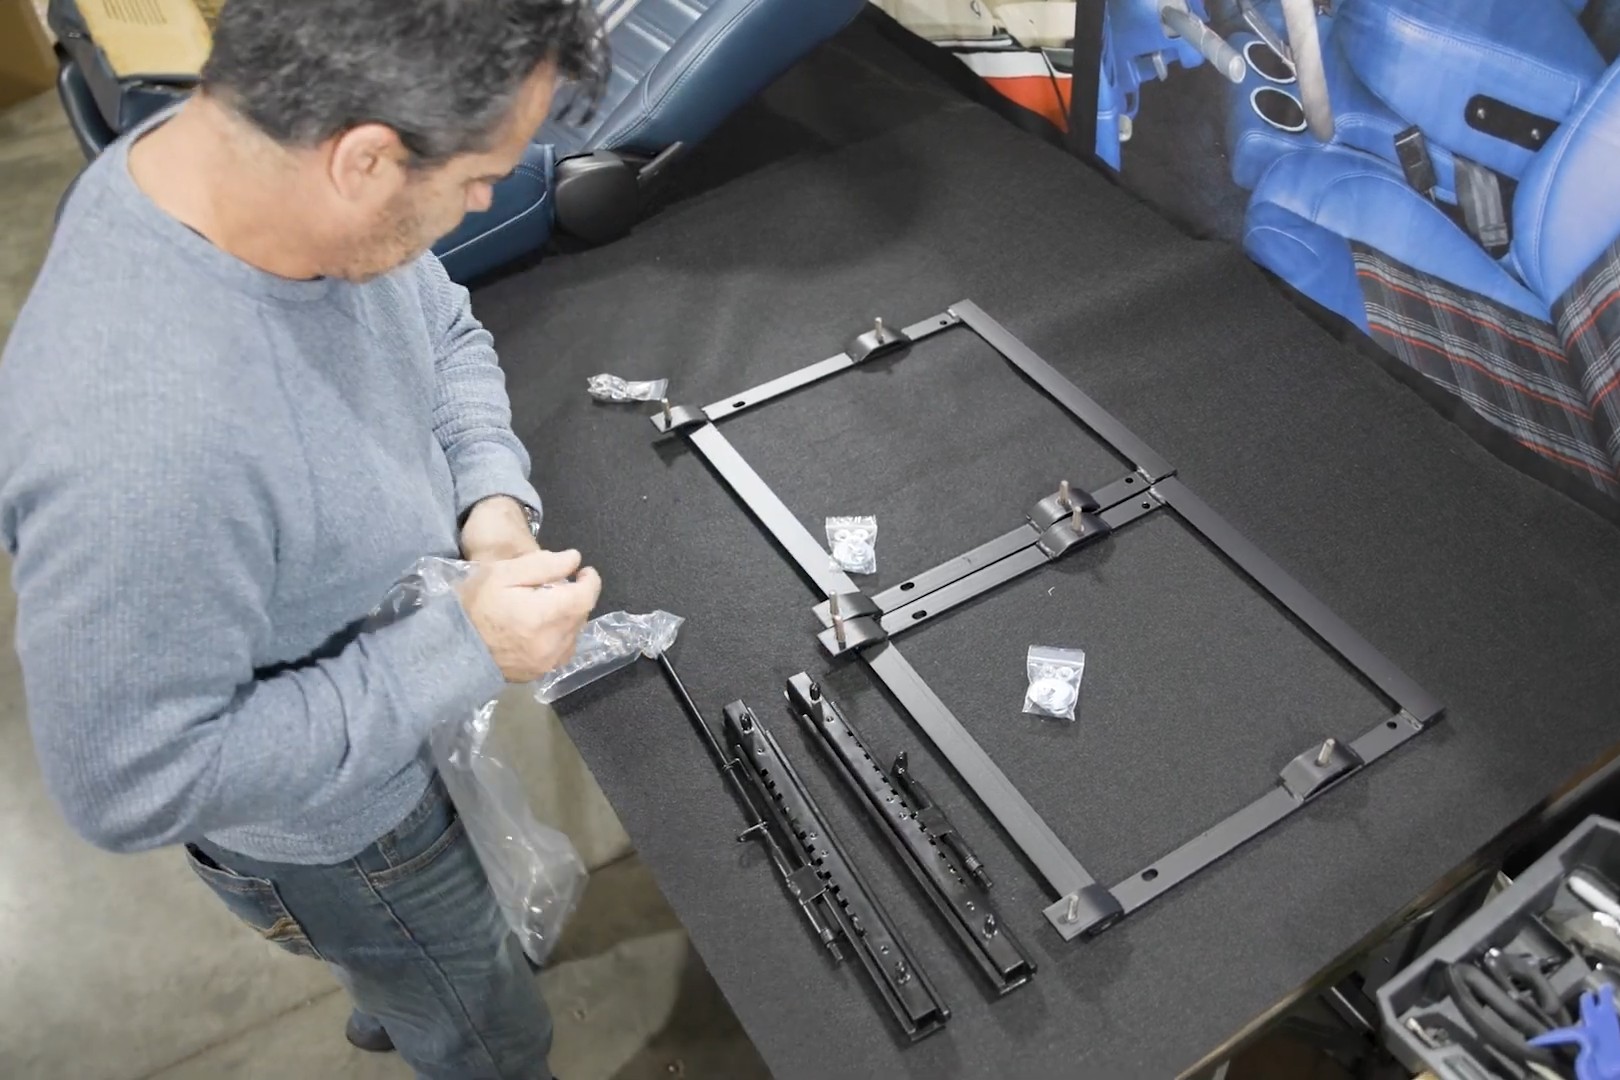
 TMI suggests tackling the passenger side first. The job involves locating the correct sliders and brackets for one seat, then securing the sliders to the new seat frame using the provided Allen screws. A handy tip suggests working the slider mechanism back and forth while tightening these screws to ensure everything seats correctly.
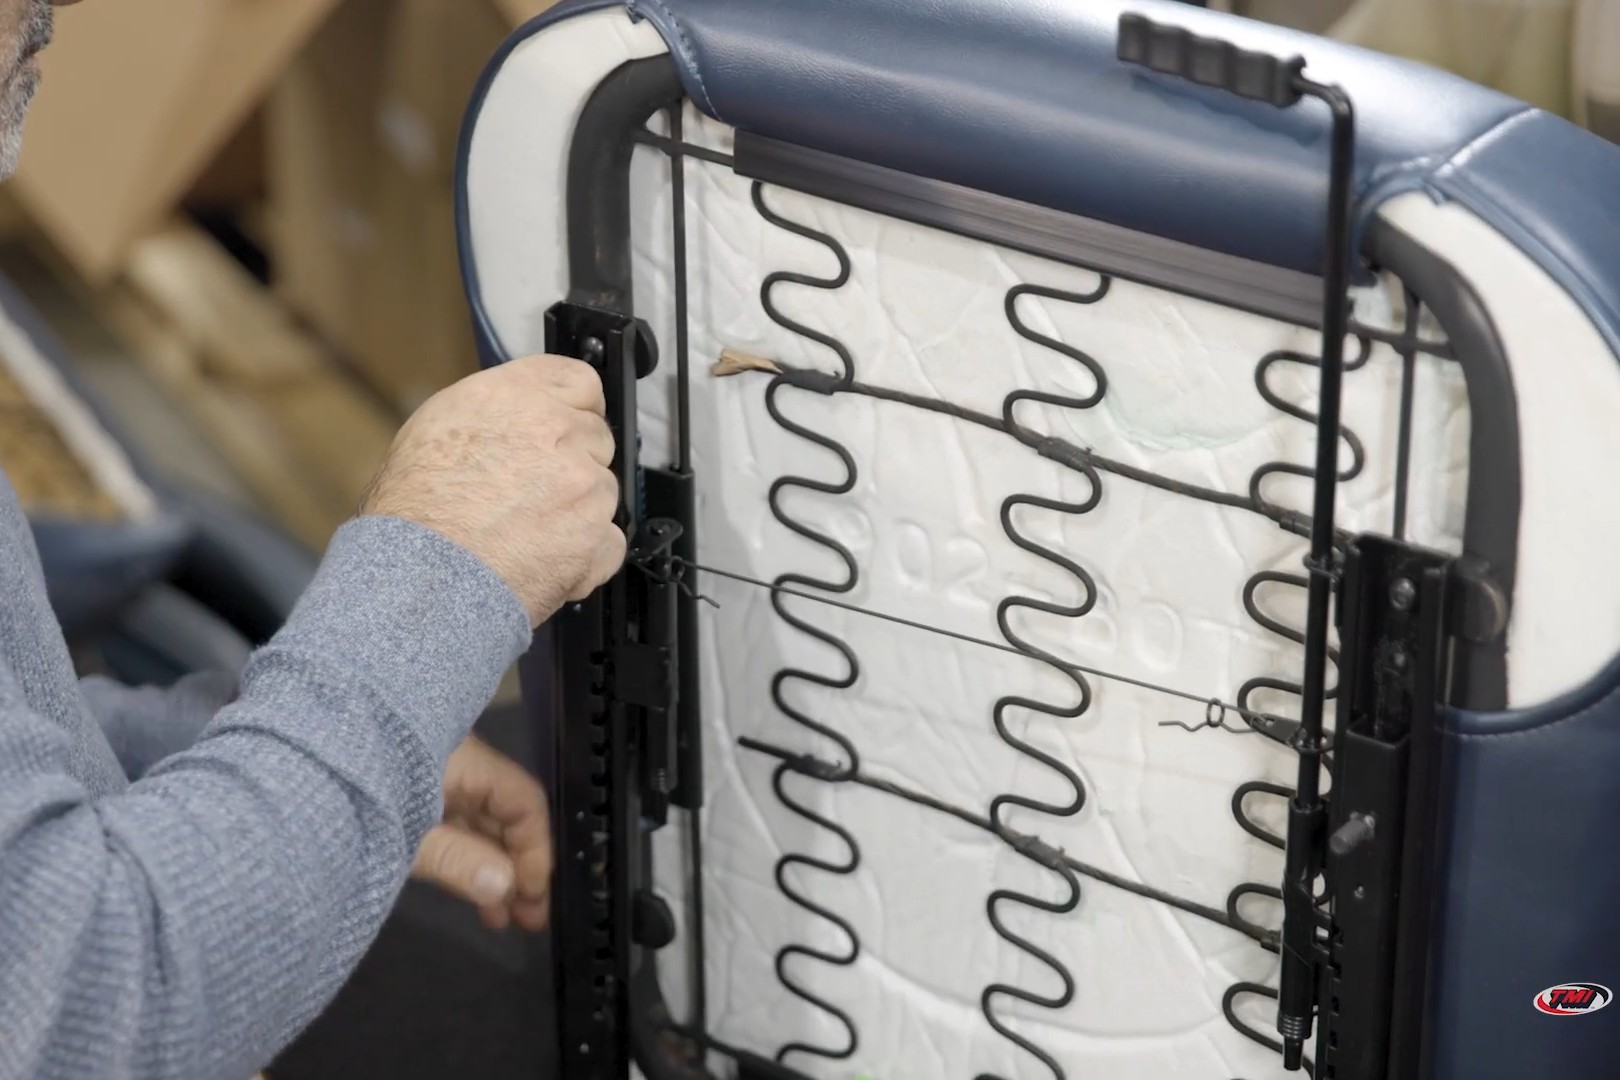
Before the opposite slider goes on, a connecting wire links both slider mechanisms on the seat. This ensures both sides slide together smoothly. TMI points out it’s much easier to hook this wire to the slider eyeholes and lock it with the small sliding rings at this stage.
Once the sliders are set, the main mounting brackets bolt onto the slider studs using four nuts. After one seat is fully assembled, builders repeat the entire process for the driver’s side.
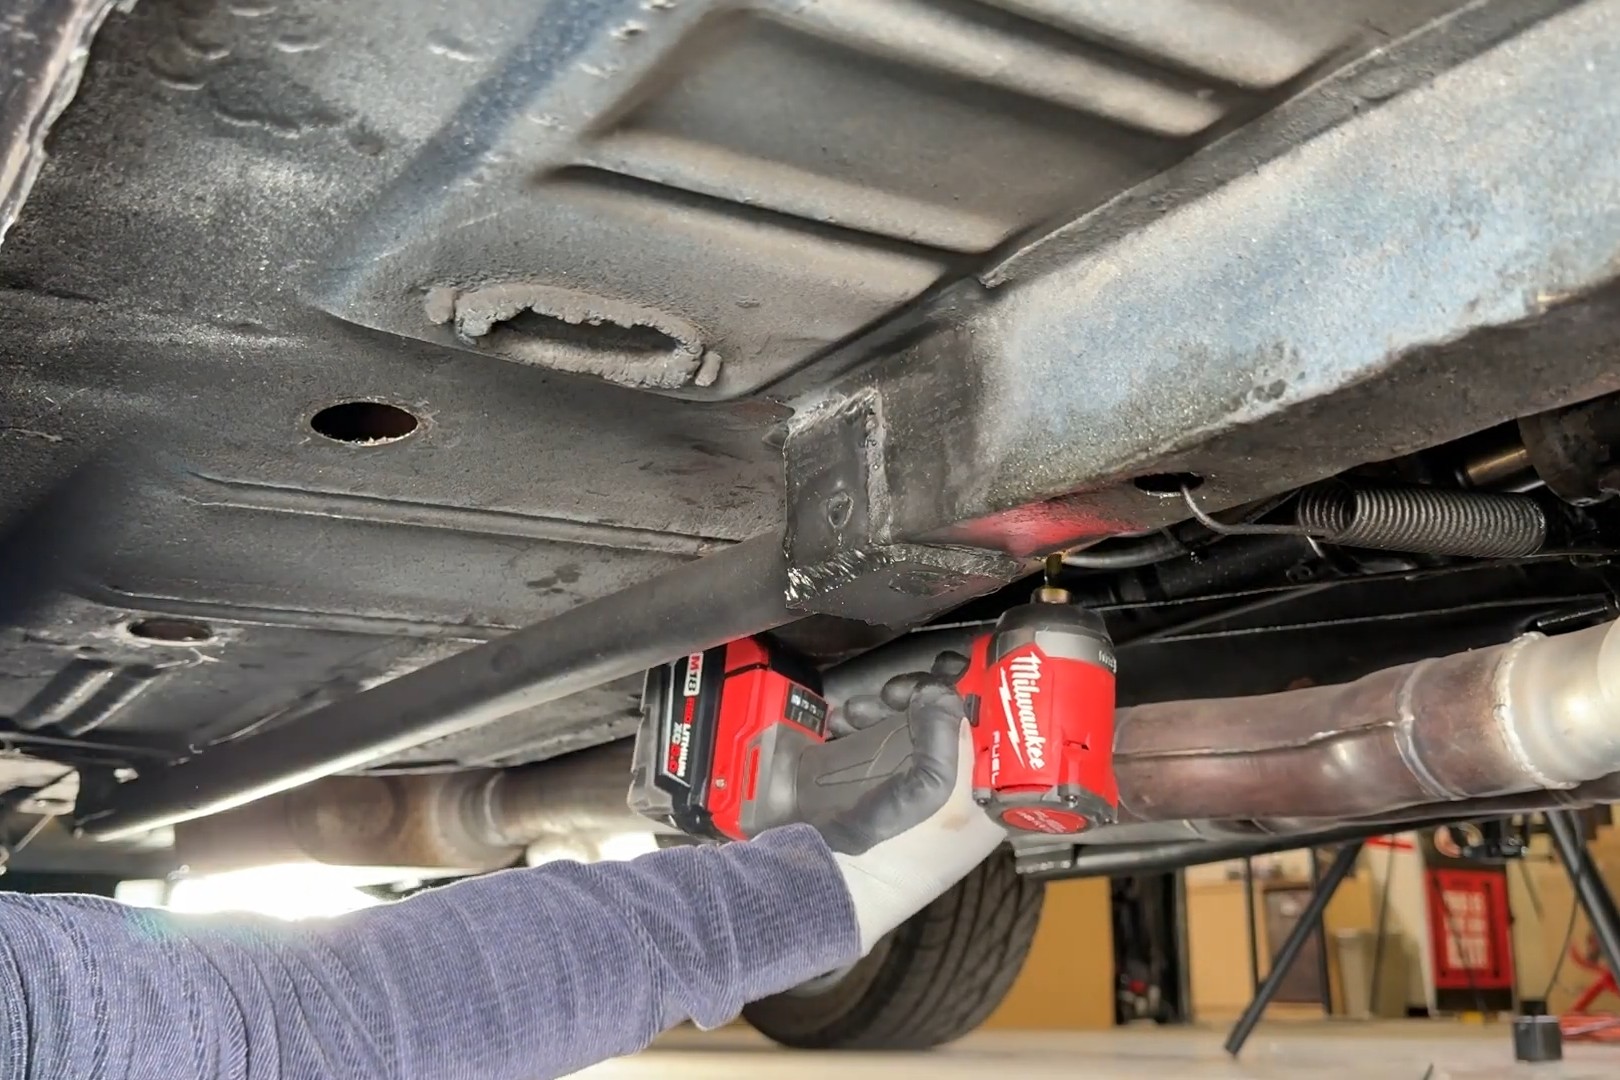 With both new seats ready, attention turns to getting them into the Mustang. The new seat bracket studs line up with the four original factory support holes in the car’s floor.
In a nice touch that many restorers appreciate, the installation reuses the Mustang’s original mounting hardware – the nuts or bolts from the old seats – to fasten the new TMI brackets to the car. The final step involves getting underneath the vehicle to tighten these mounting points securely.