
Maintaining optimum temperature is a crucial part of building a car at any level of performance. It doesn’t matter how much time or money you put into the drivetrain, if you don’t make sure that your cooling system can handle the strain, you can expect to overheat the engine and say goodbye to that performance system you just built.
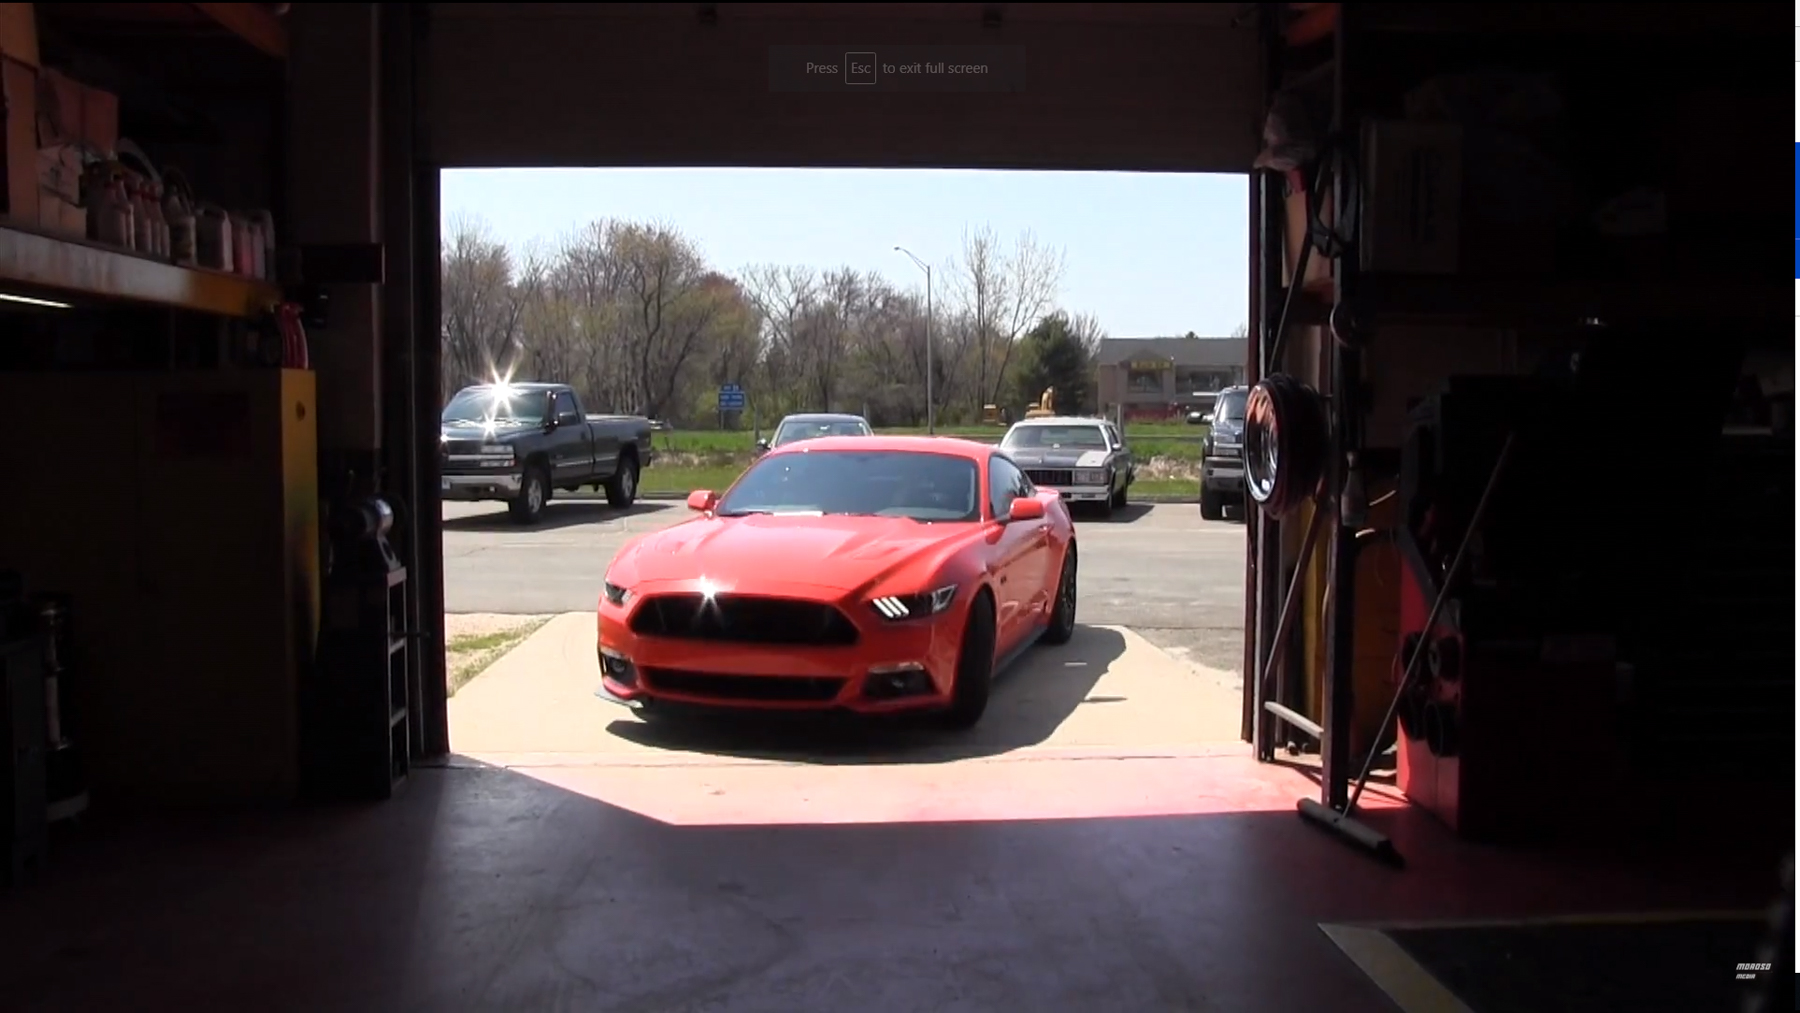
Moroso knows a thing or two about cooling systems, as evidenced by its expansion tanks. The video above shows how to easily install one of its coolant expansion tanks into a 2015 or newer Mustang.

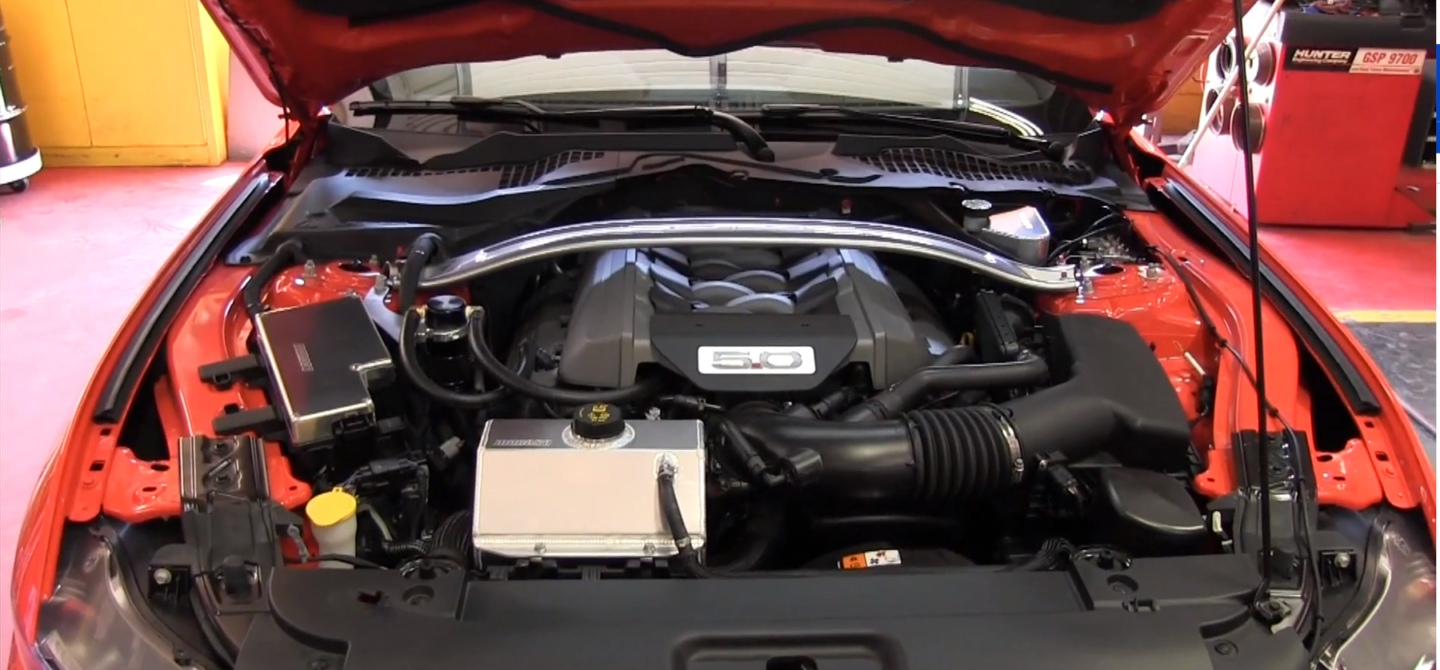
Our new part (left) and our install car, a 2015 Mustang with only 1,800 miles on the road (right).
Necessary Tools
The install vehicle is a 2015 Mustang with only 1,800 miles on it — a clean car to start with for this quick and easy project. Before getting started, it is recommended that you gather these tools and supplies to make the install and setup as quick and easy as possible:
• Pliers for hose clamps
• 8mm wrench or socket
• 10mm wrench or socket
• Motorcraft orange antifreeze/coolant prediluted
• Spray silicone
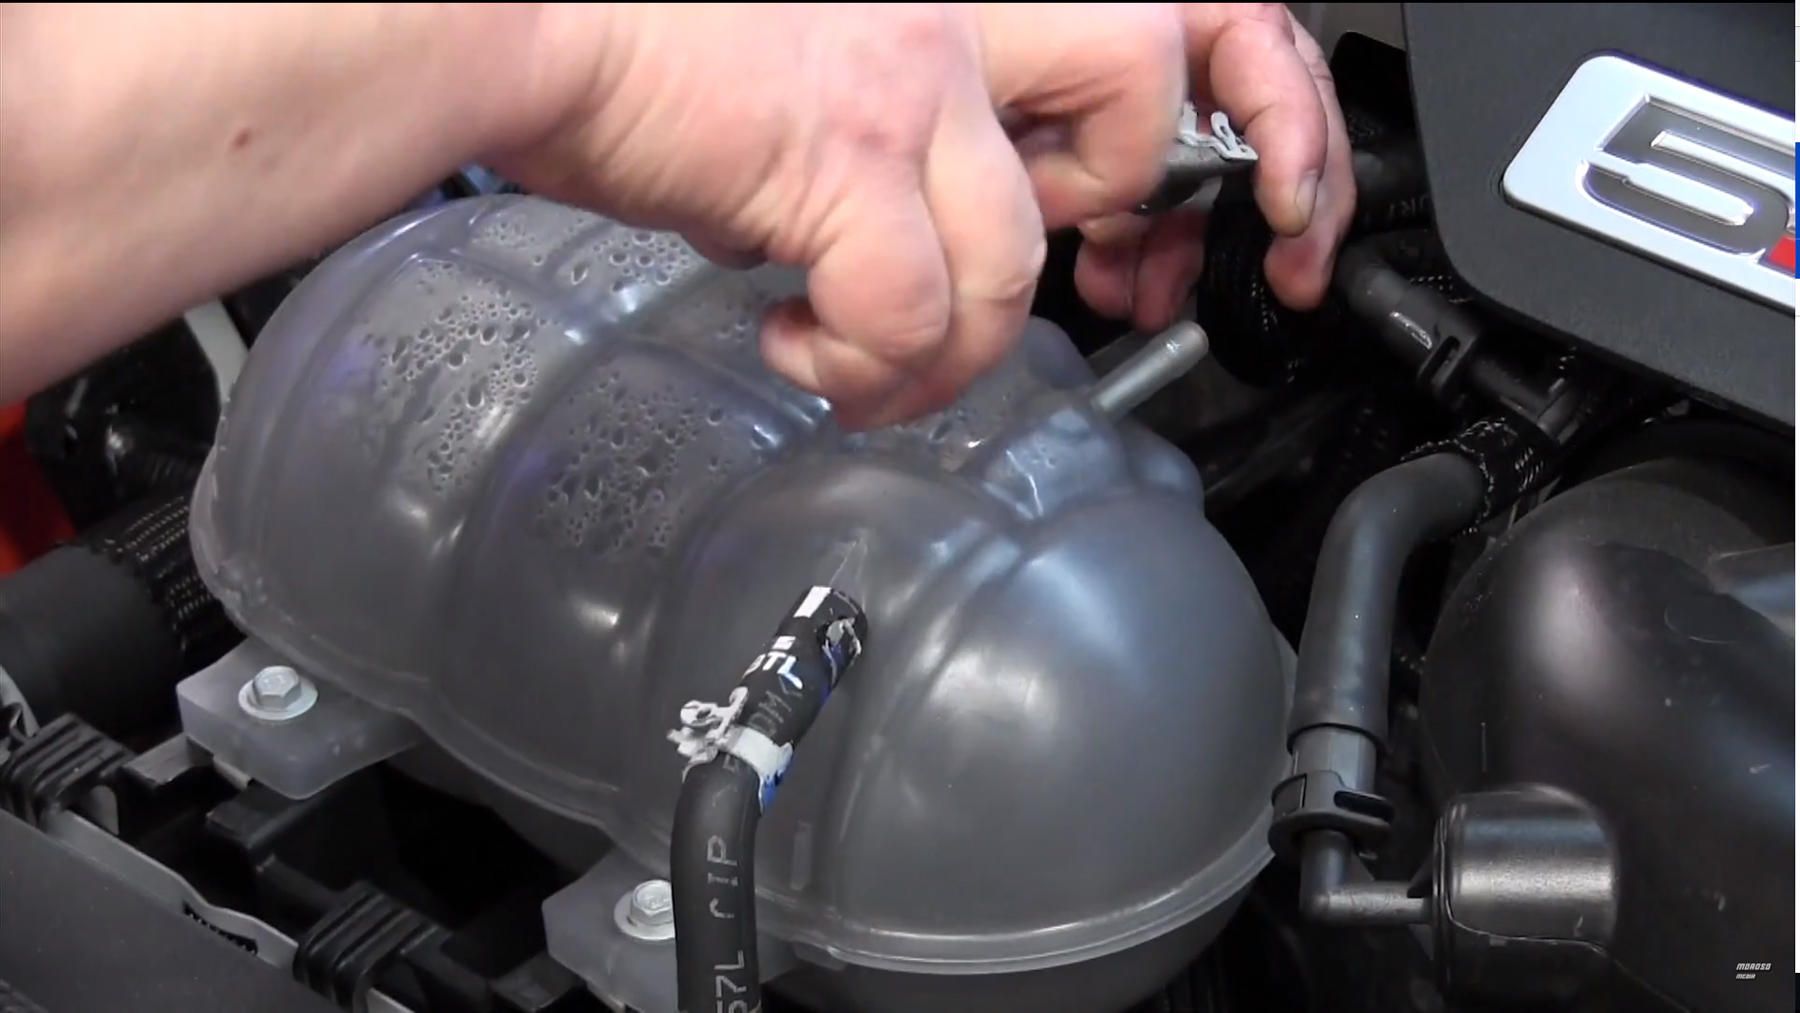
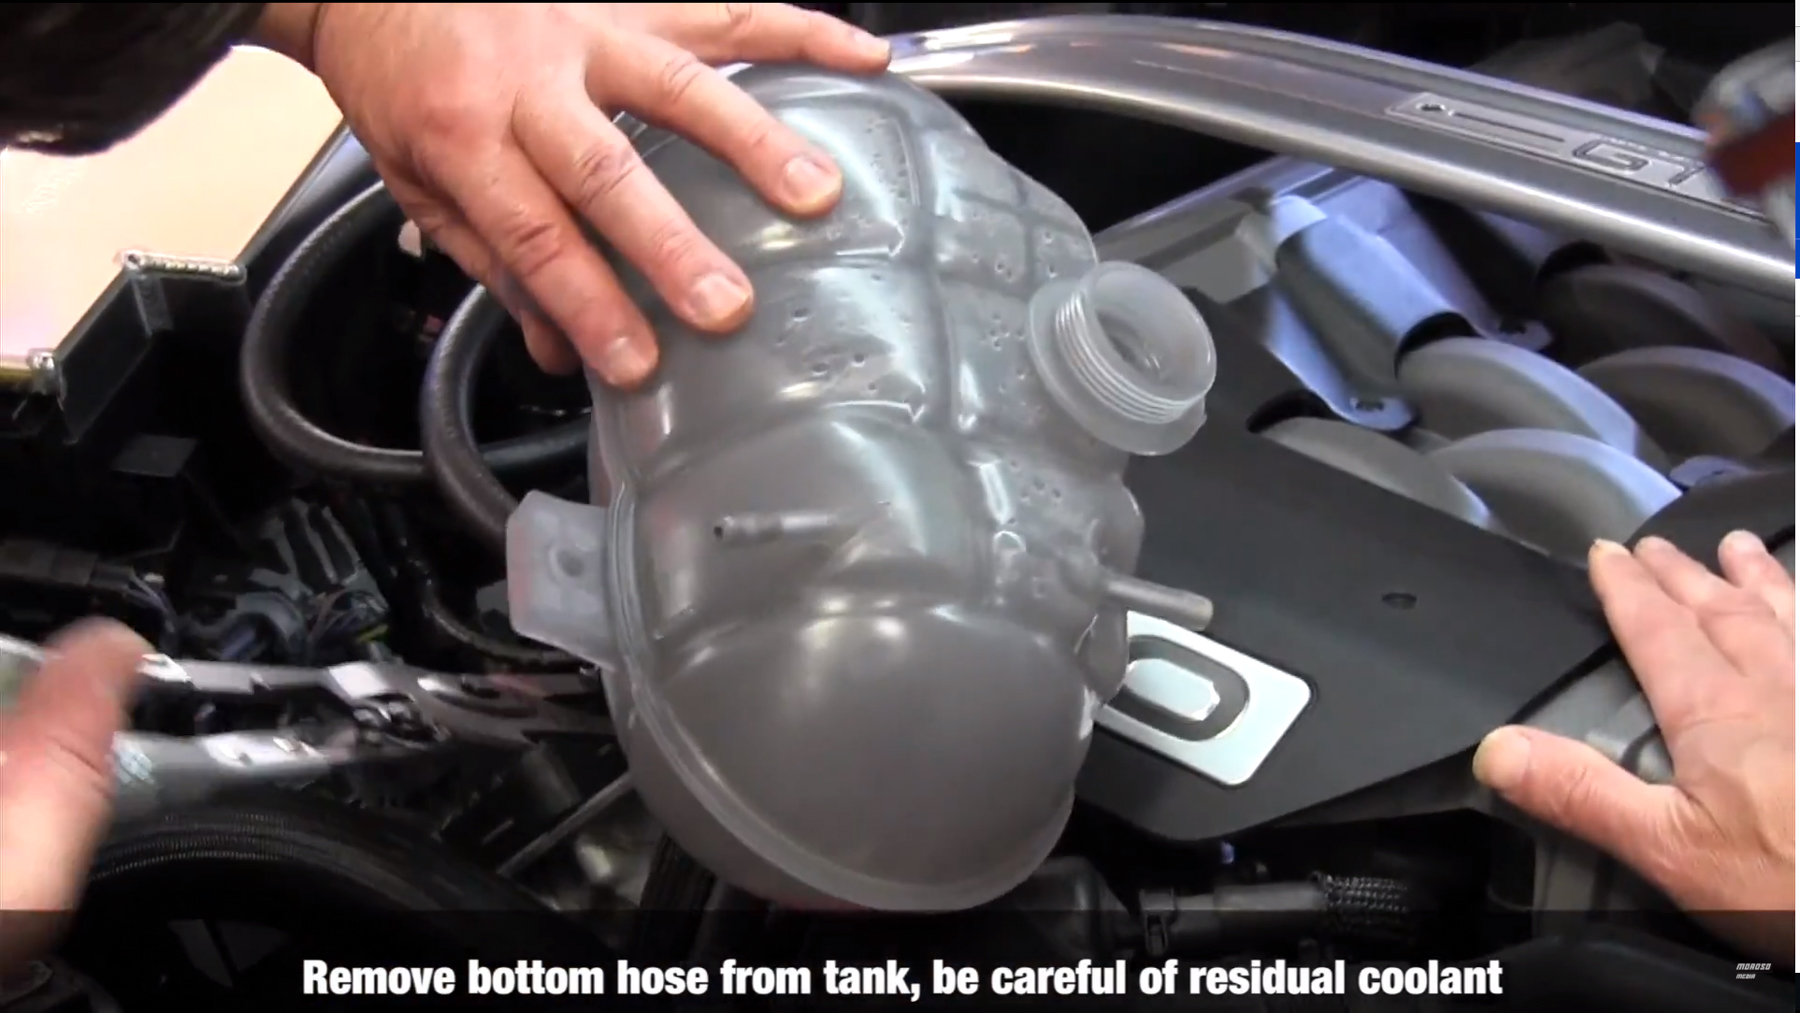
Taking out the old reservoir is an easy process that any Mustang owner can do in their garage with only basic tools.
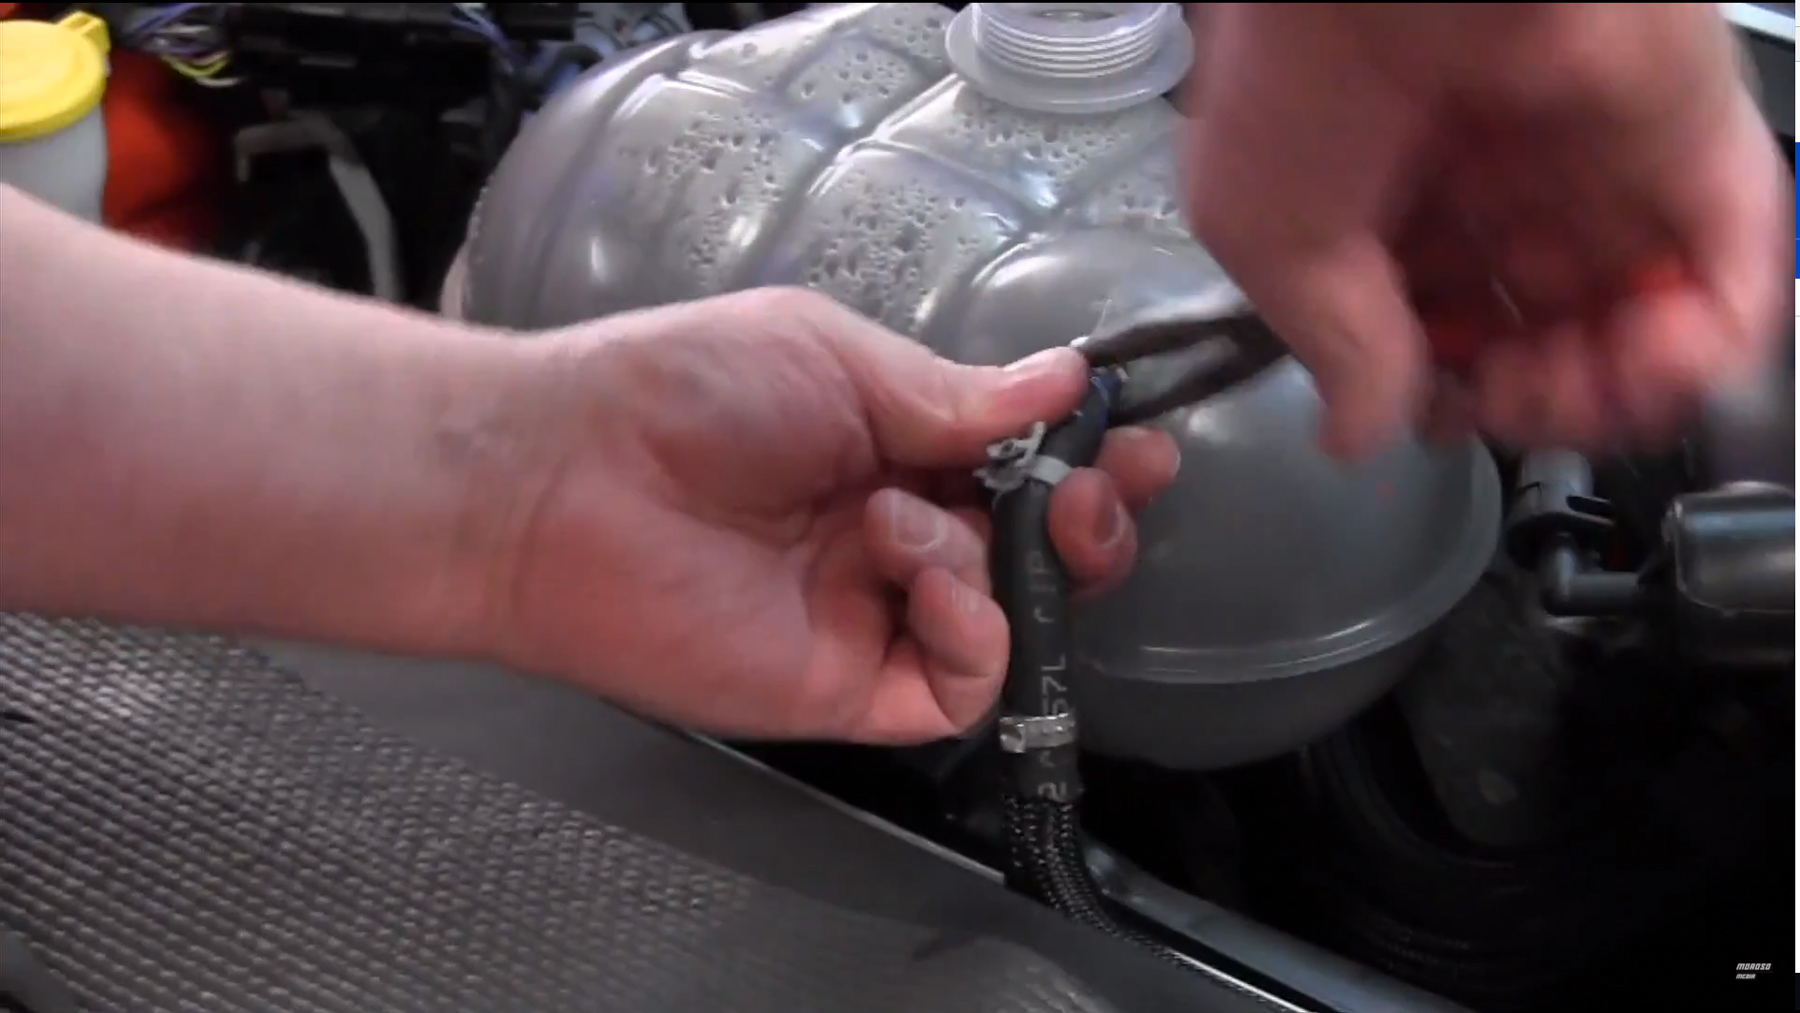
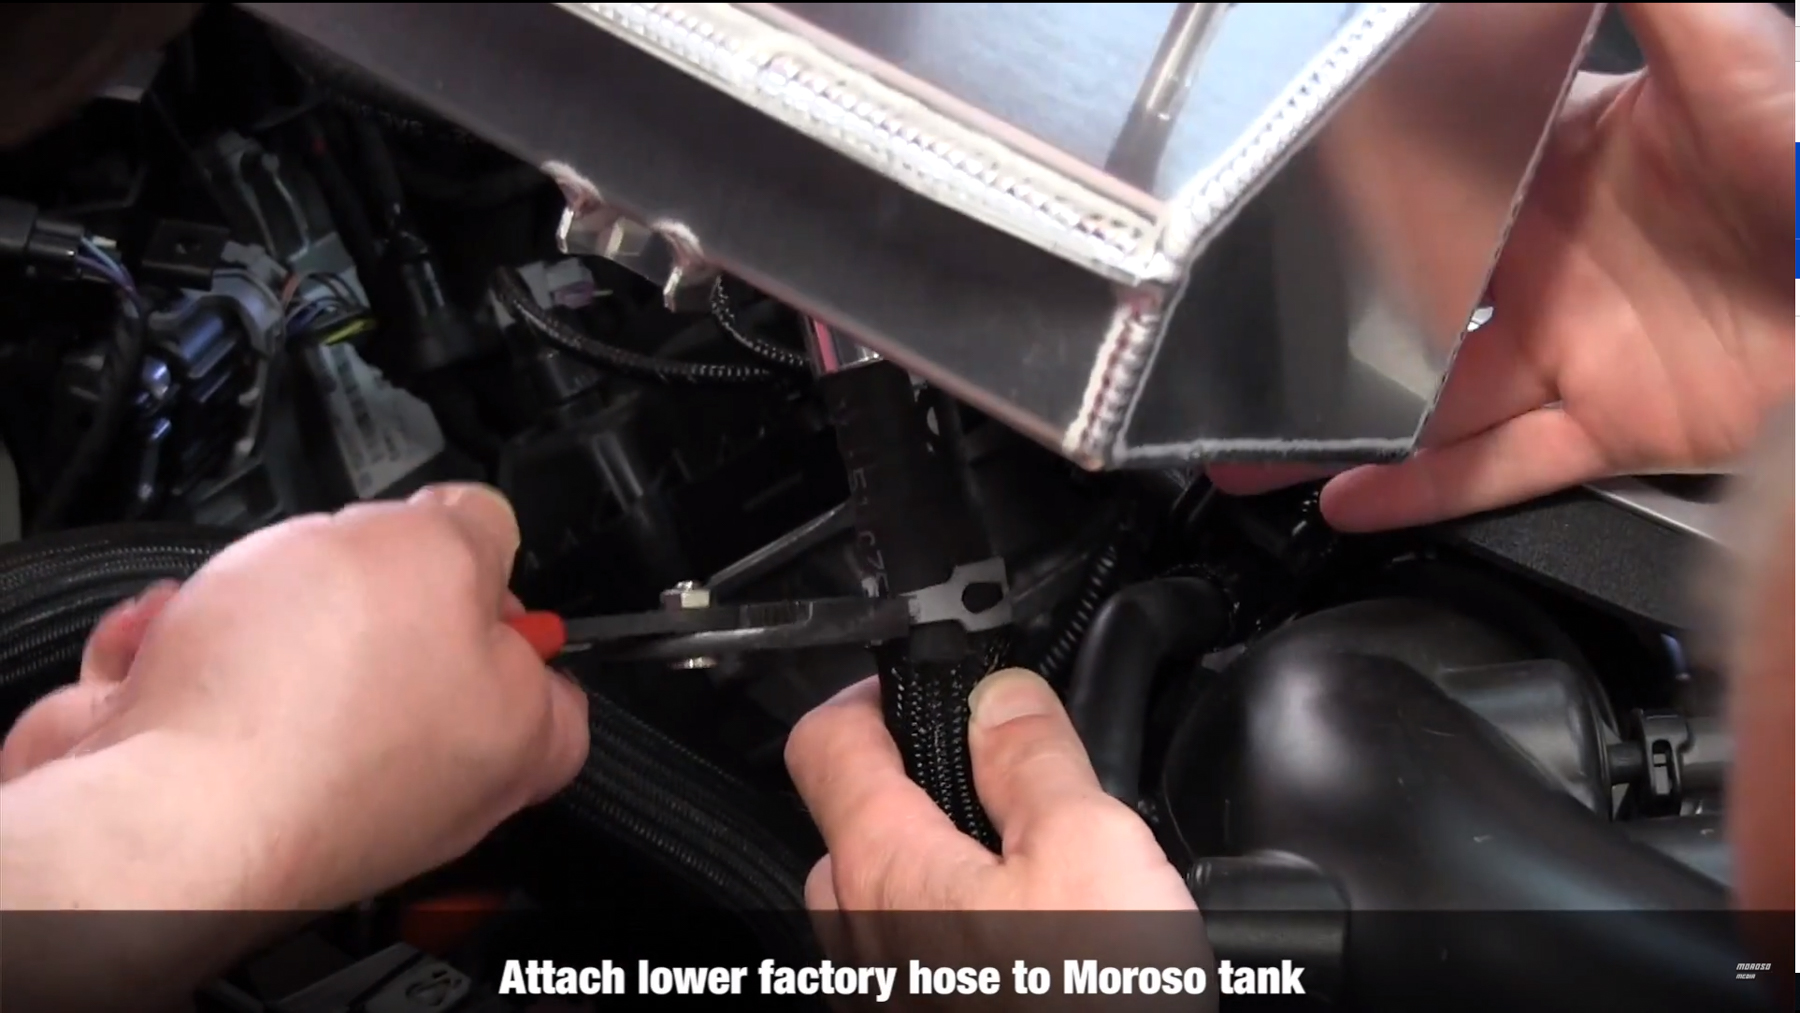
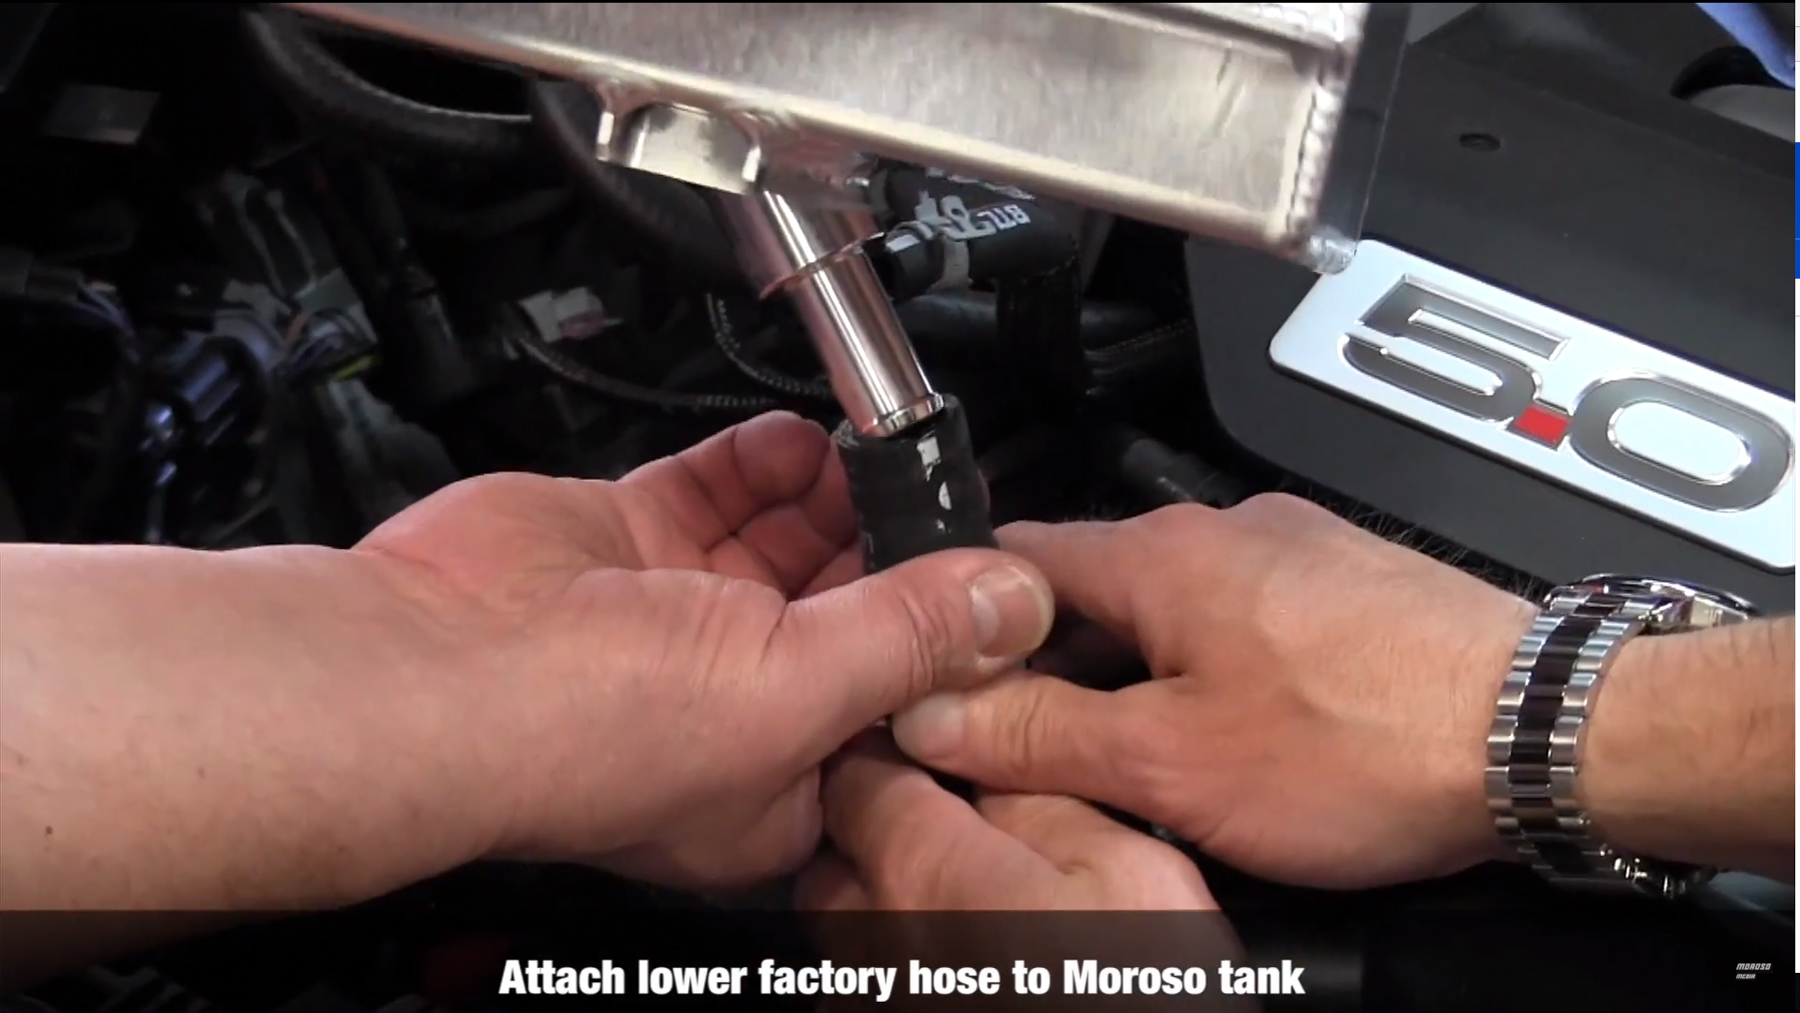
Installing the new tank is really as easy as removing the old one in reverse order as this is a direct-fit part that requires no modification of the vehicle or the supplied unit. Start by connecting the lower hose to the bottom of the new Moroso tank and inserting the tank into the factory coolant reservoir position. When connecting the lower hose, ensure that the hose clamp is seated in place on the tube on the new reservoir.
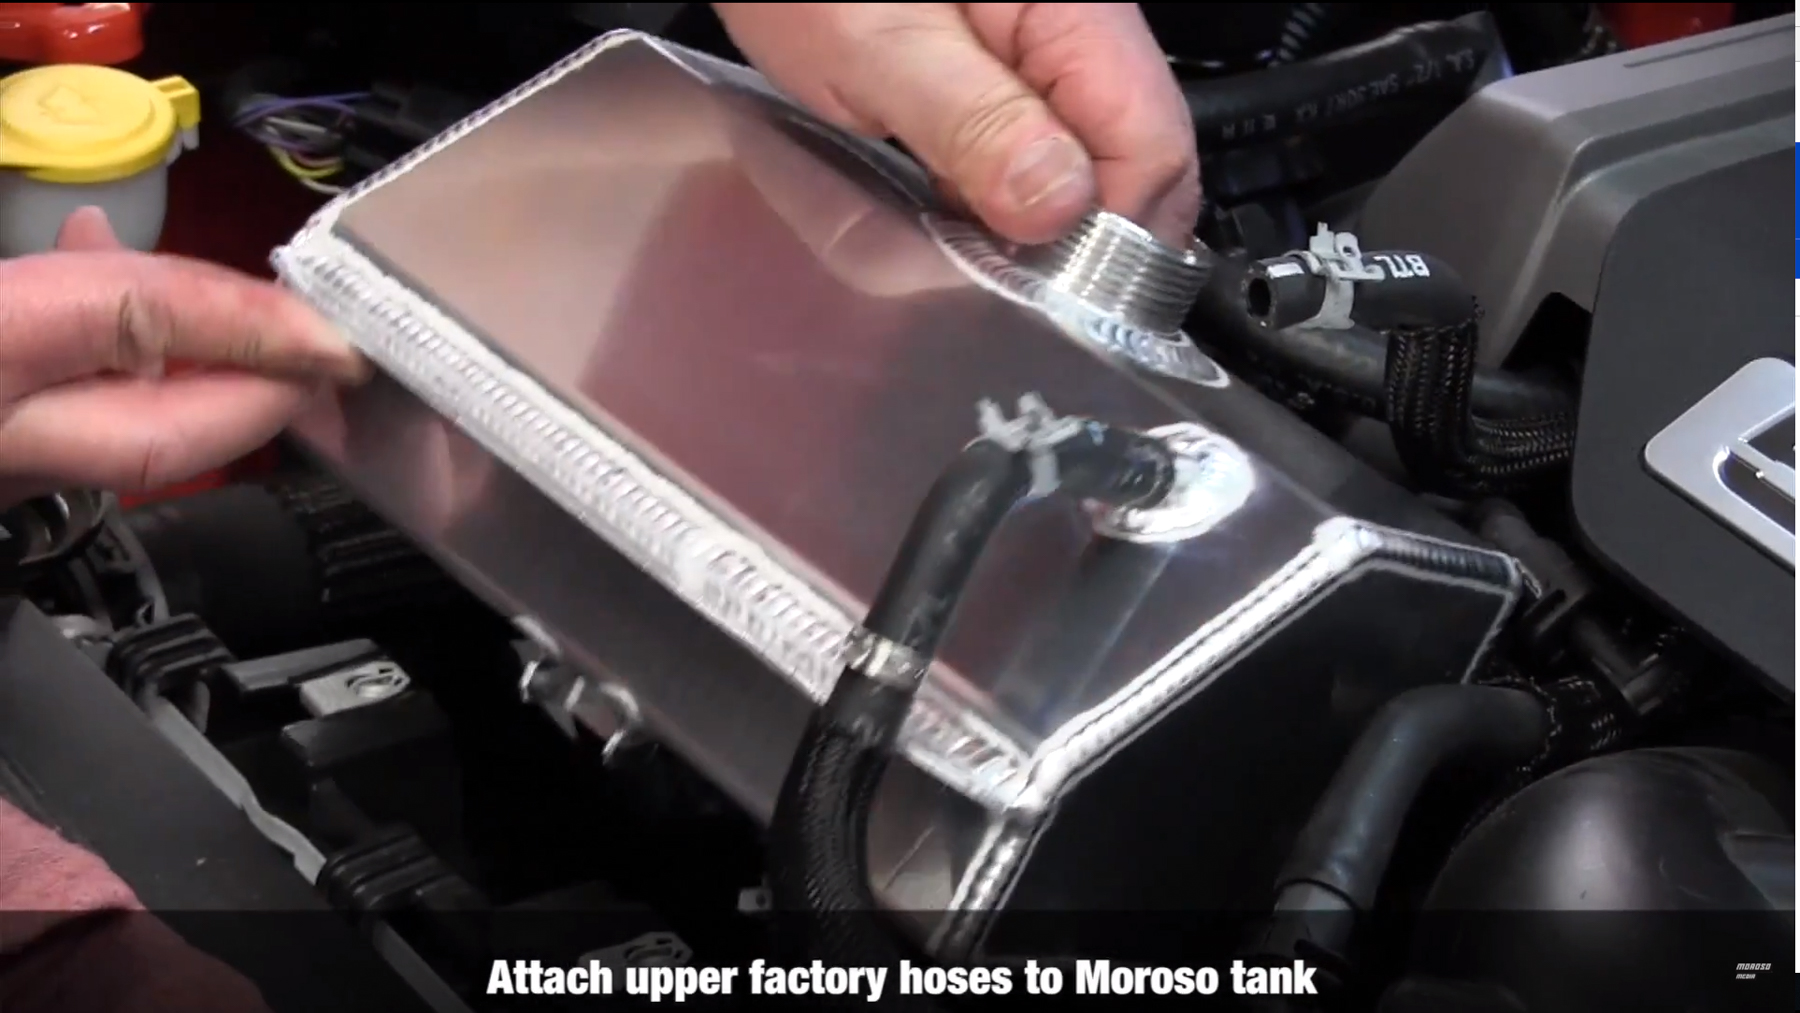
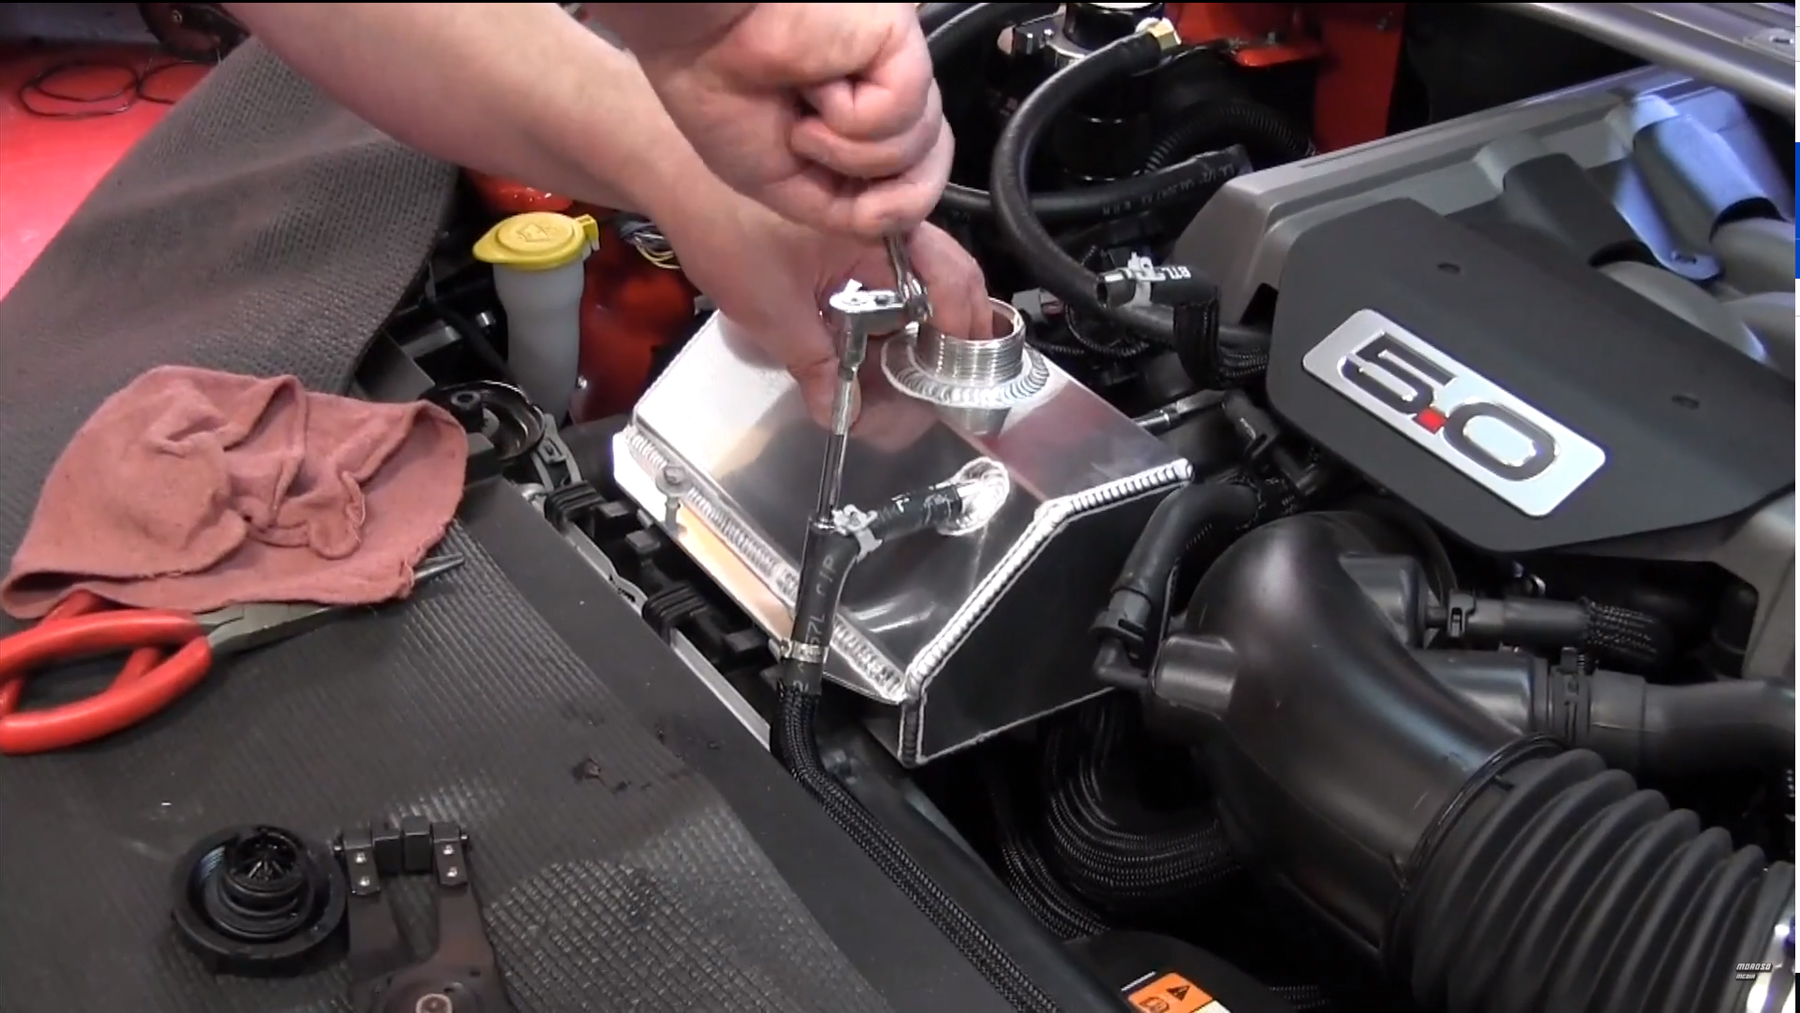
With the tank in place, attach the front upper hose before securing it in place with the bolts, this will make it easier to attach than when the tank it bolted in. When the hose is attached, again paying close attention to properly seating the hose clamp, secure the tank with the supplied 10mm bolts. With the tank in place and secure, attach the rear hose. It is a good idea to apply the spray silicon to the hoses before moving the clamps in place to ensure the clamps slide smoothly over the hose without tearing or damaging the rubber.
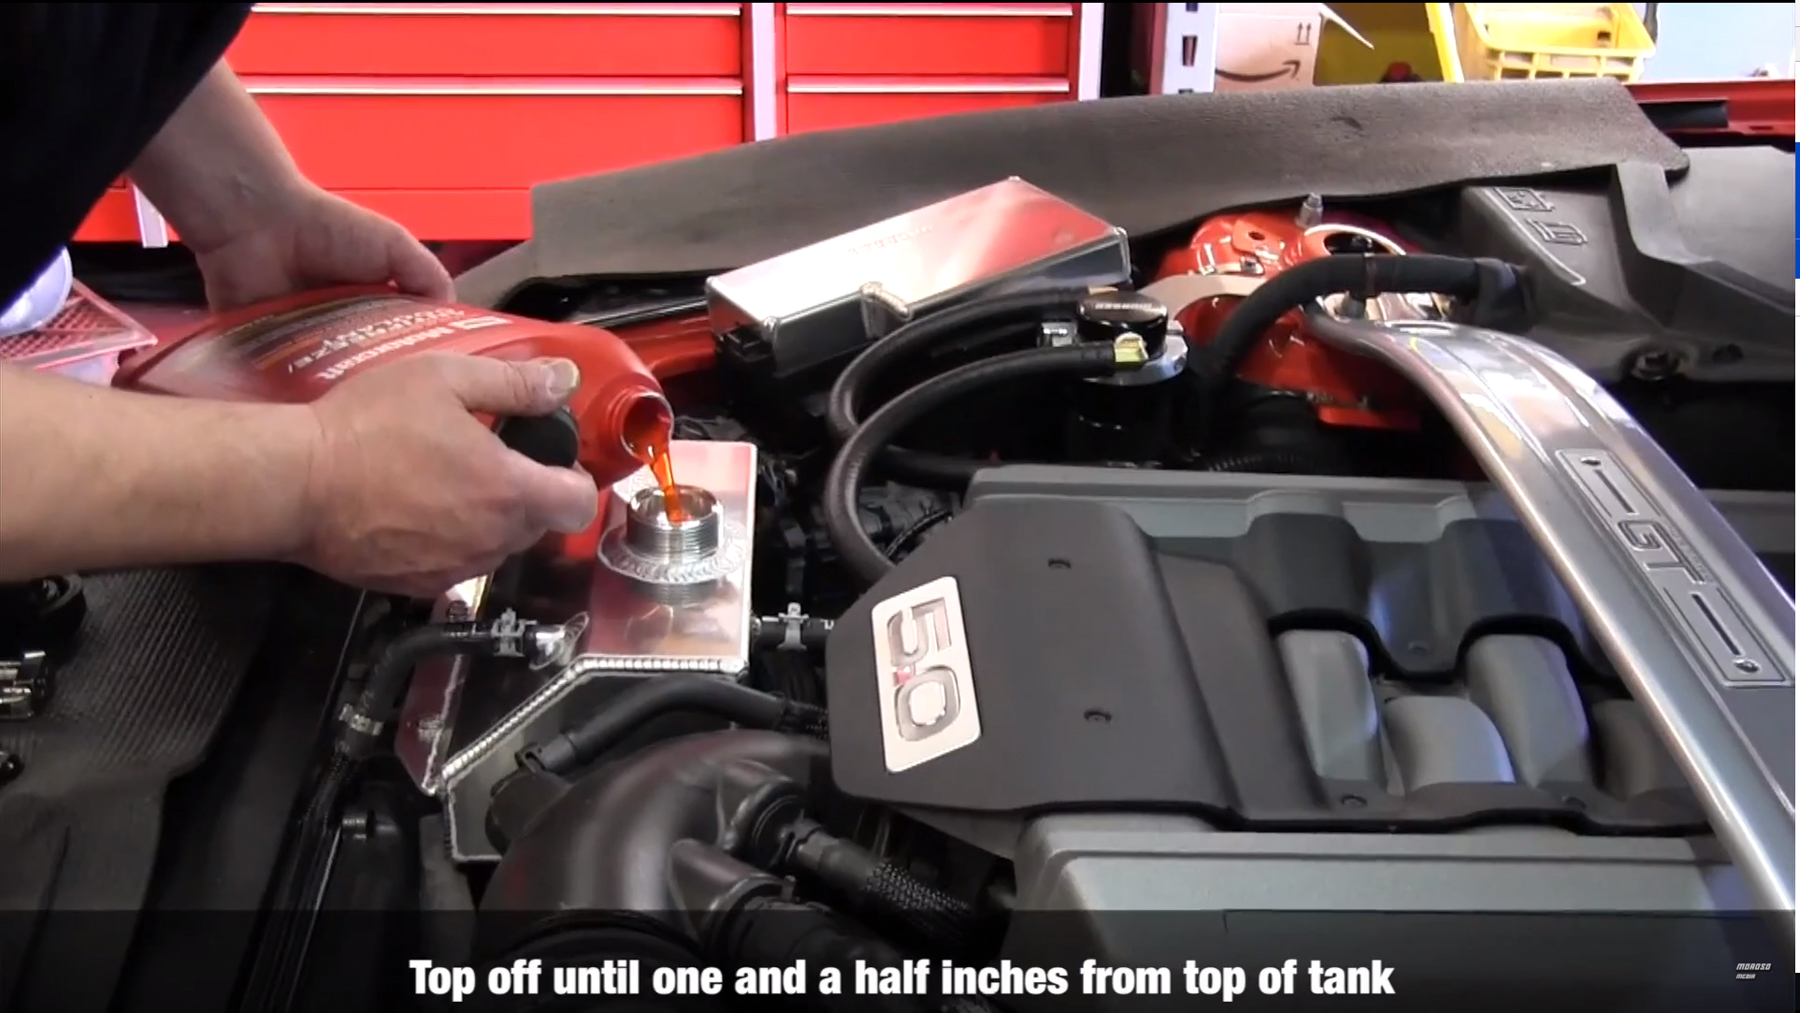
Now that the tank is installed and all the hoses are in place, you can begin the refilling process. Since you didn’t drain the coolant from anywhere in the engine and you are only refilling the reservoir, all you have to do is refill the tank until the coolant is one and a half inches from the top. Reinstall the factory cap and you are ready to cruise! The tank adds a custom look to the area under the hood, but it is also a higher quality product than the stock tank, providing an extra layer of reliability to the cooling system.

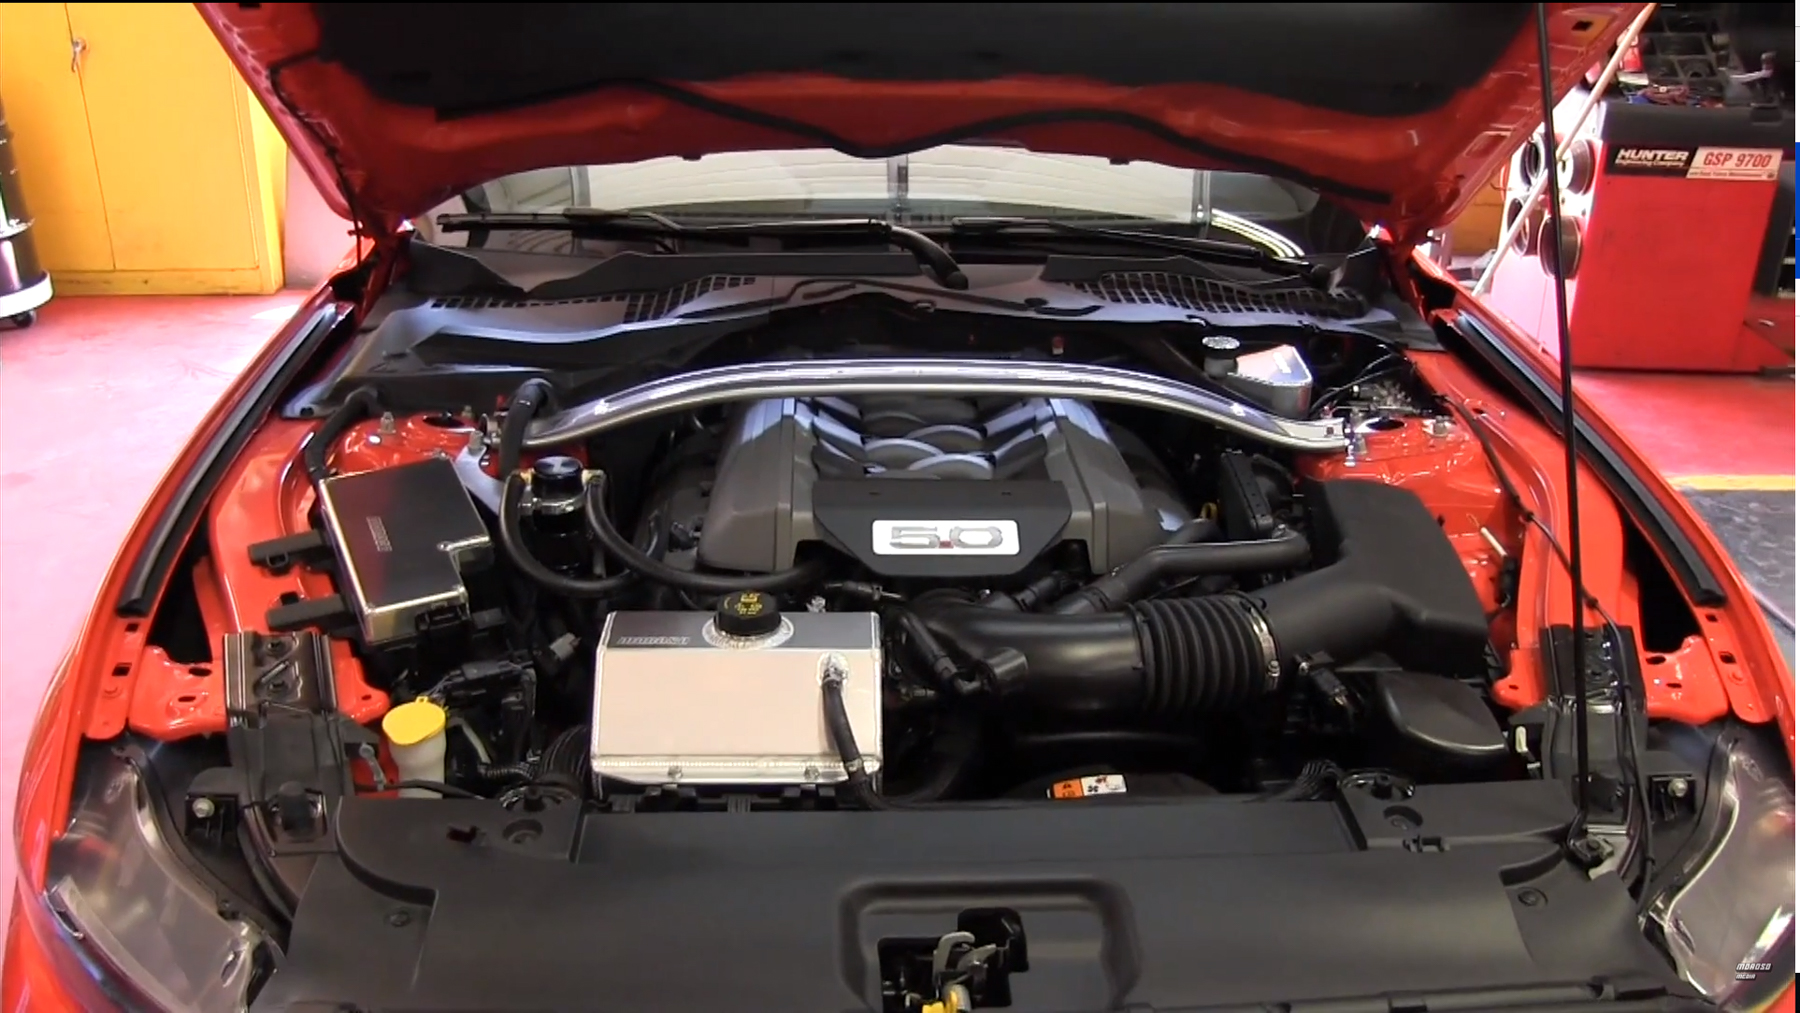
In a matter of 45 minutes to one hour your Mustang has a sturdier cooling system and a better looking reservoir under the hood. This is simply a cleaner look that goes a long way with the hood open.