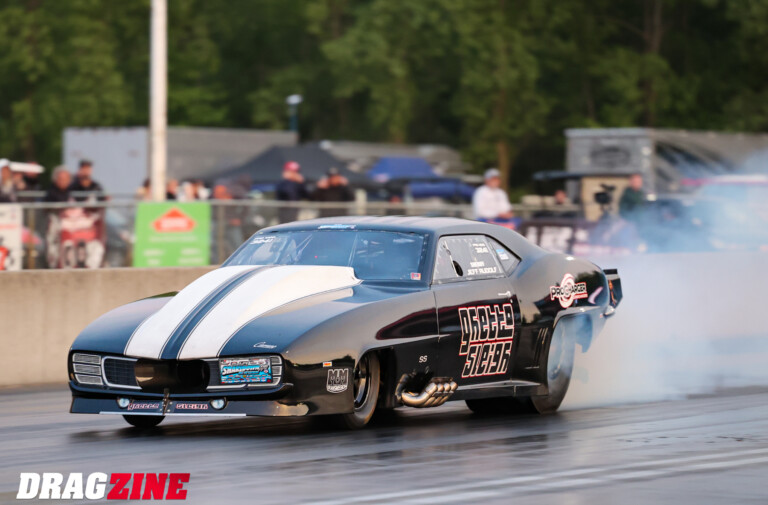
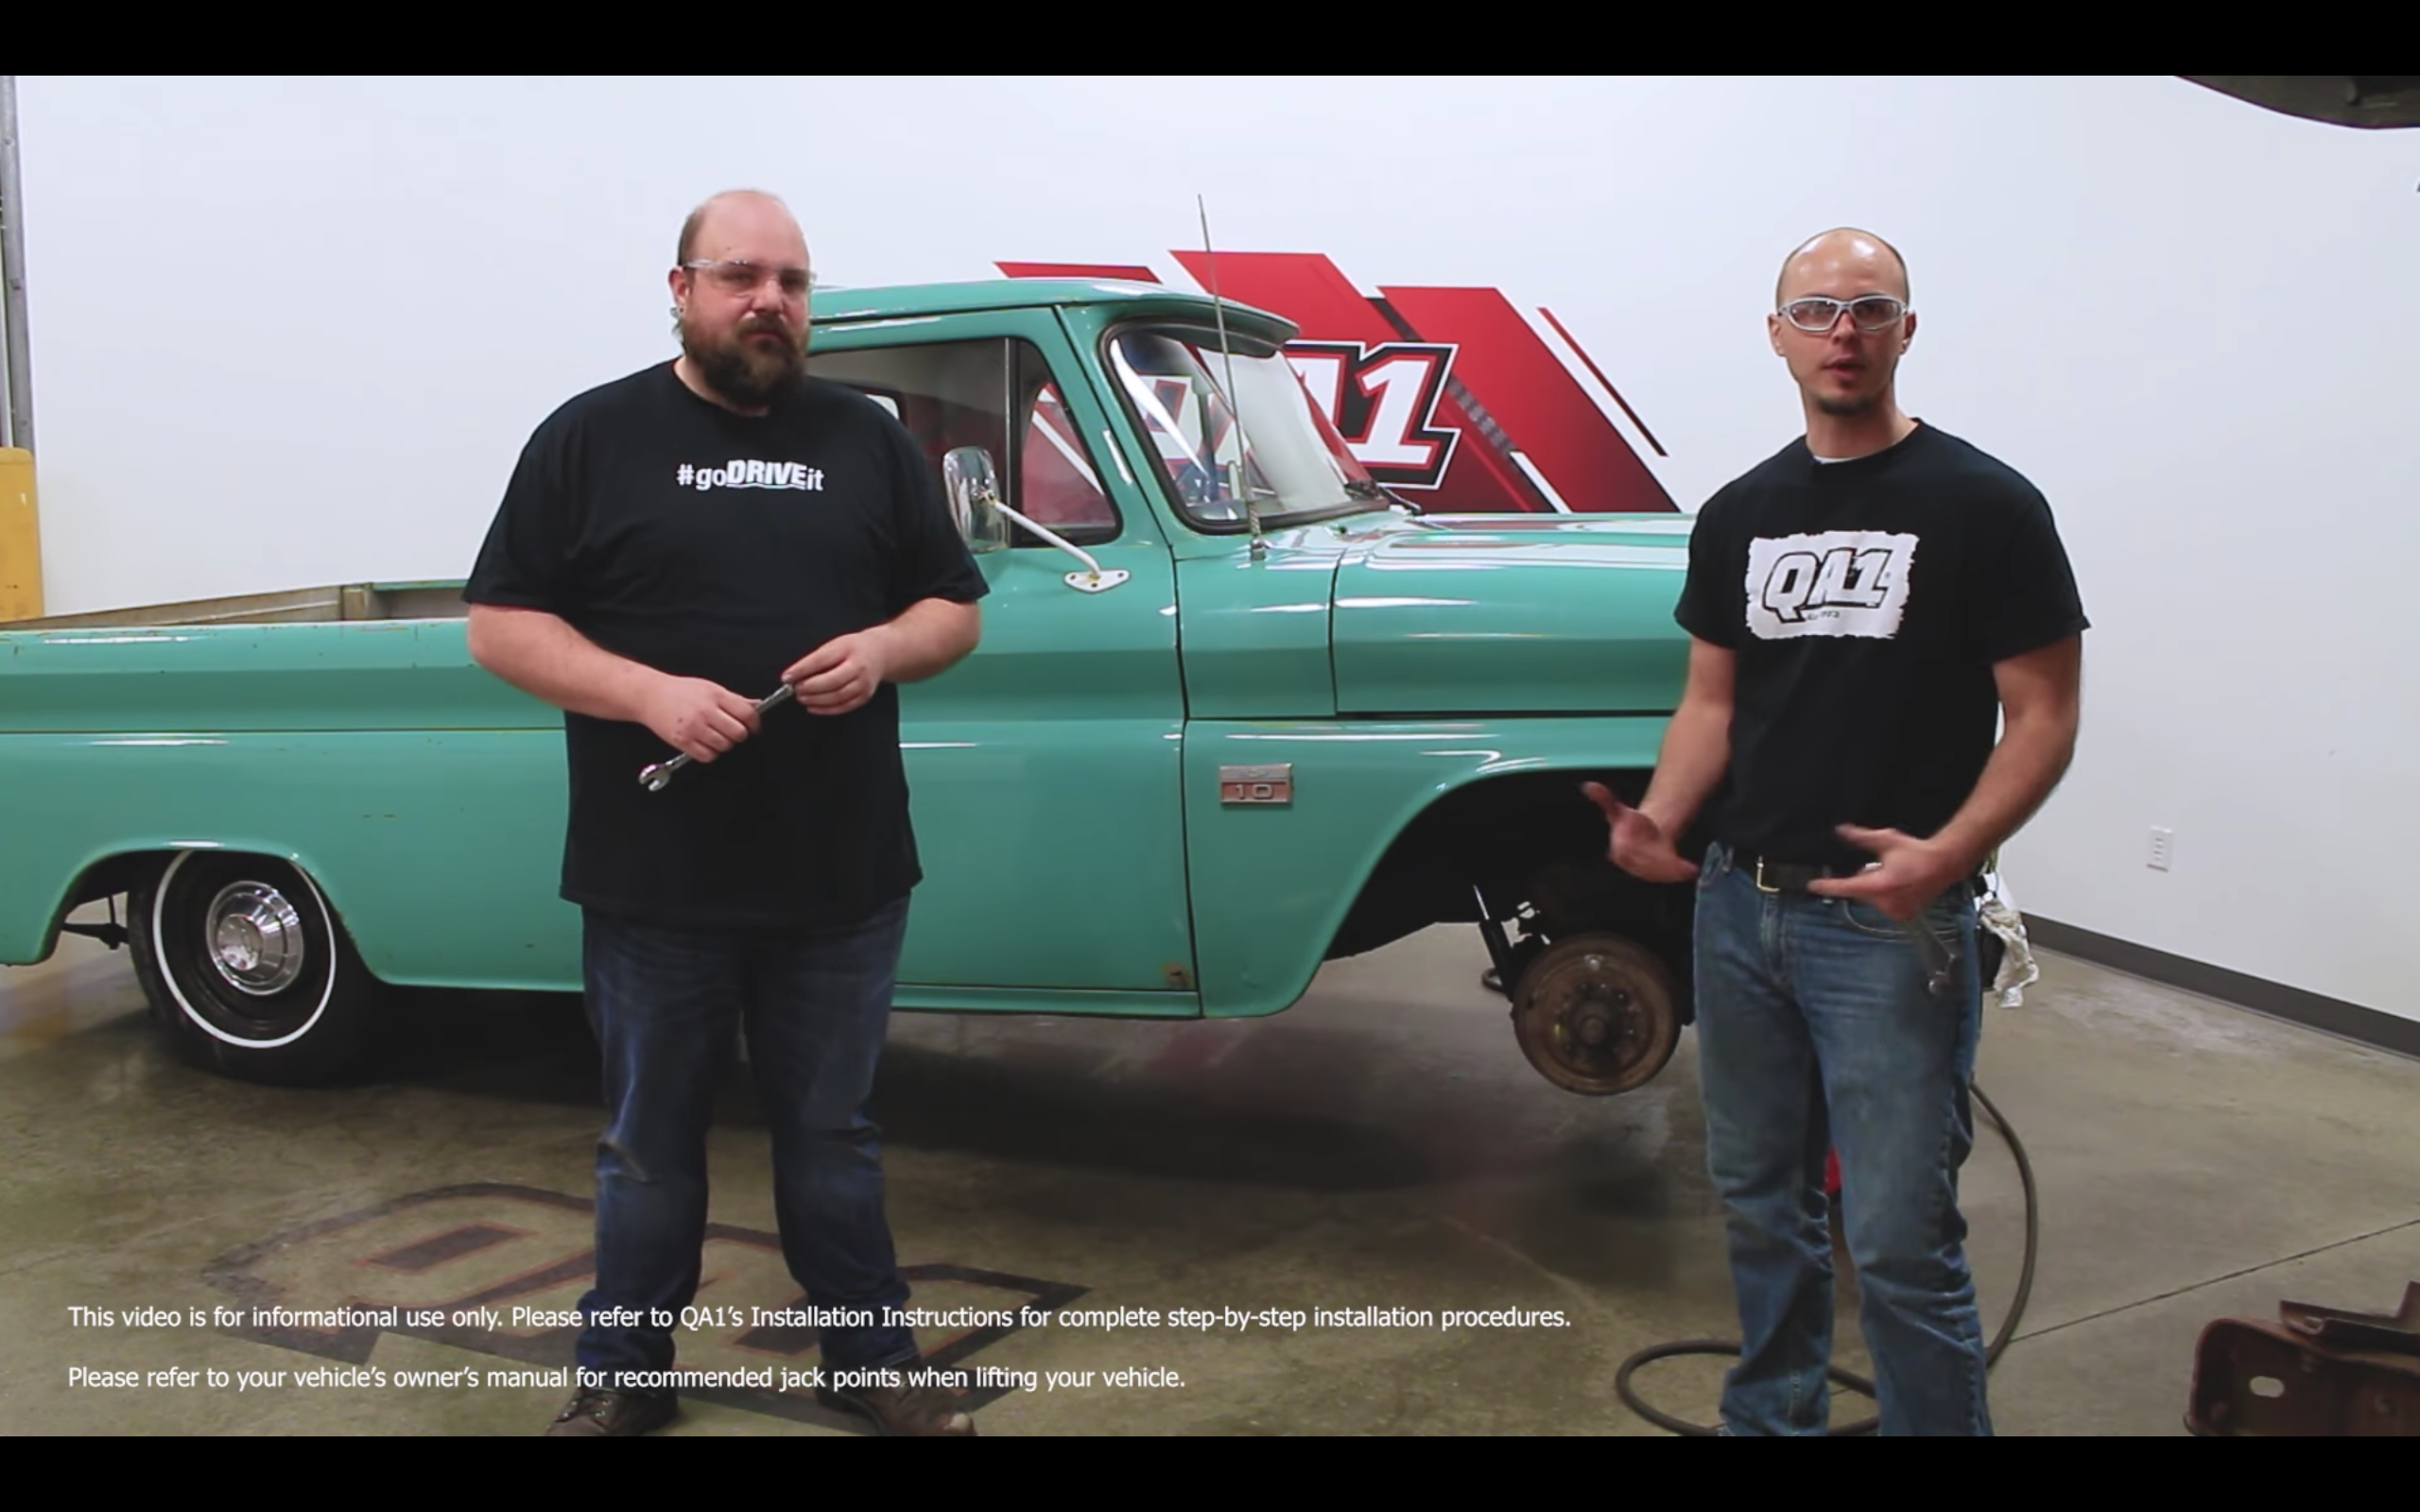
QA1 is known for suspension systems that are designed for enthusiasts looking to improve ride comfort, handling characteristics, or to gain control over vehicle height and look,. No matter the reason, QA1 has your back. QA1 is always developing and demonstrating new stuff, and this video shows Bill Foley and Damien Brase, from QA1, installing the company’s new C10 suspension into a 1966 C10 pickup.
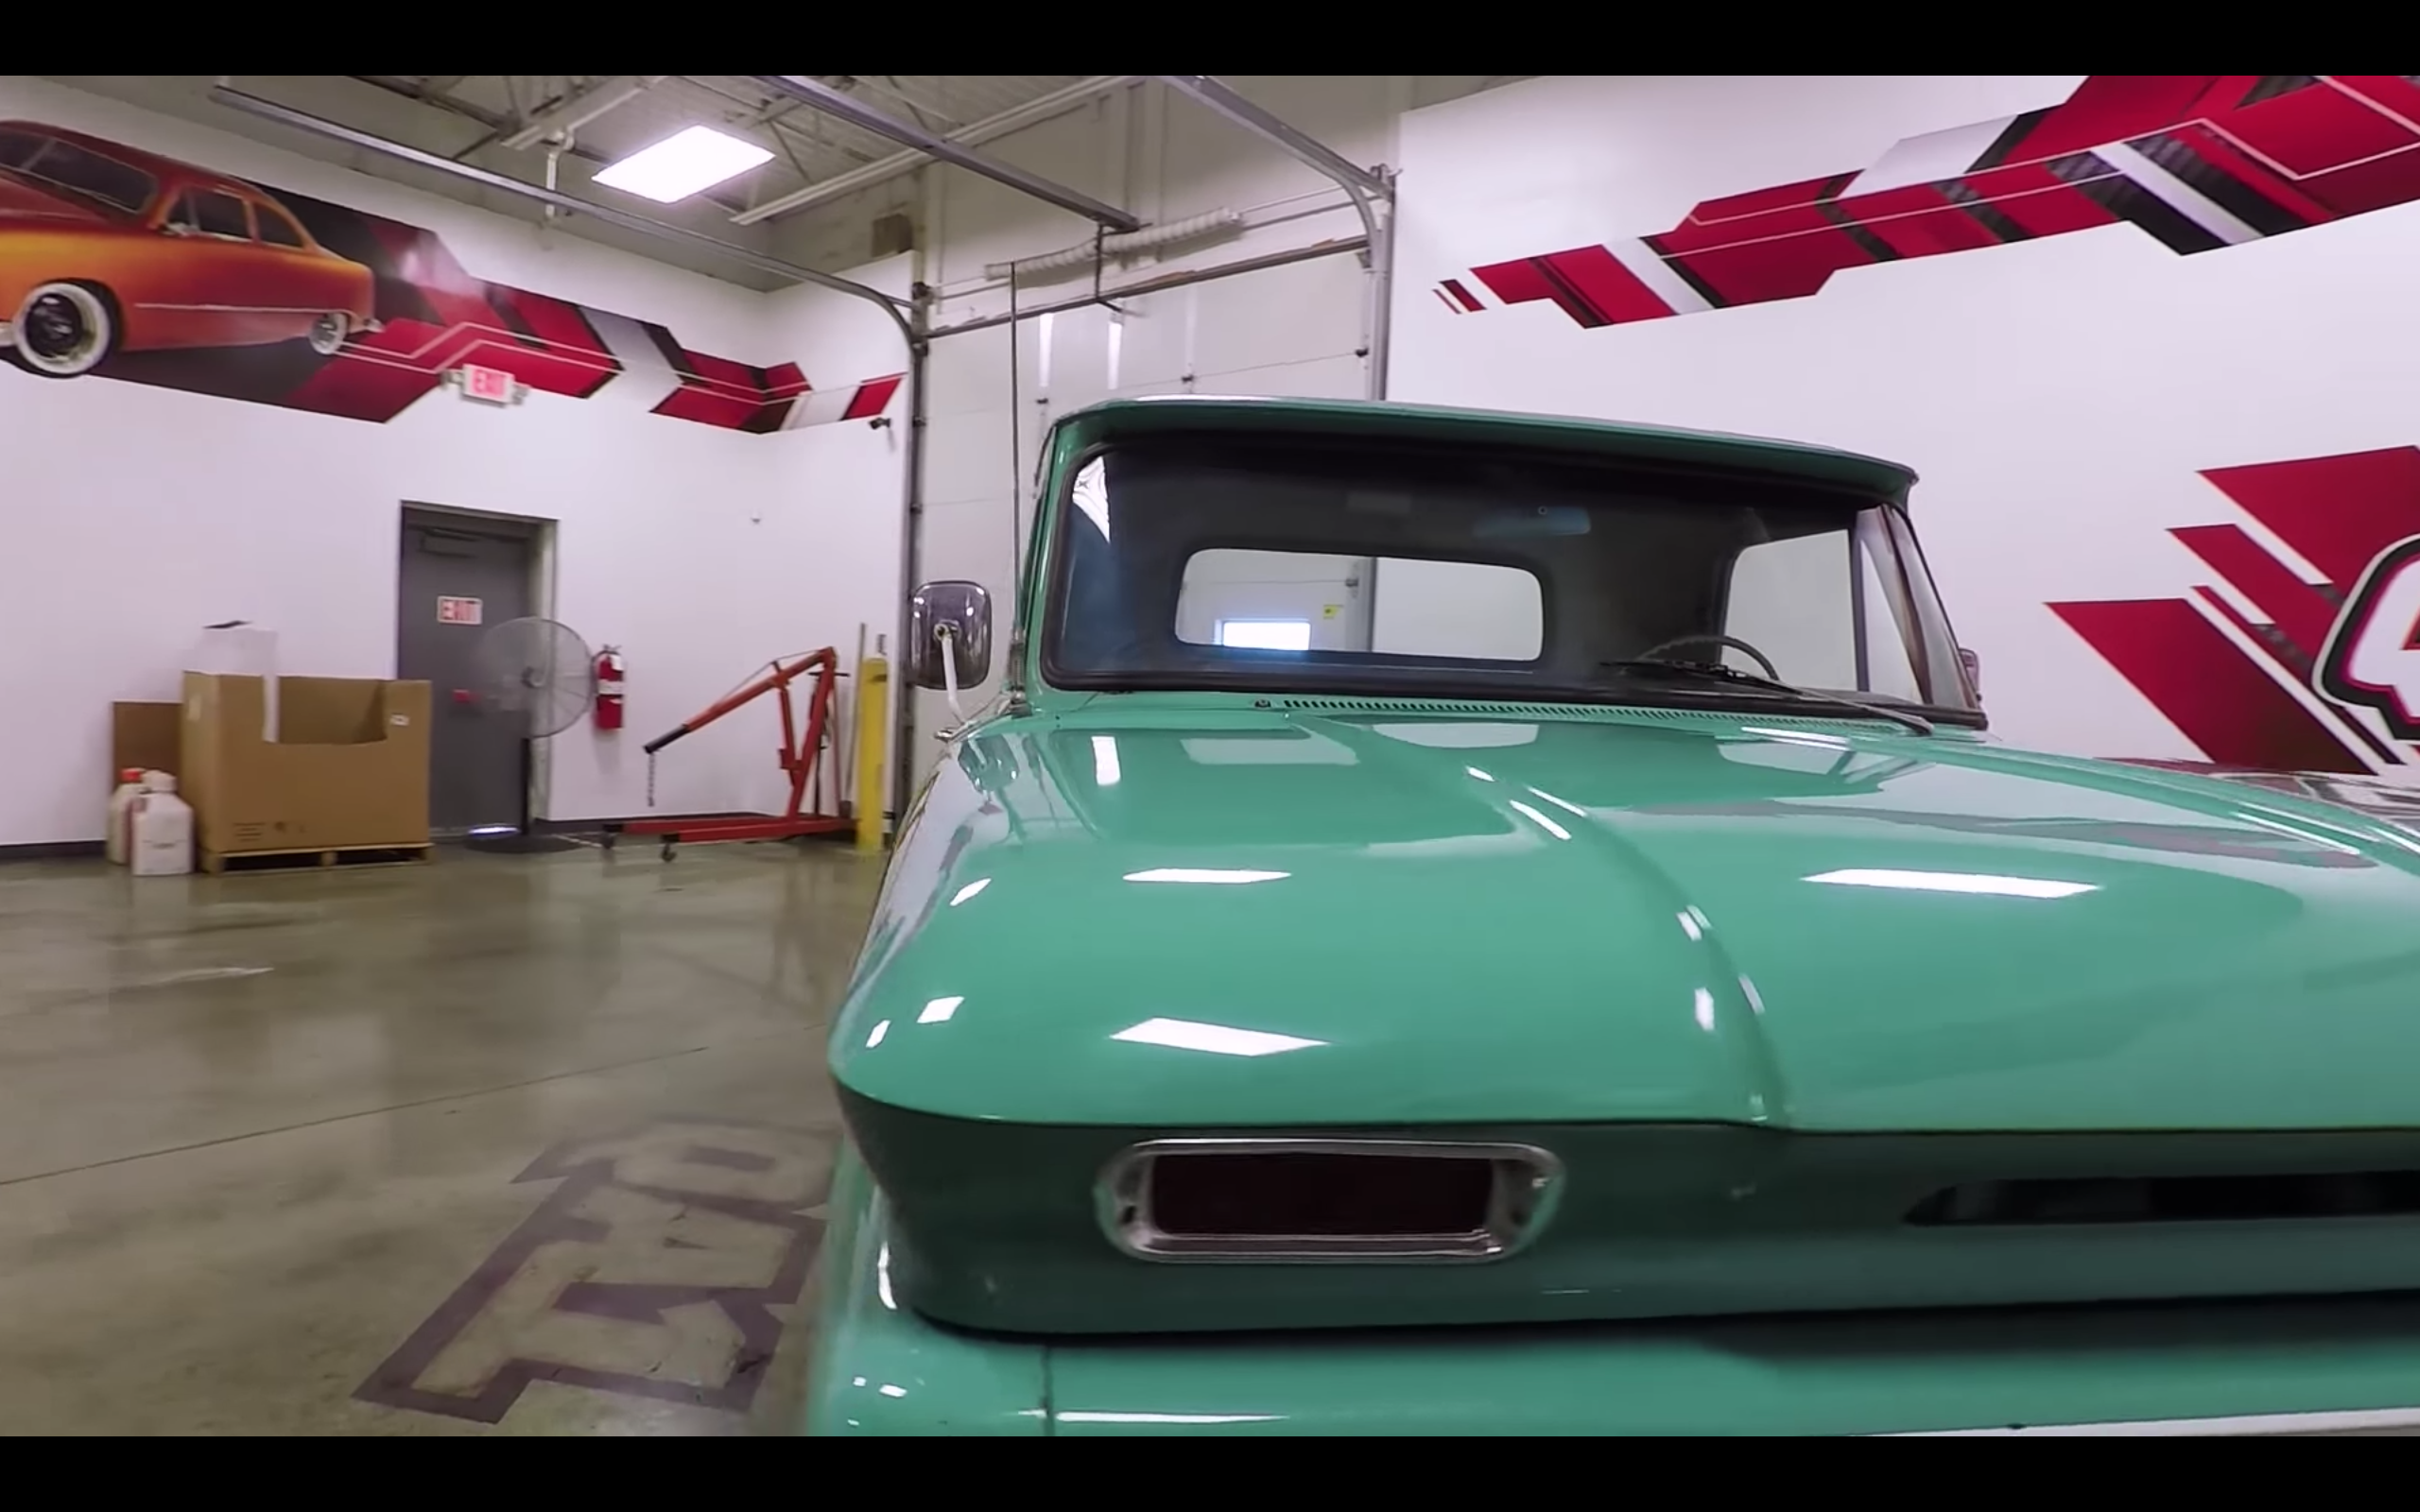
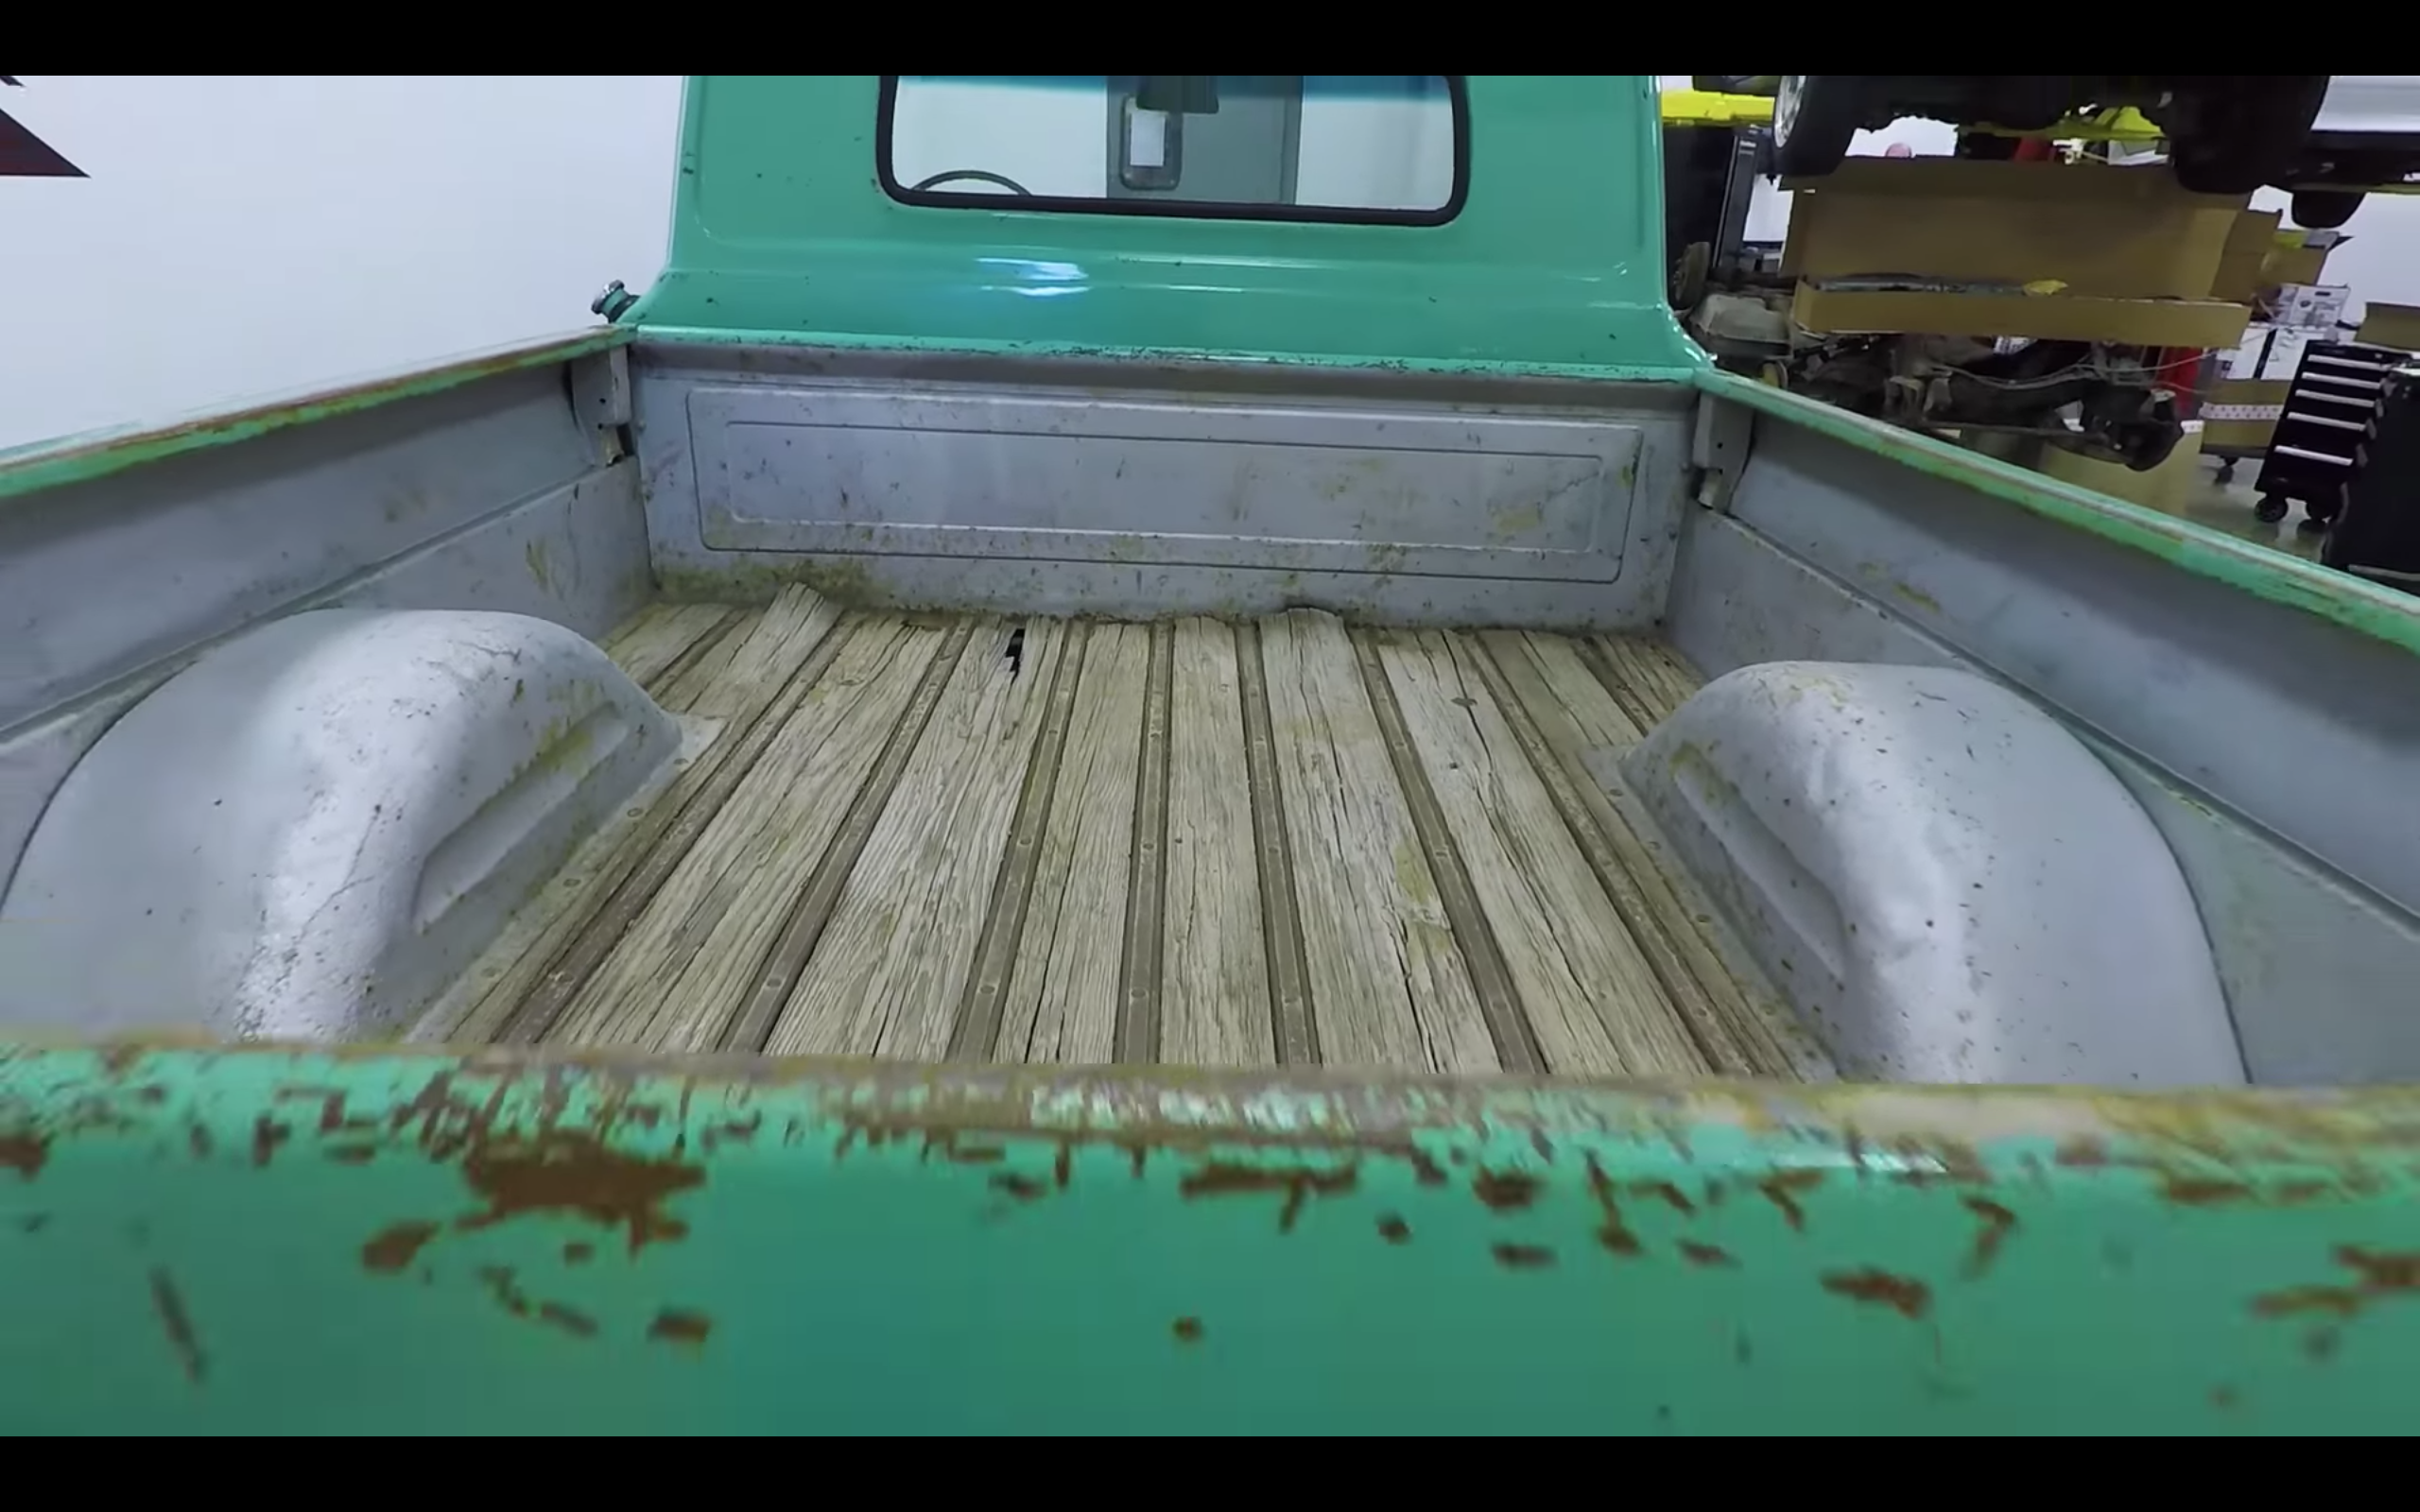
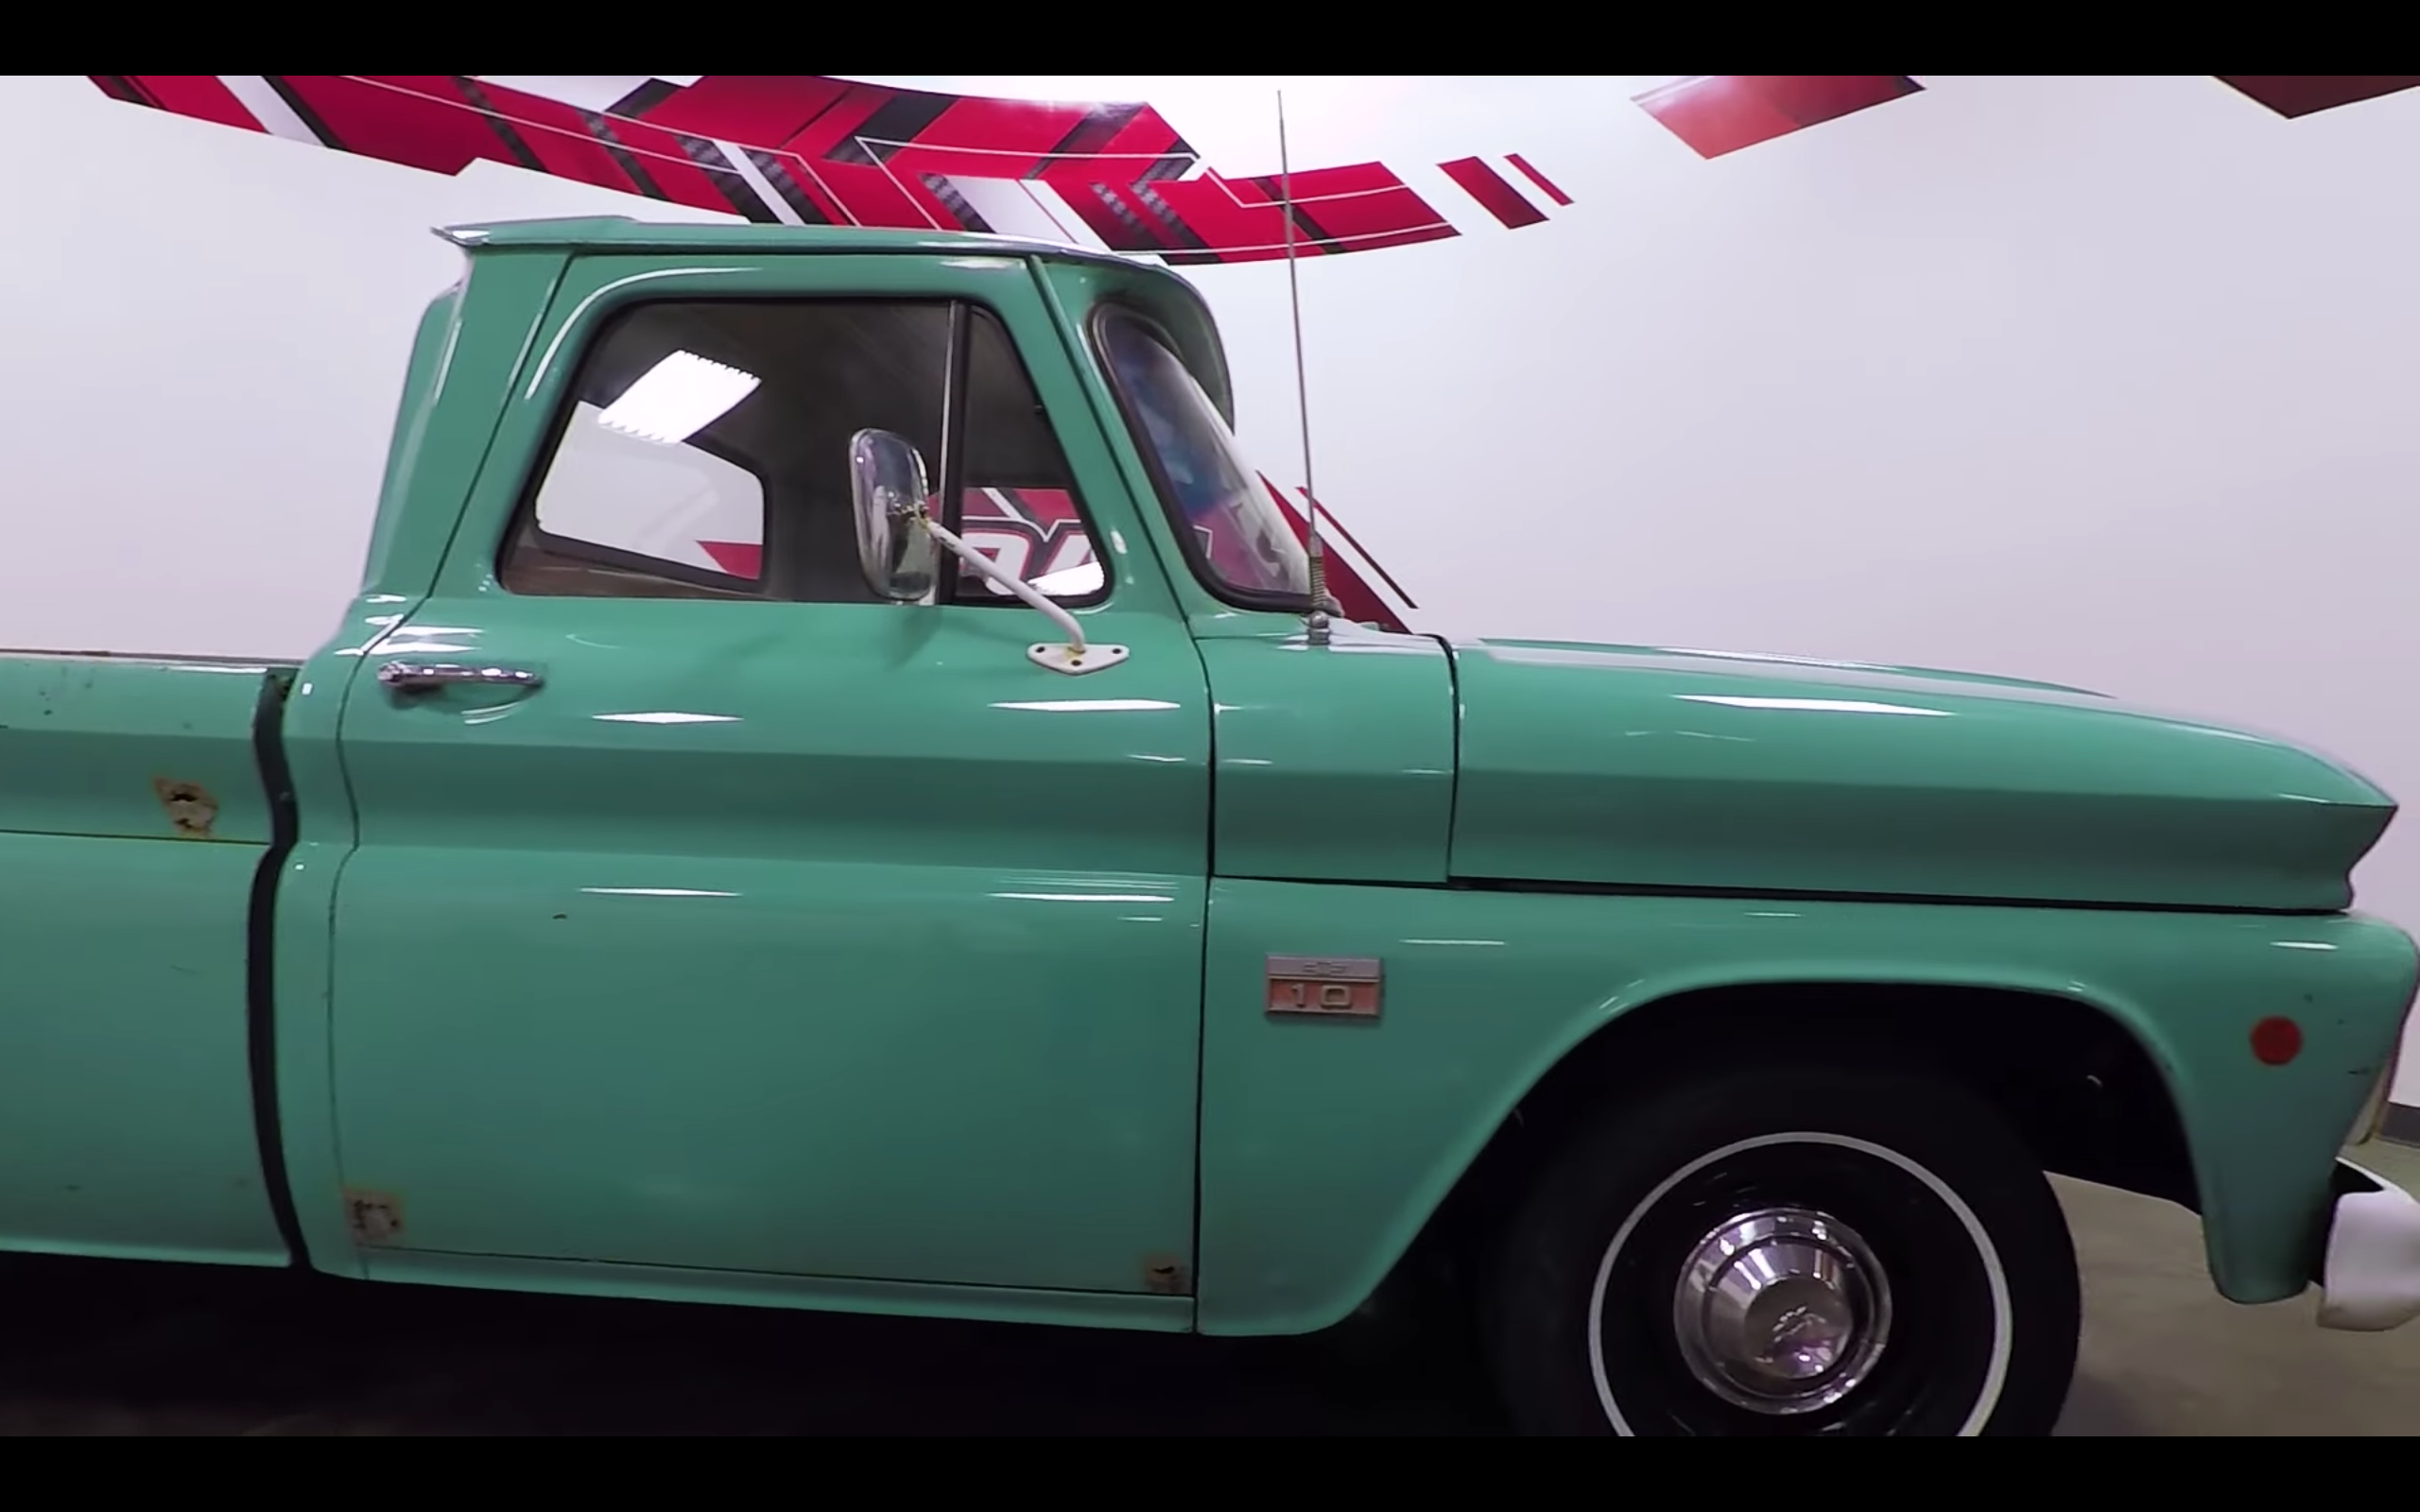
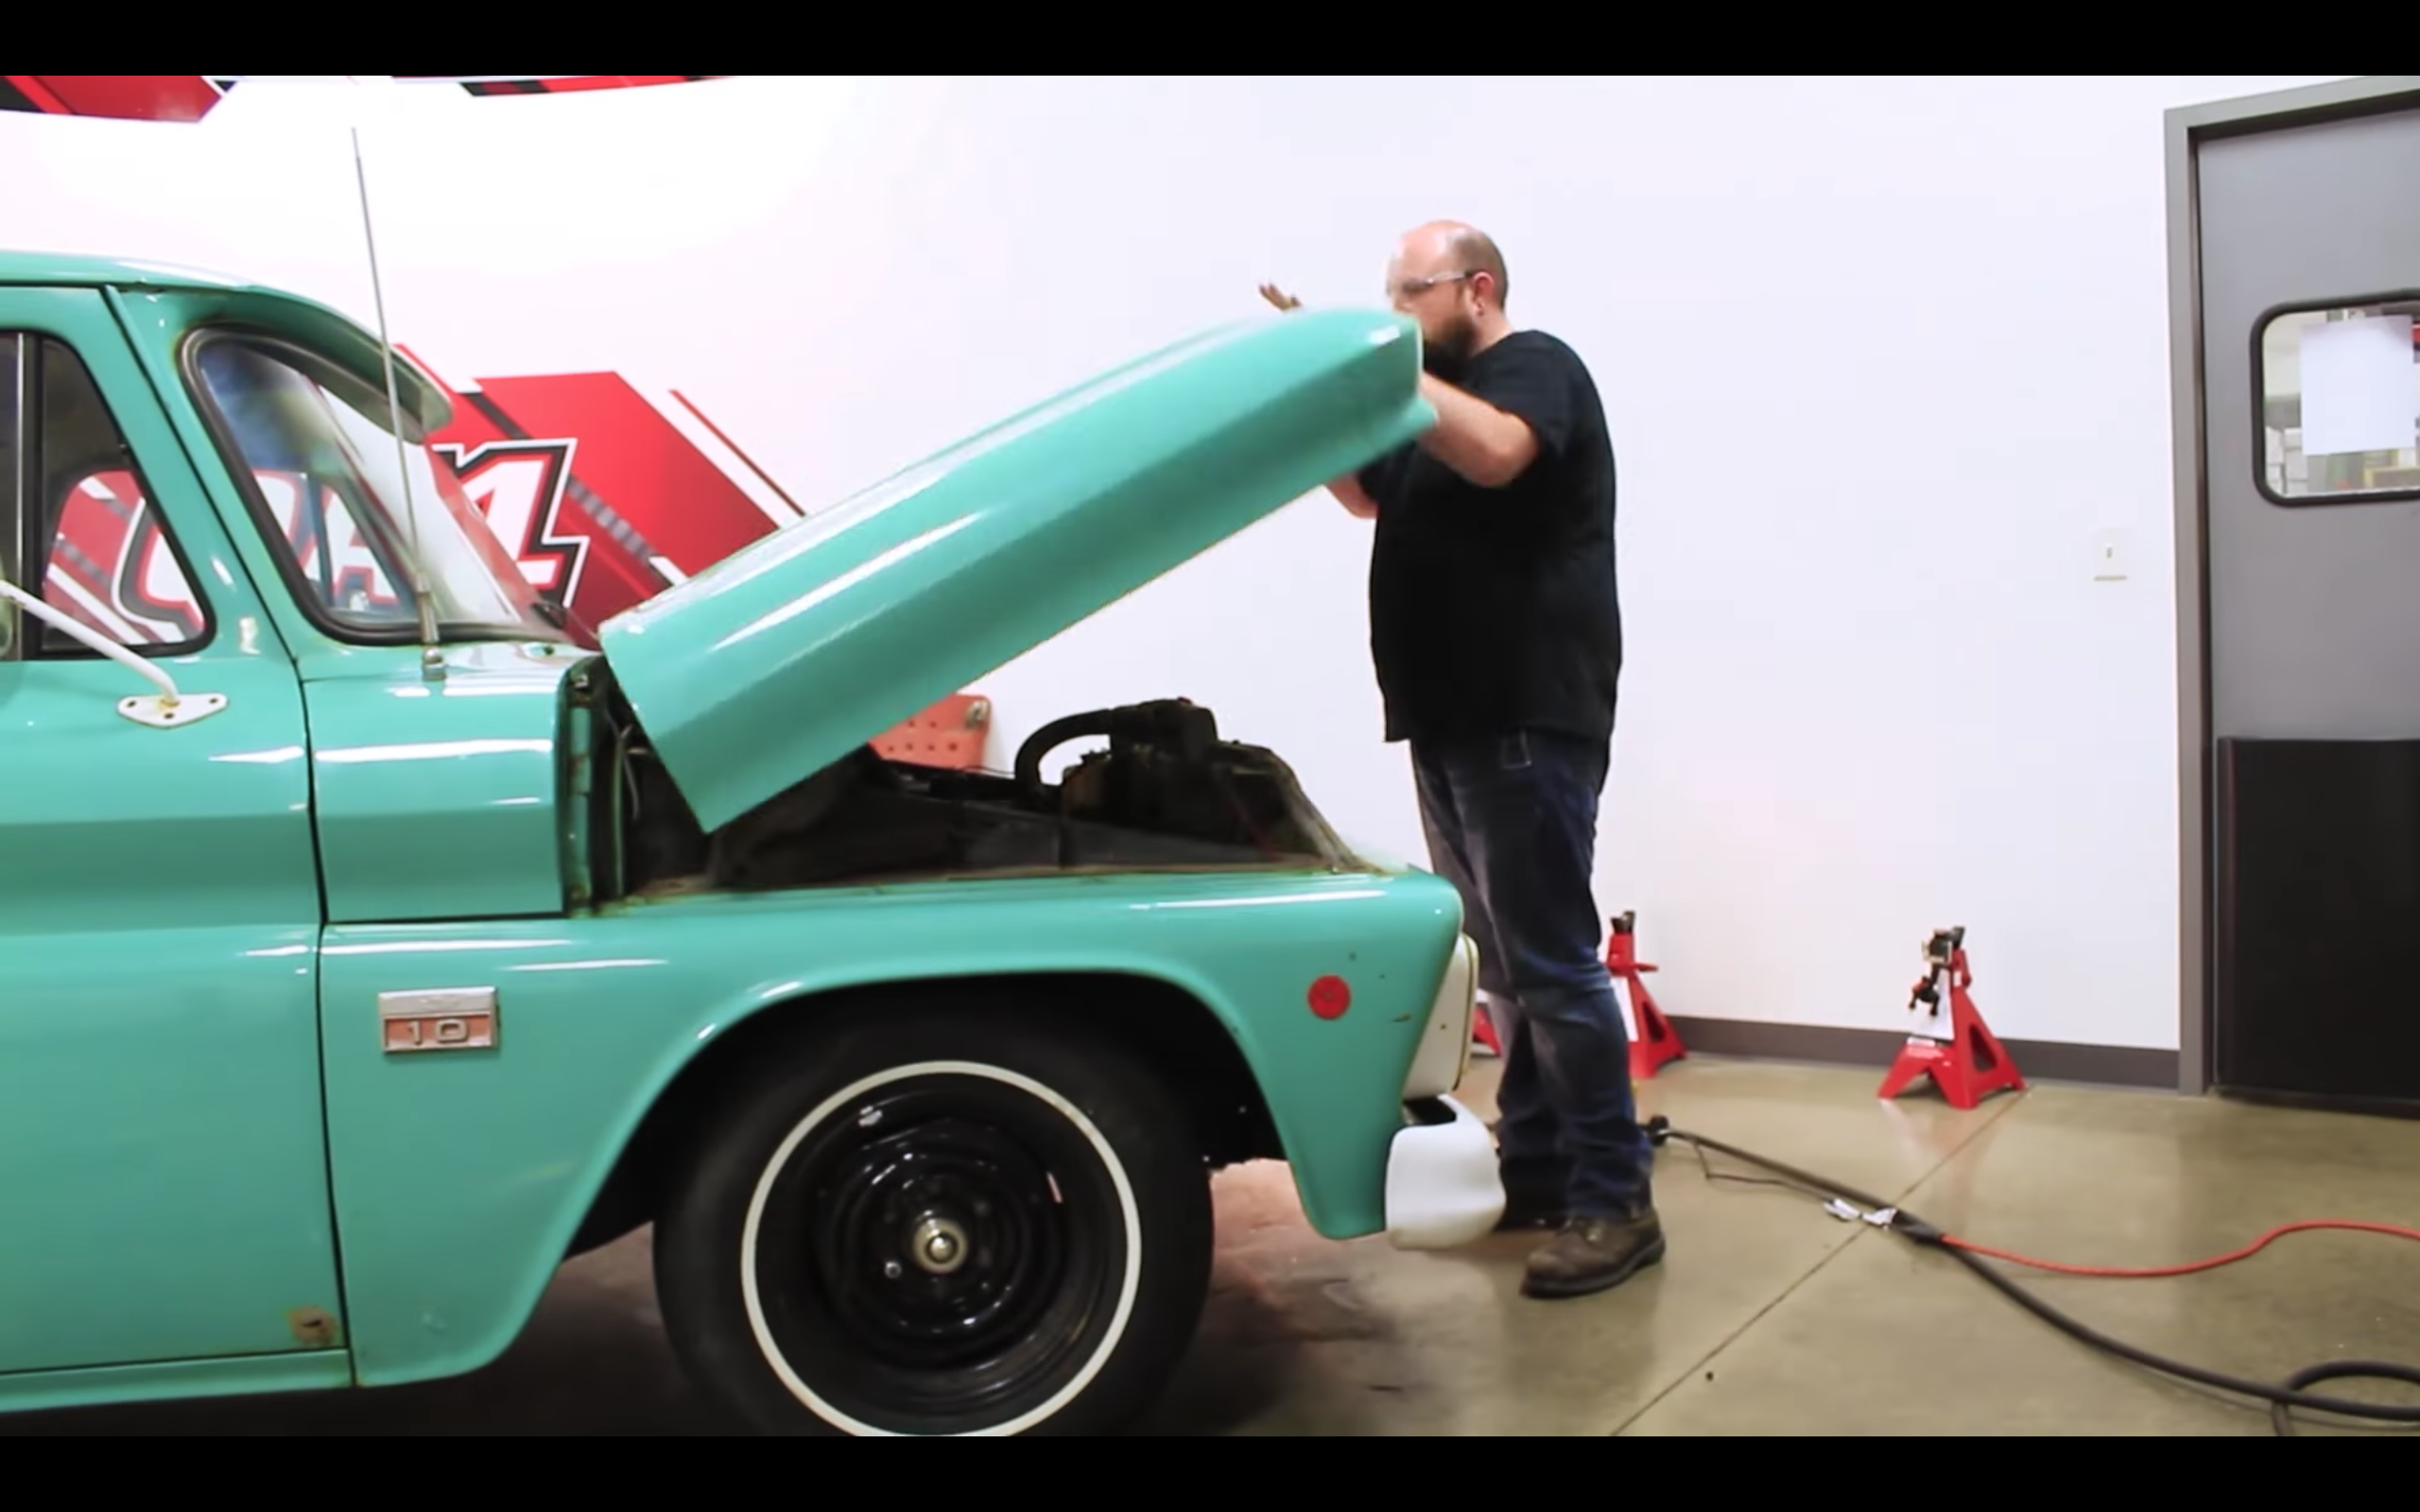
This truck is ripe for a new suspension system with a low to the ground look. We love the patina on this beauty.
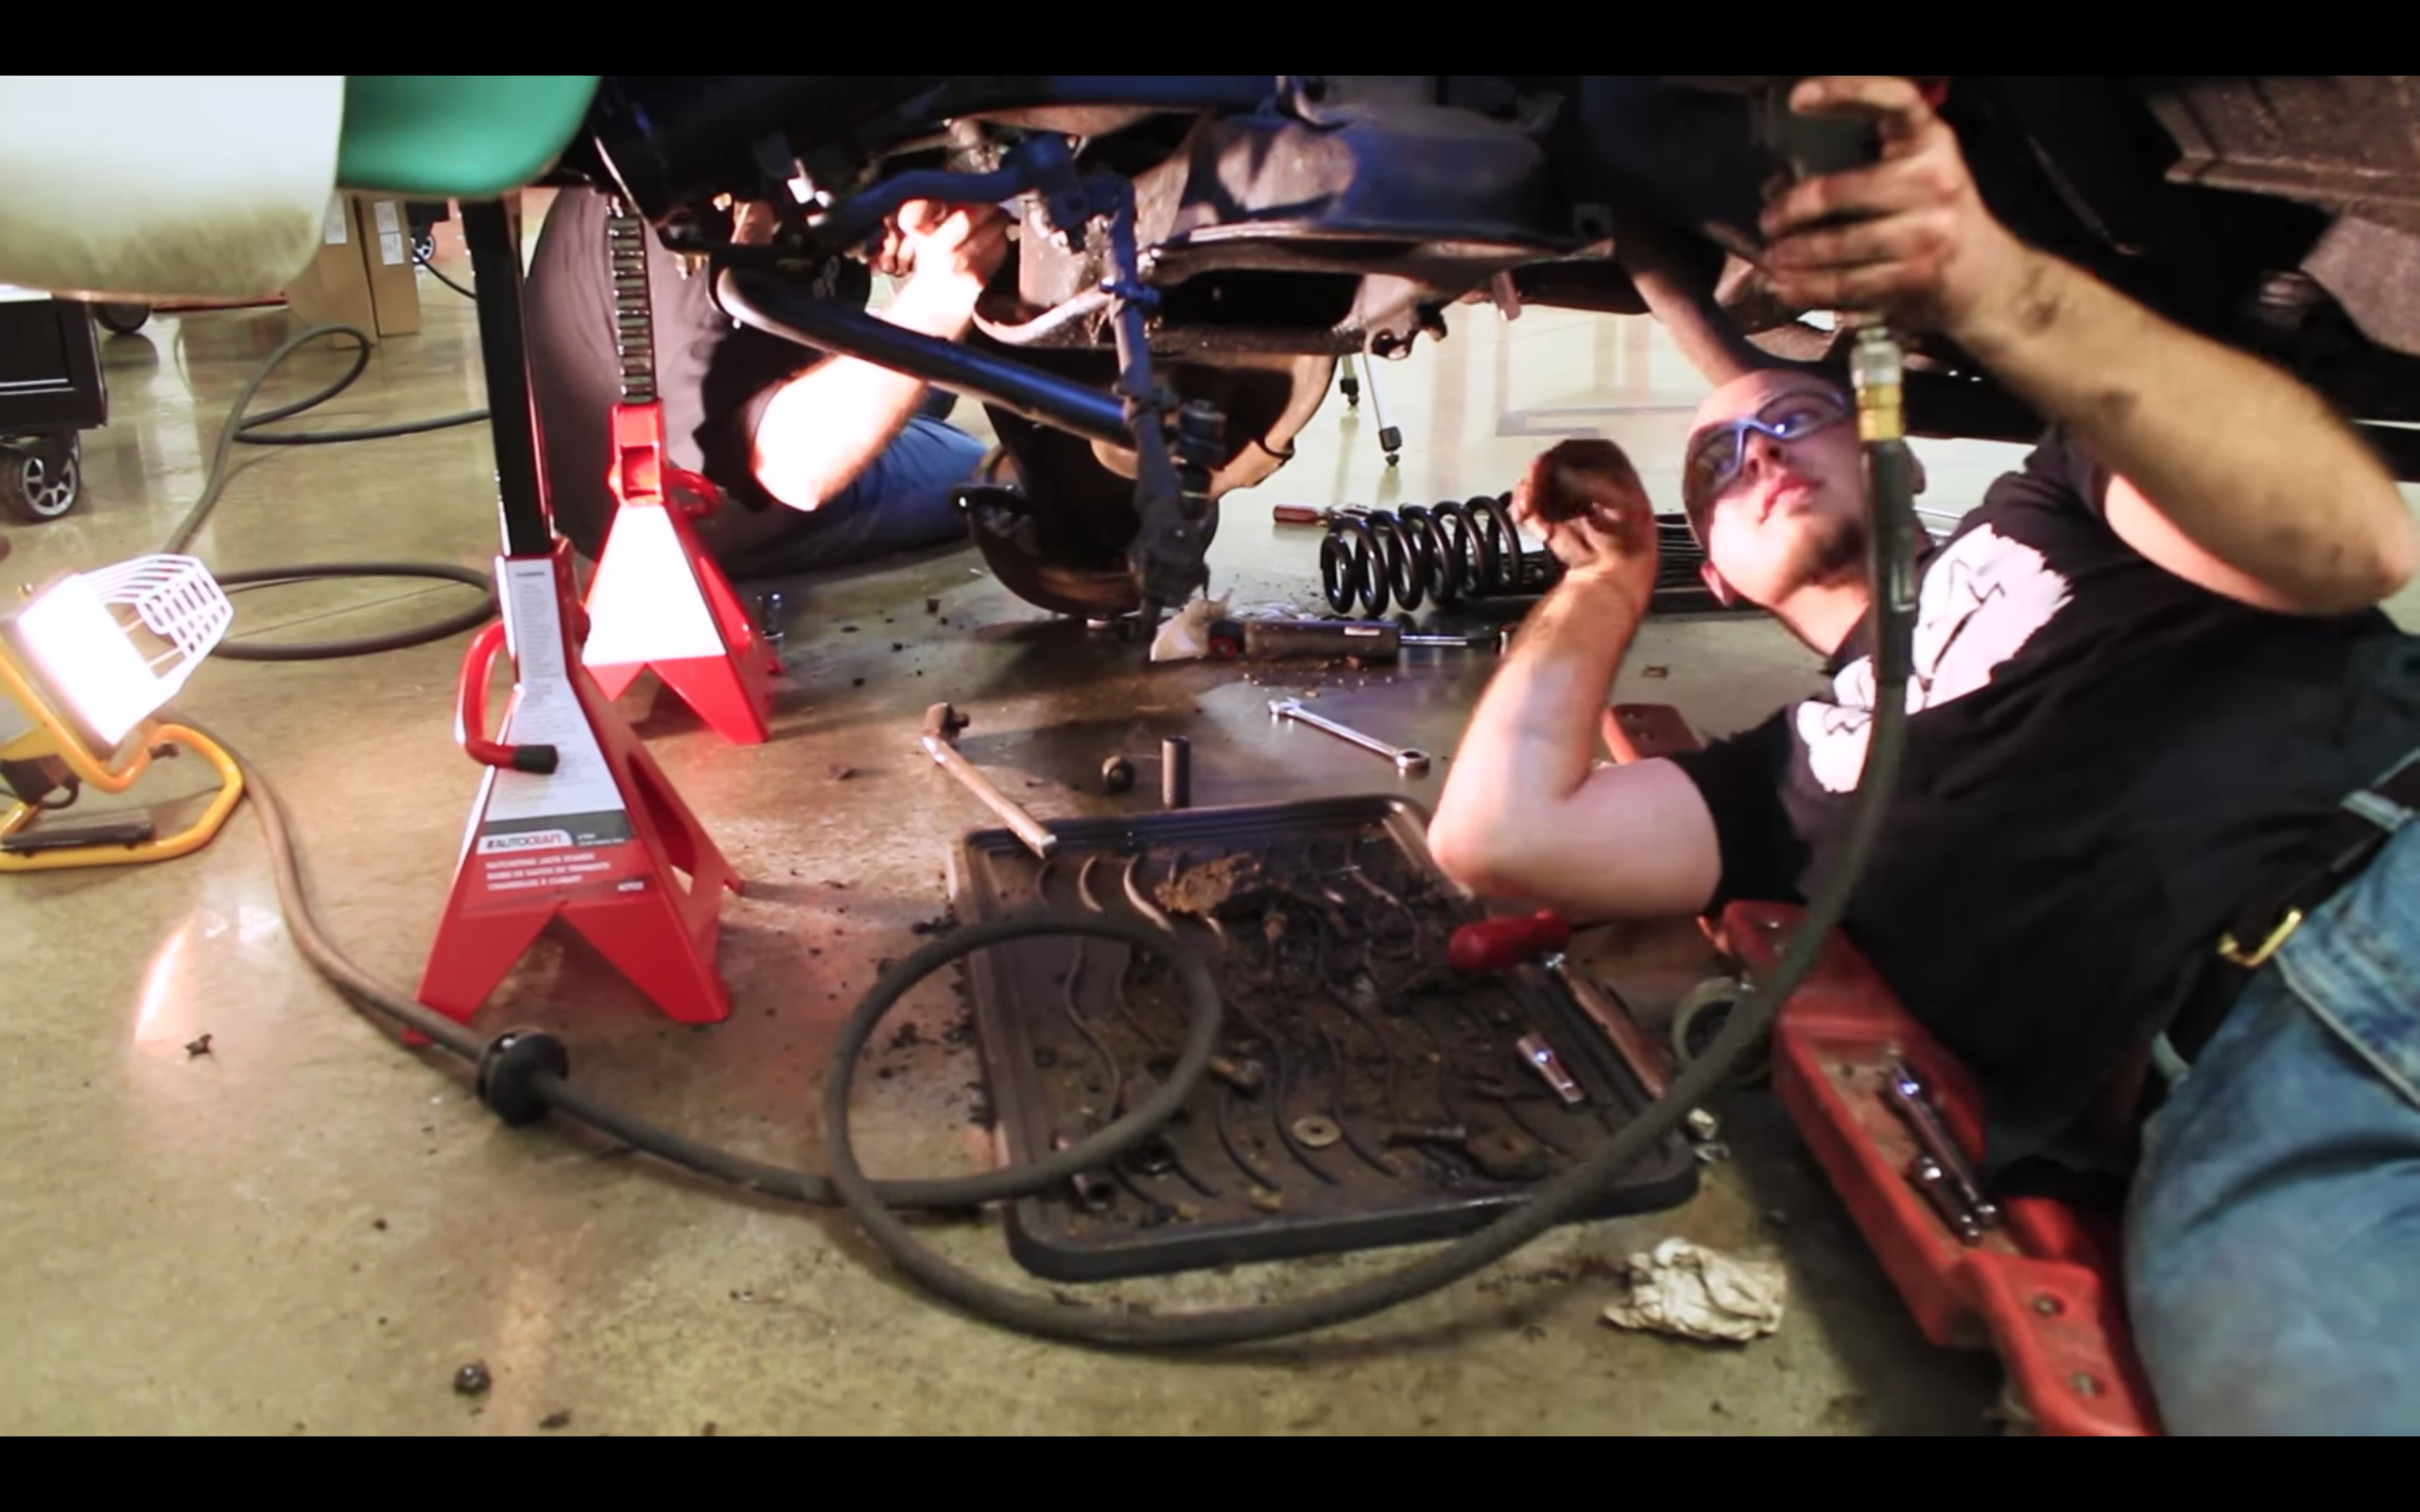
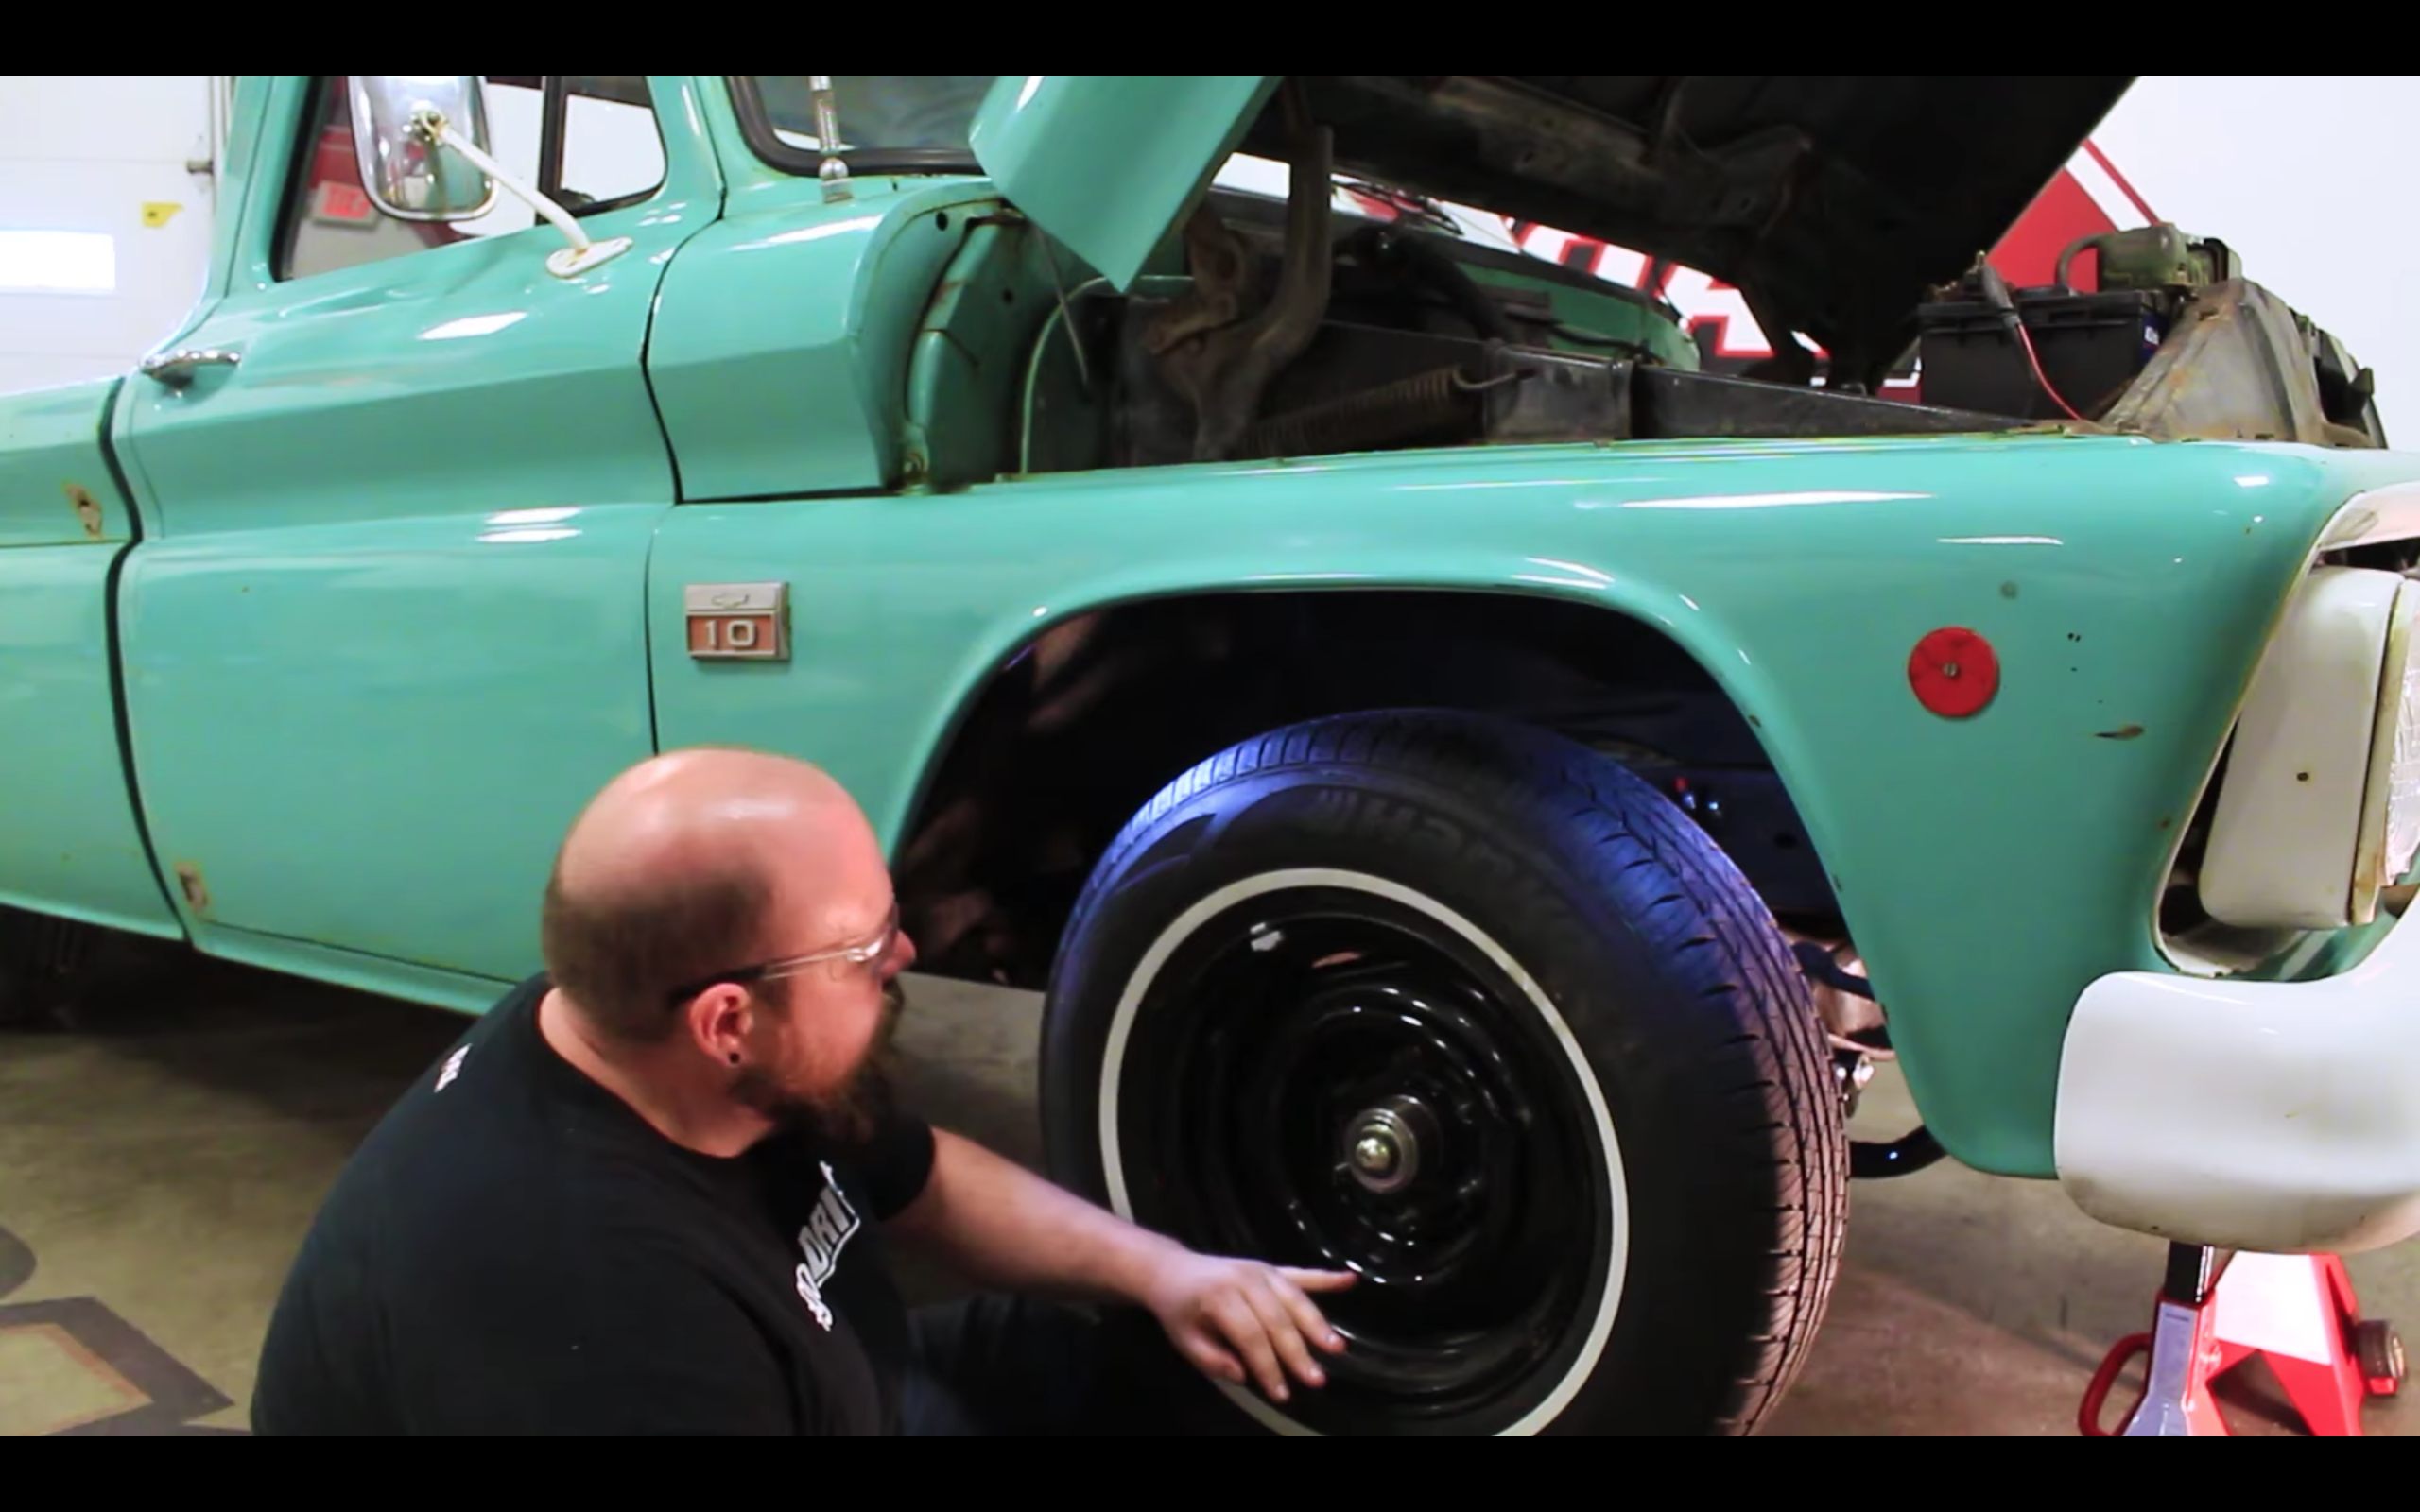
The install is simple, and nearly any weekend warrior or garage-go-getter will have no trouble doing this on their own in a couple of hours. Seth Rosa of Colorado is the owner of the truck in the video, and he commented on the YouTube video, “This truck handles so well now. I can’t even begin to describe it. It takes corners like a ‘Vette!”
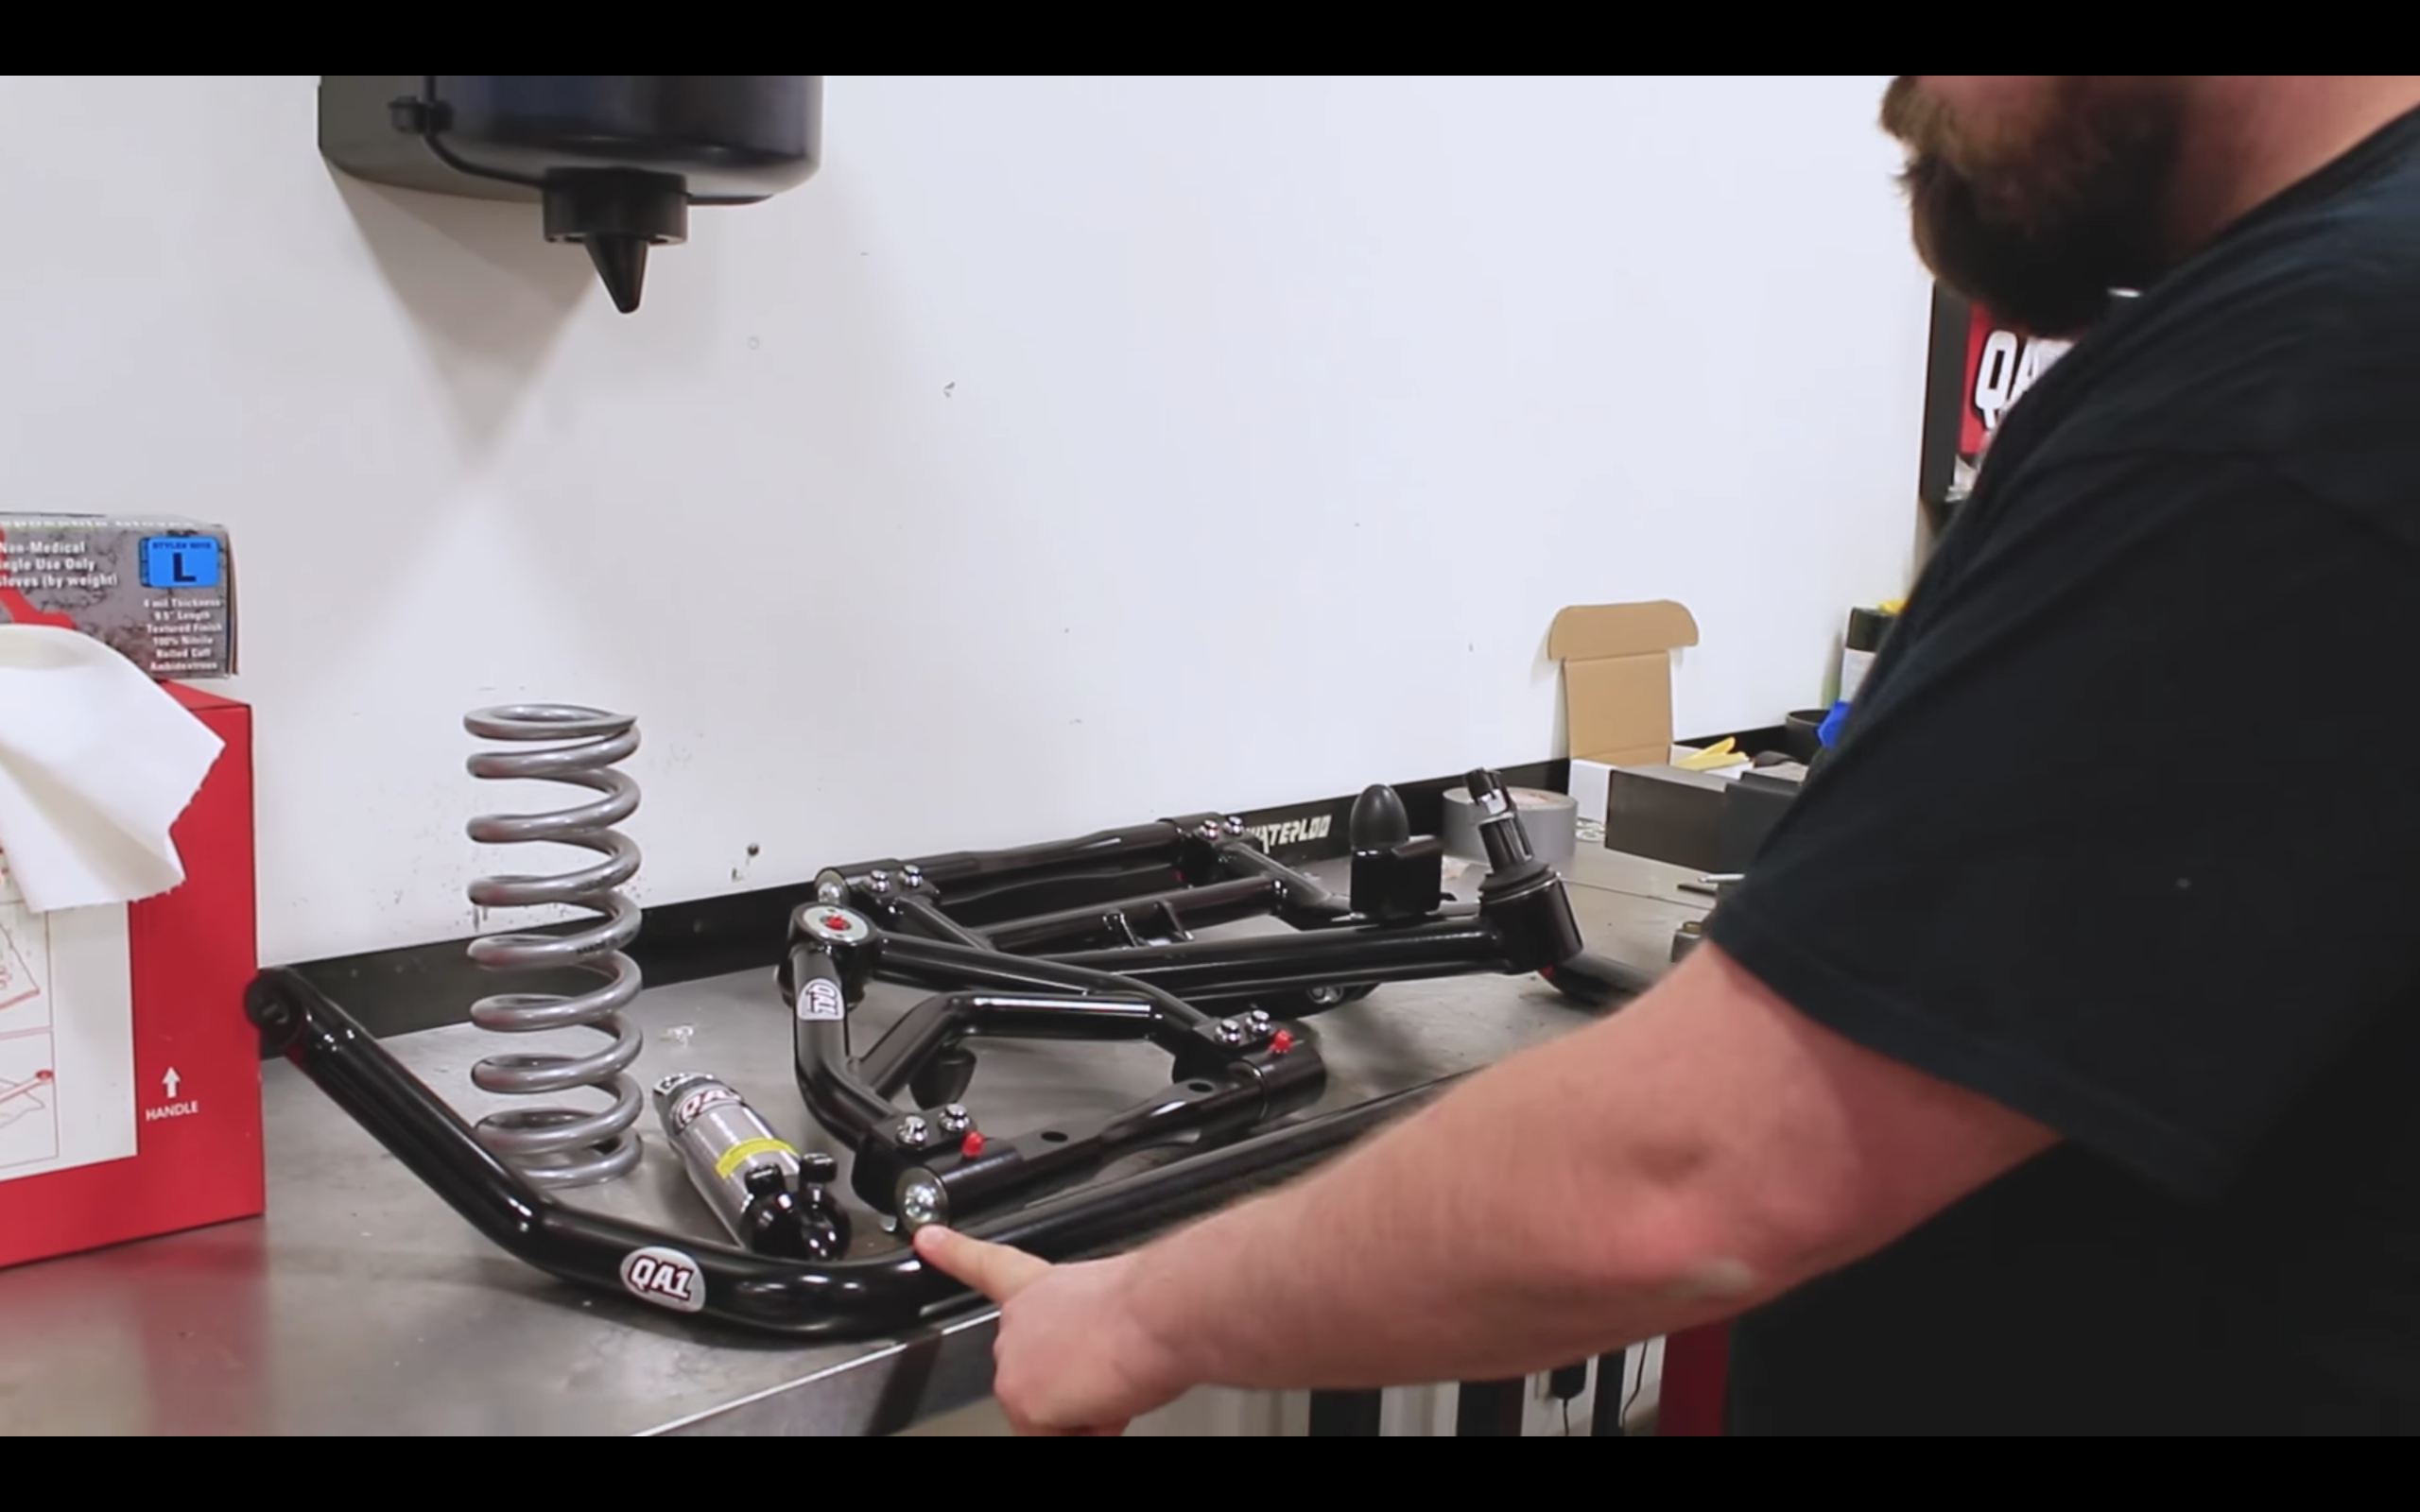
This nice pile of parts is going to make this old truck ride a heck of a lot better!
The frontend kit comes with a sway bar, upper control arms, lower control arms, and coilover shocks. “These control arms have our low-friction ball joints built into them,” Bill explains. “So, if you ever need to replace your ball joint, you just take this apart, you don’t have to press anything in or out. You just take this apart, pop in a new stud, and away you go.” Both the upper and lower control arms use the same design.
The new parts goes in as simply as the old stuff comes out, and taking the old stuff out works as a sort of template for how you put the new stuff in. Bill even cautions that the old stuff actually comes out with more difficultly than the new stuff going in, so don’t get discouraged if it takes a few more hours than you thought.
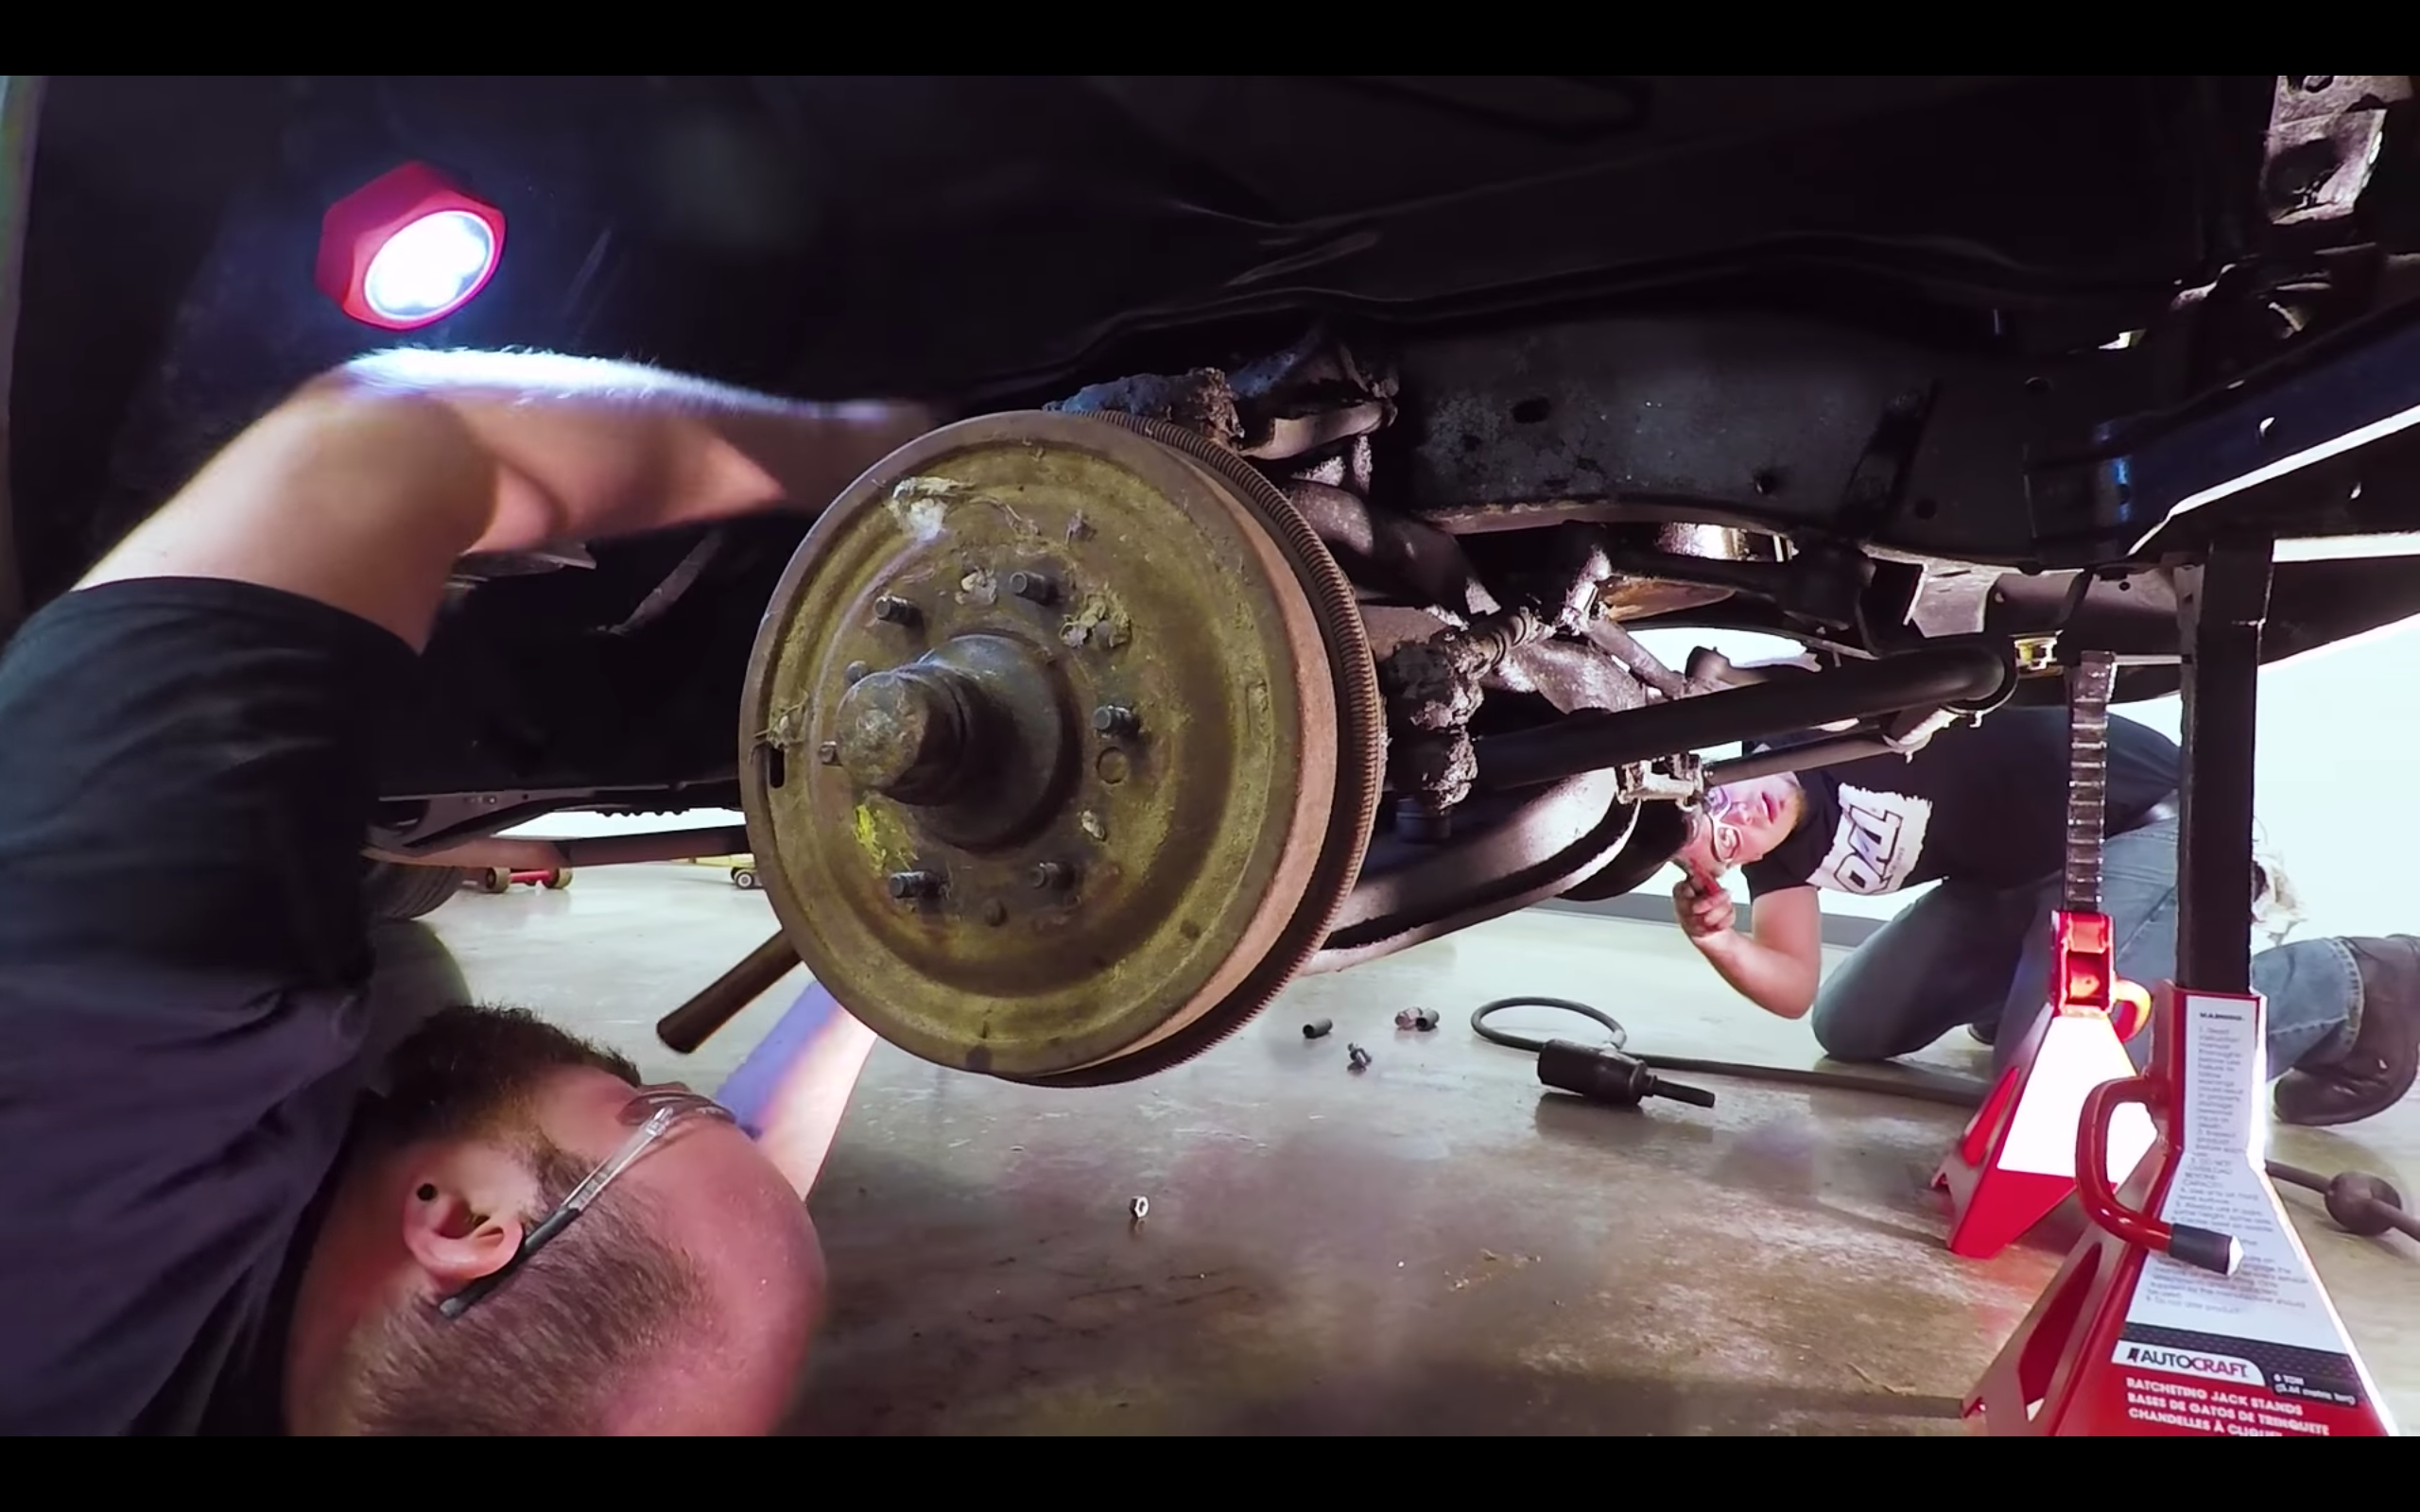
Remember, getting the old stuff out is much more difficult than getting the new stuff in.
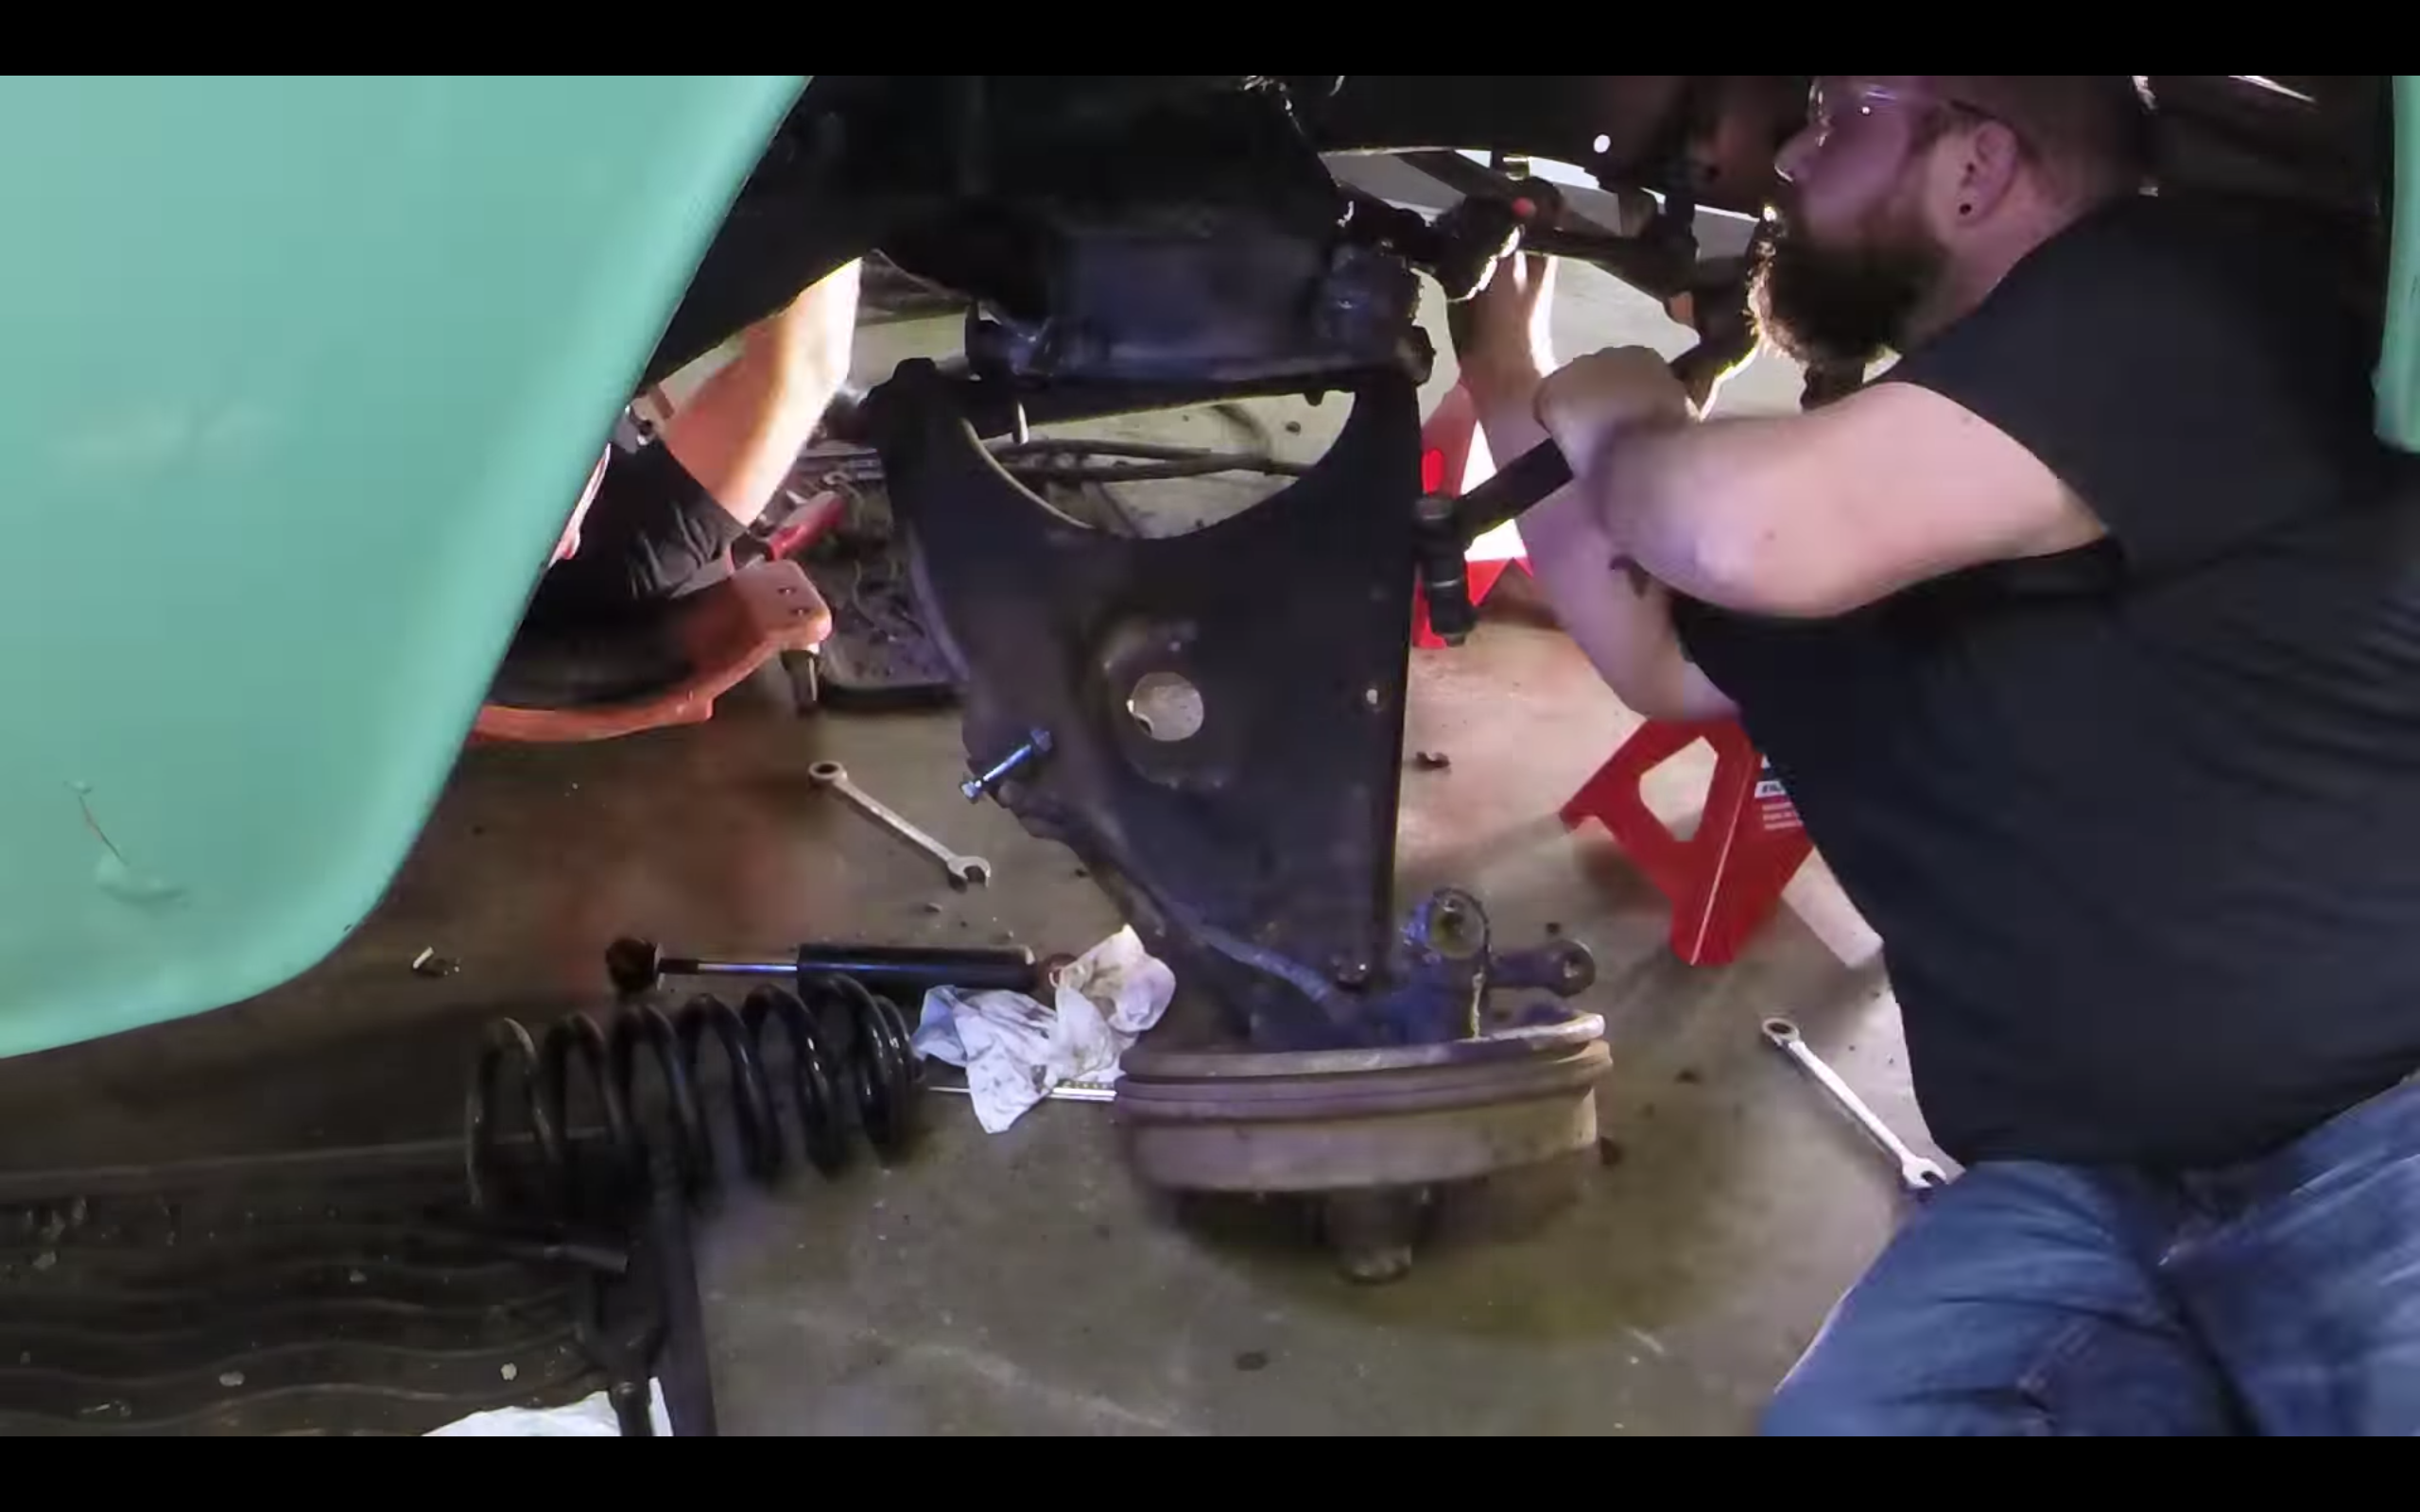
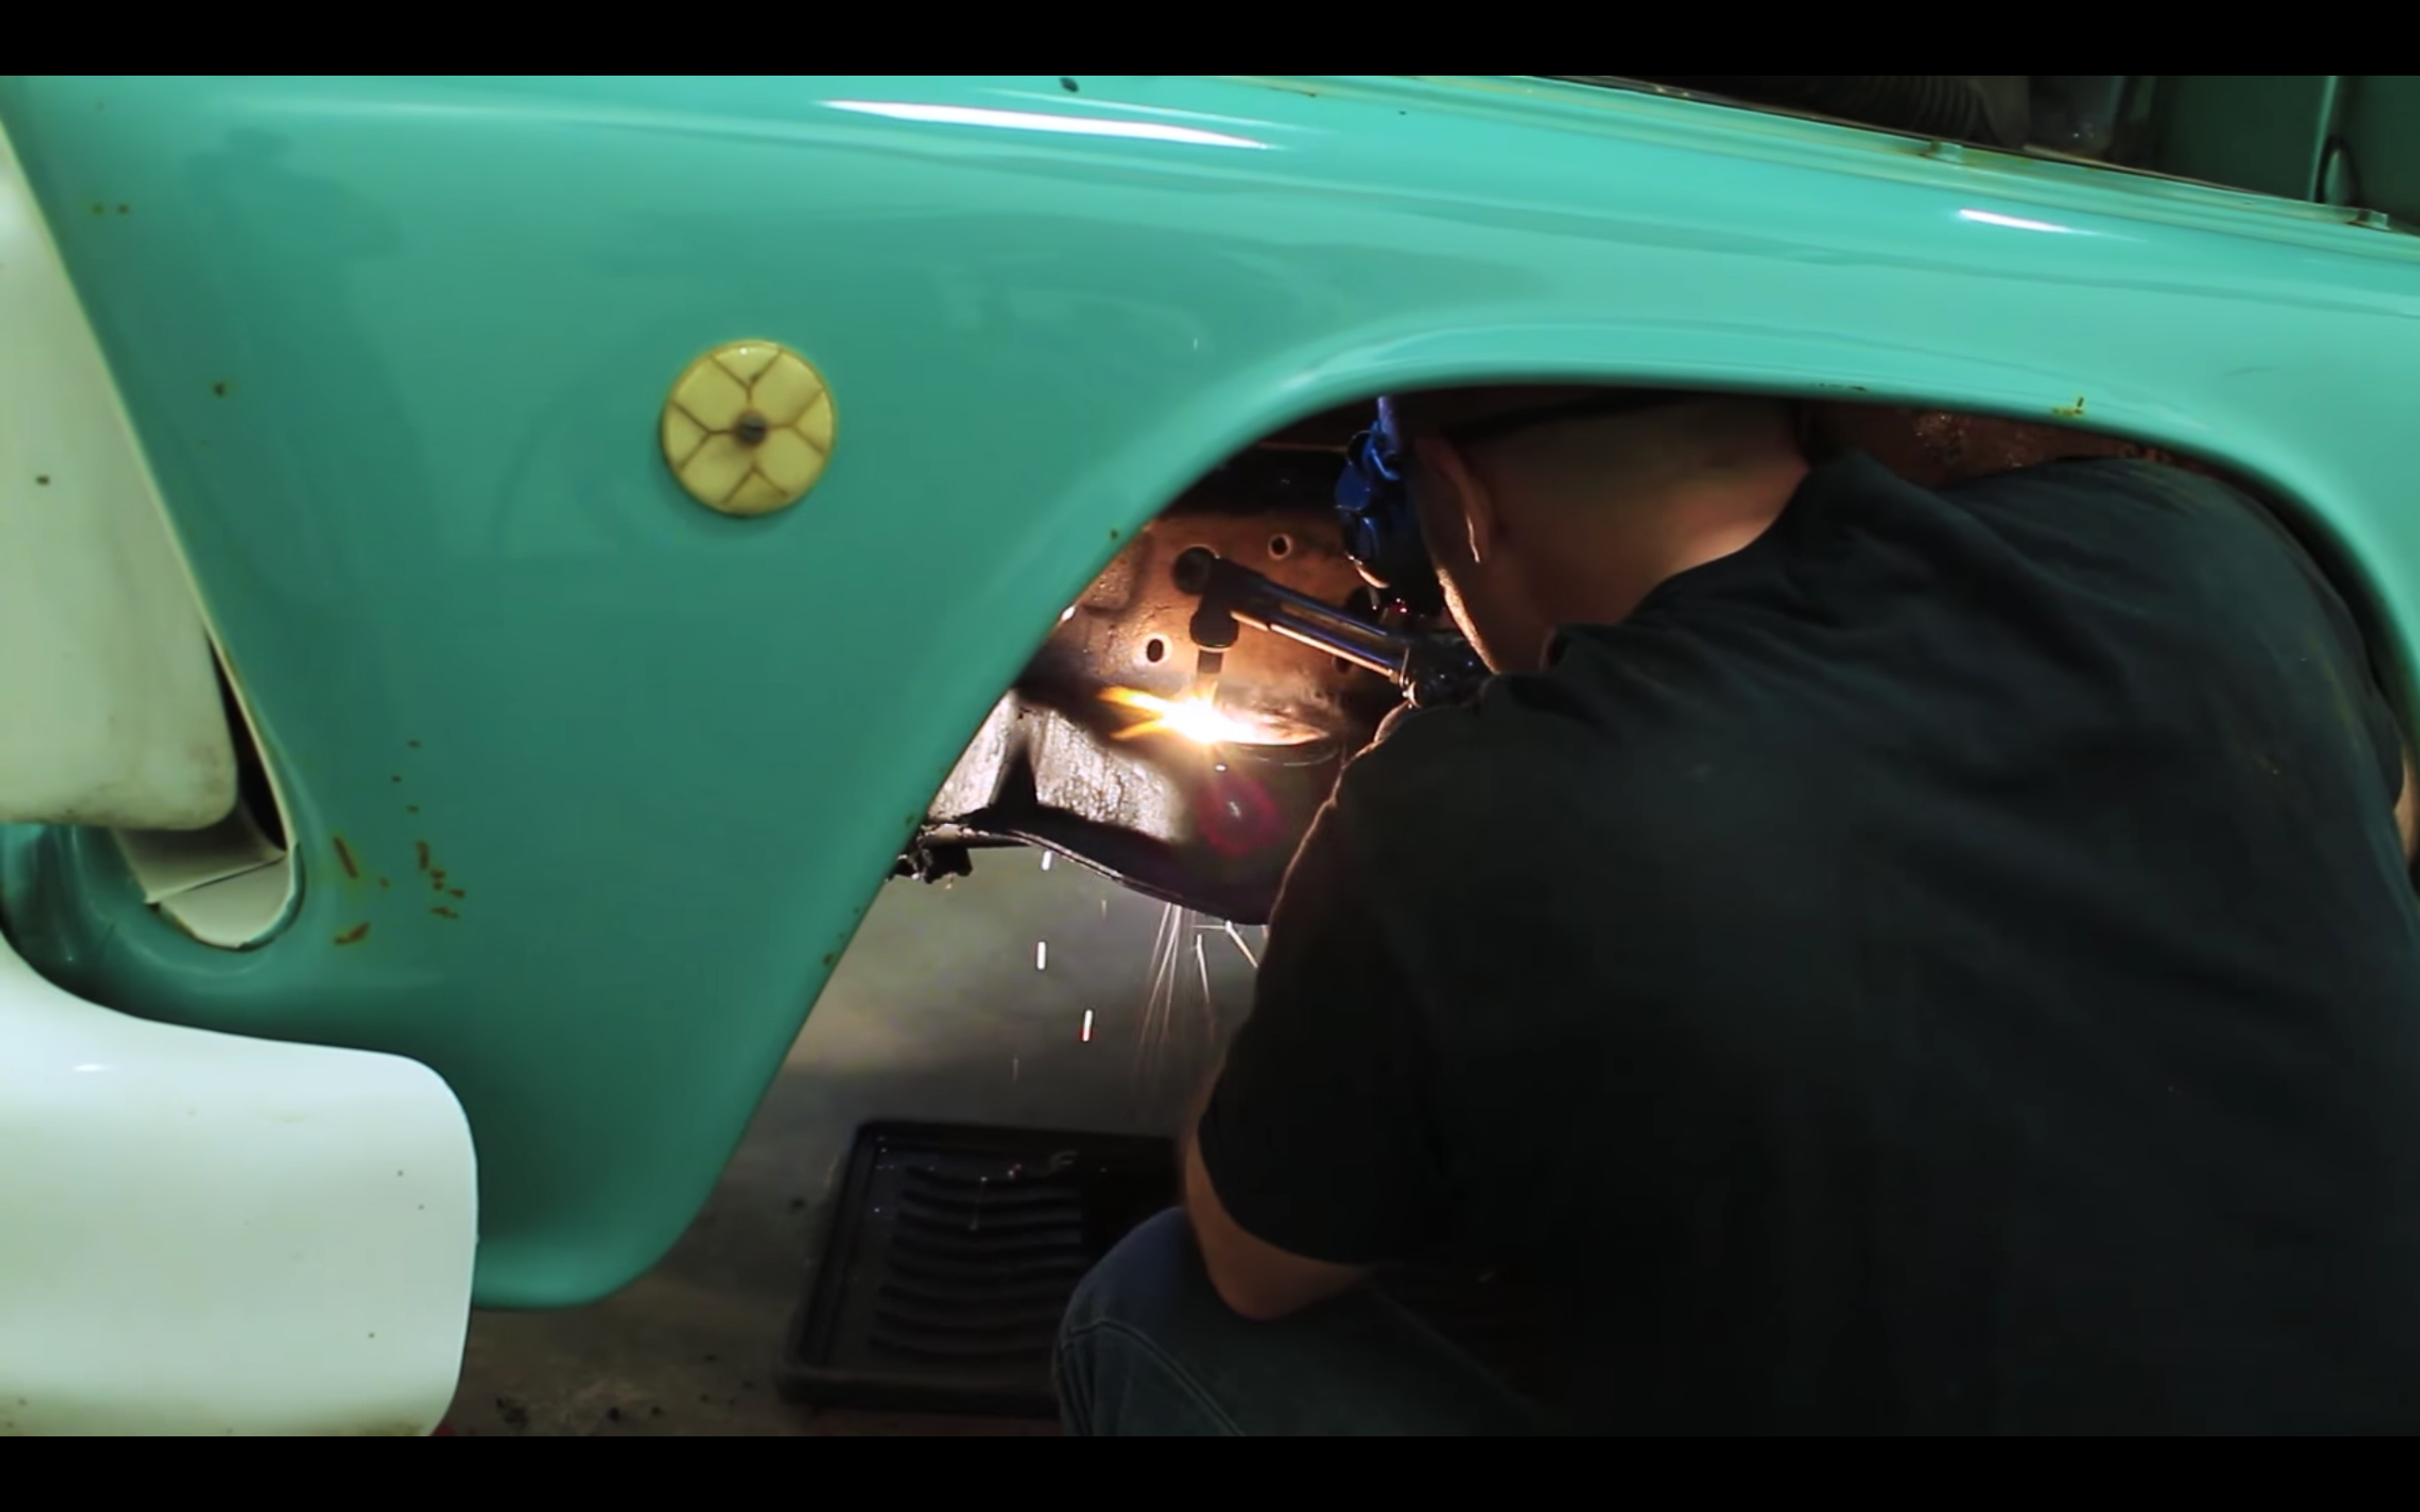
The most difficult part of the install is swapping out the old upper control-arm bracket. To get the new bracket in and ready to accept the coilover suspension, you need to remove the factory C10 bracket from the crossmember, which is actually riveted into place. While you are working on your suspension install, remember that these brackets collect dirt and crud, and you might have to dig to find the rivets.
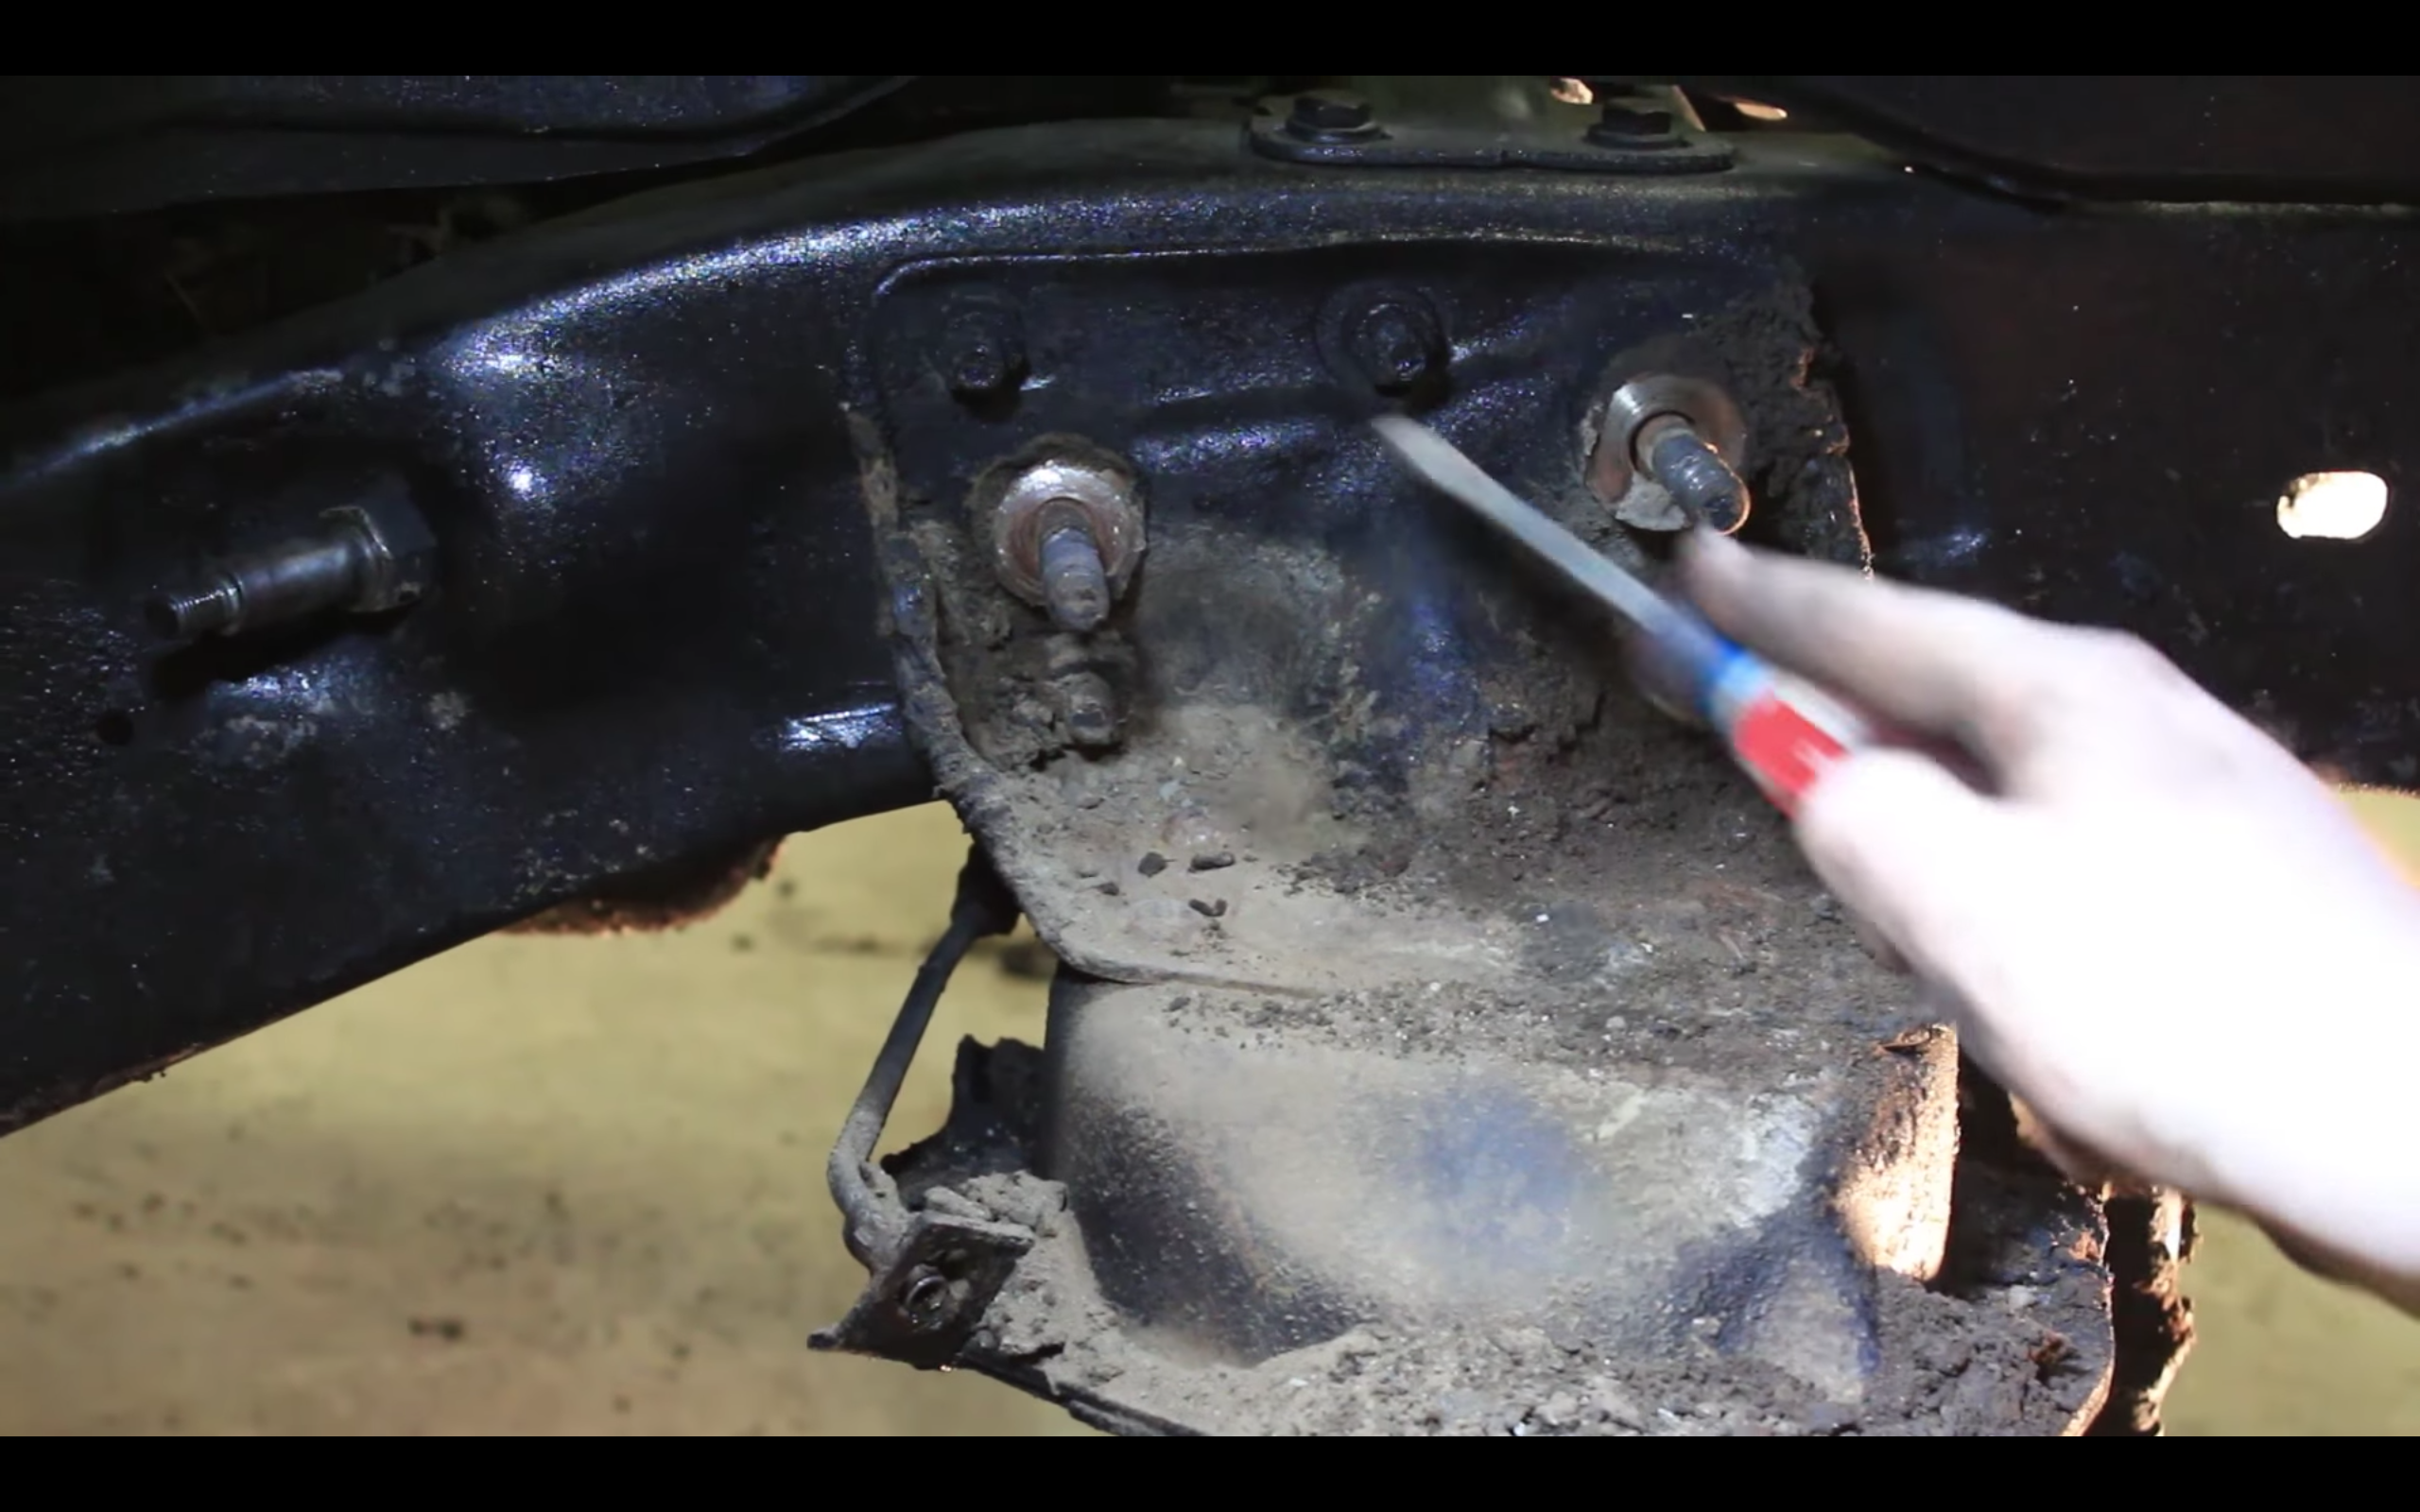
Once you’ve found the rivets, you need to remove them. In the video, Damien cuts an X into each rivet and uses an air hammer to chisel them off, and then punches them out. That’s probably the easiest way to do it. You can remove the rivets by hand, with a hammer and chisel if you have too, but it’s going to increase the timeline on your project. With the bracket off, you’ll need to place the new bracket on and use it as a template to cut the hole through the crossmember to make room for the shock and coilover. Once you’ve cut the hole, all that is left to do is install the suspension.
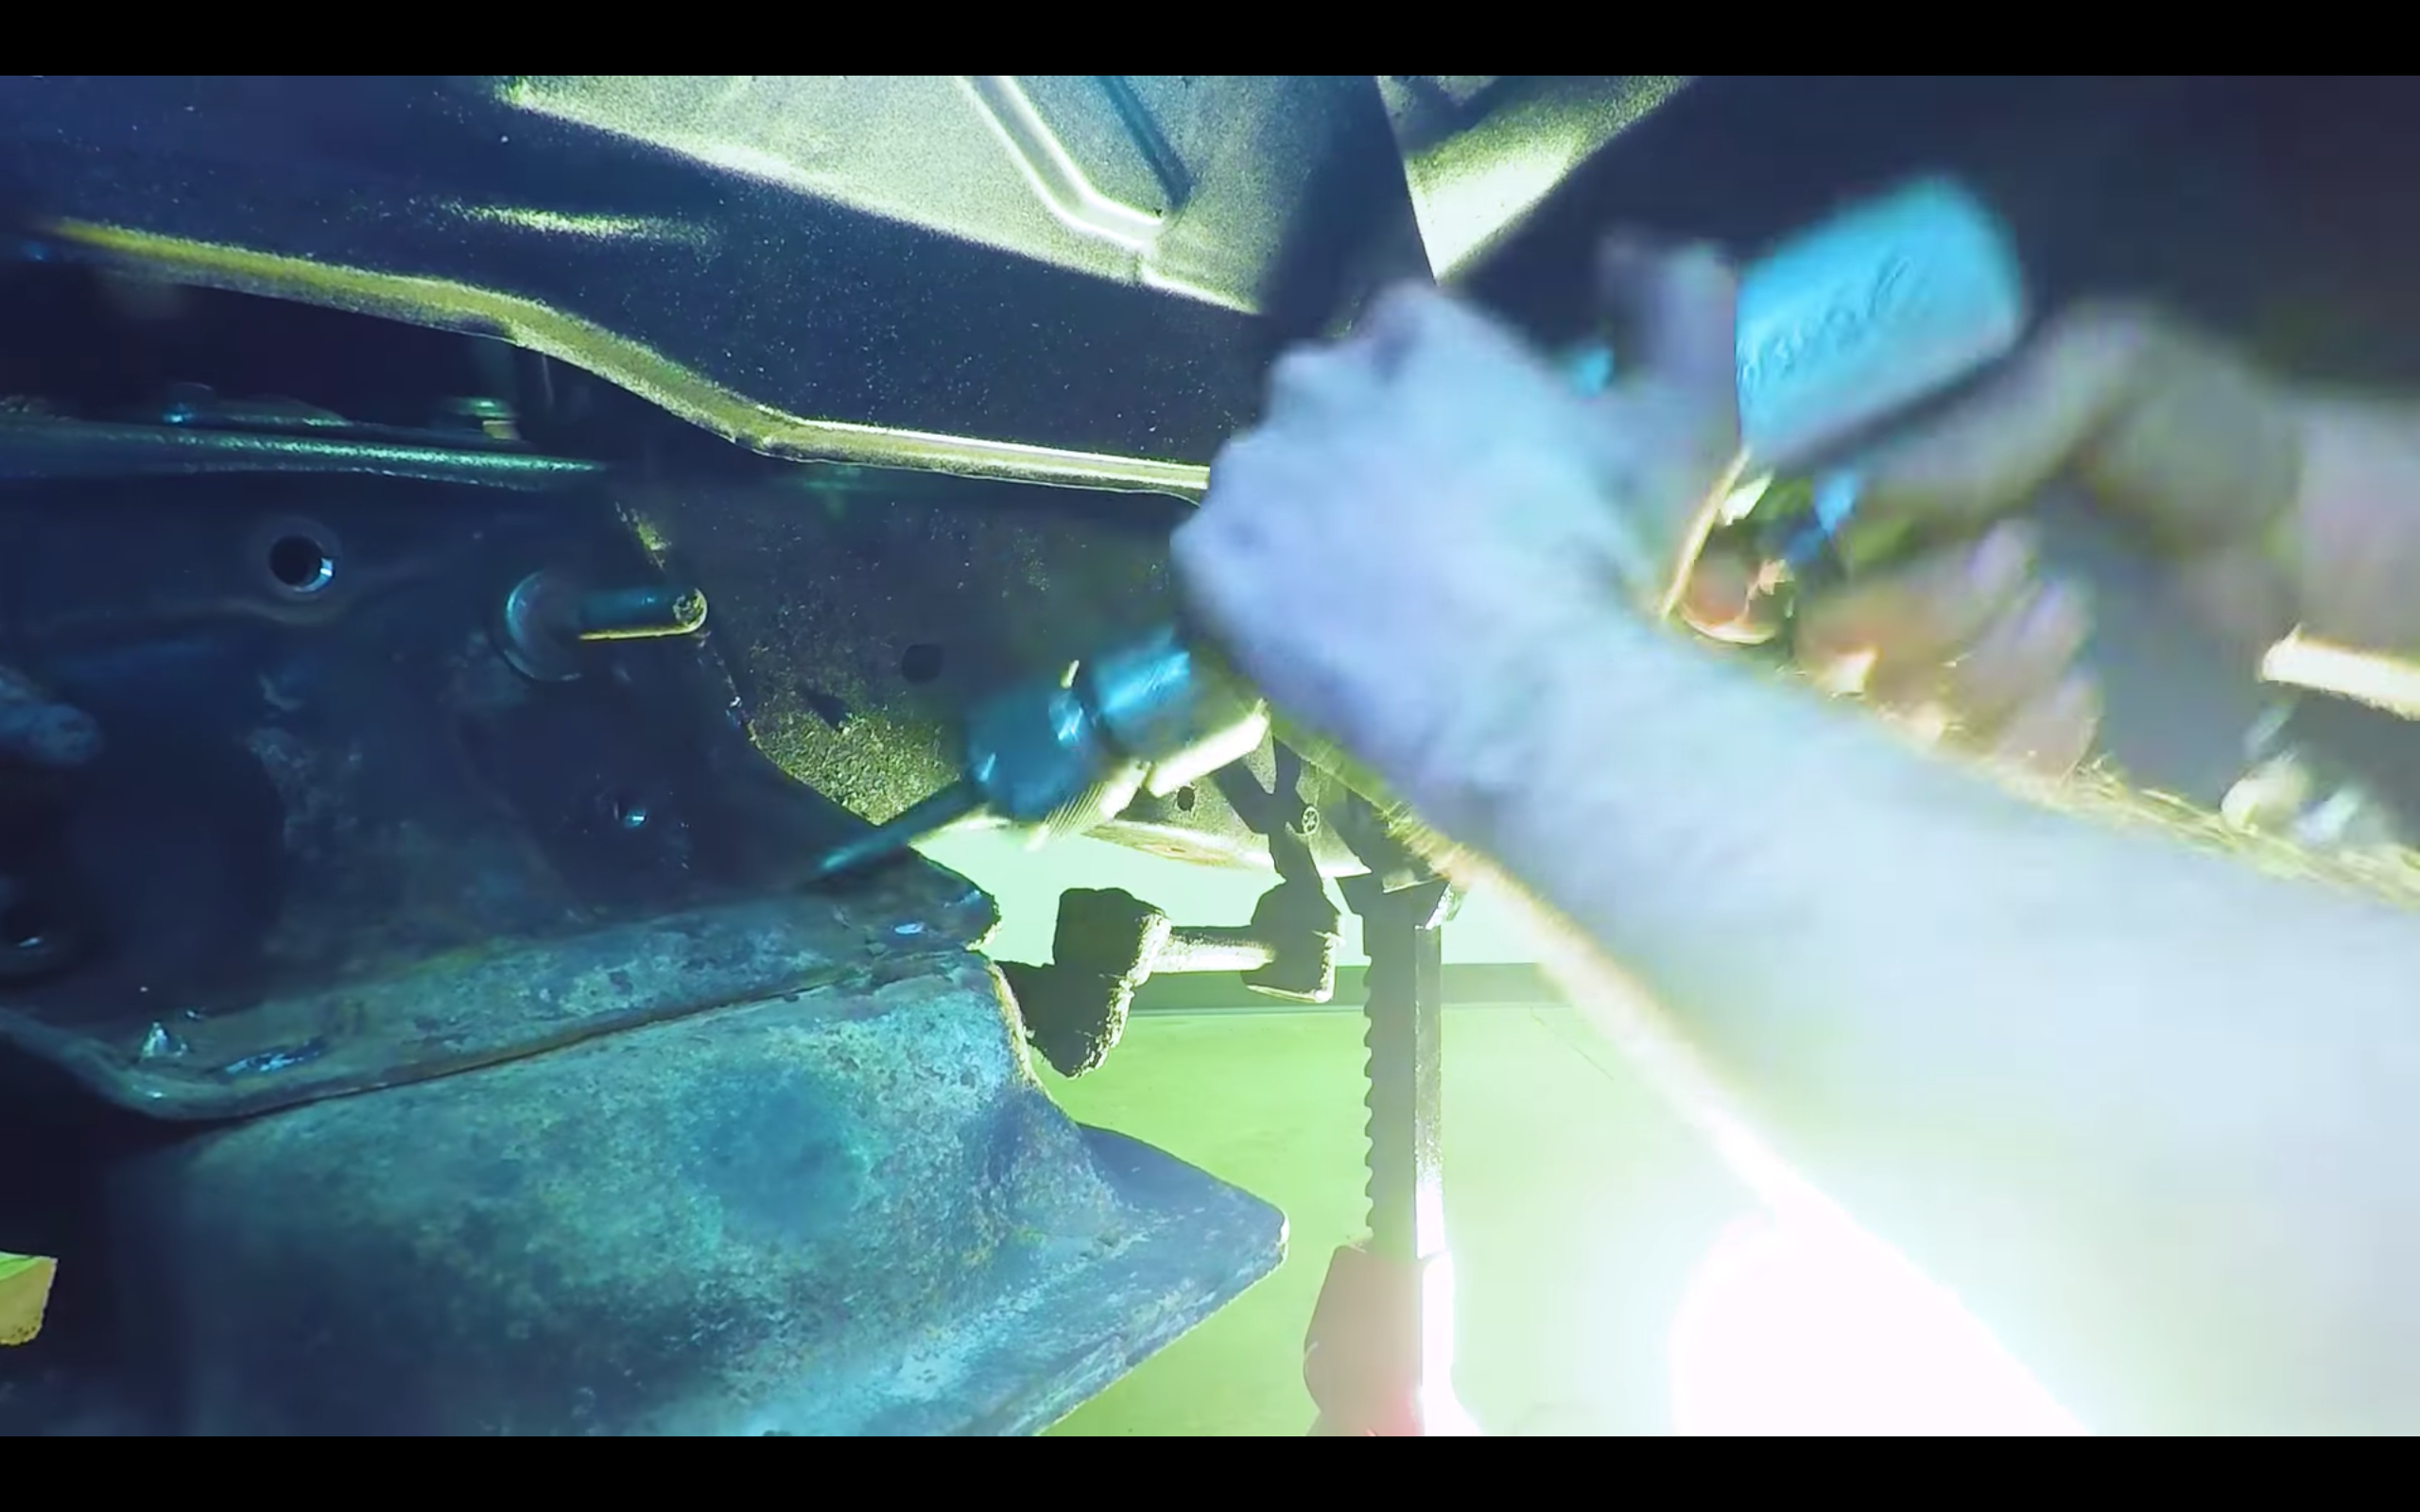
Out with the old (and rusty) and in with the new (and shiny)!
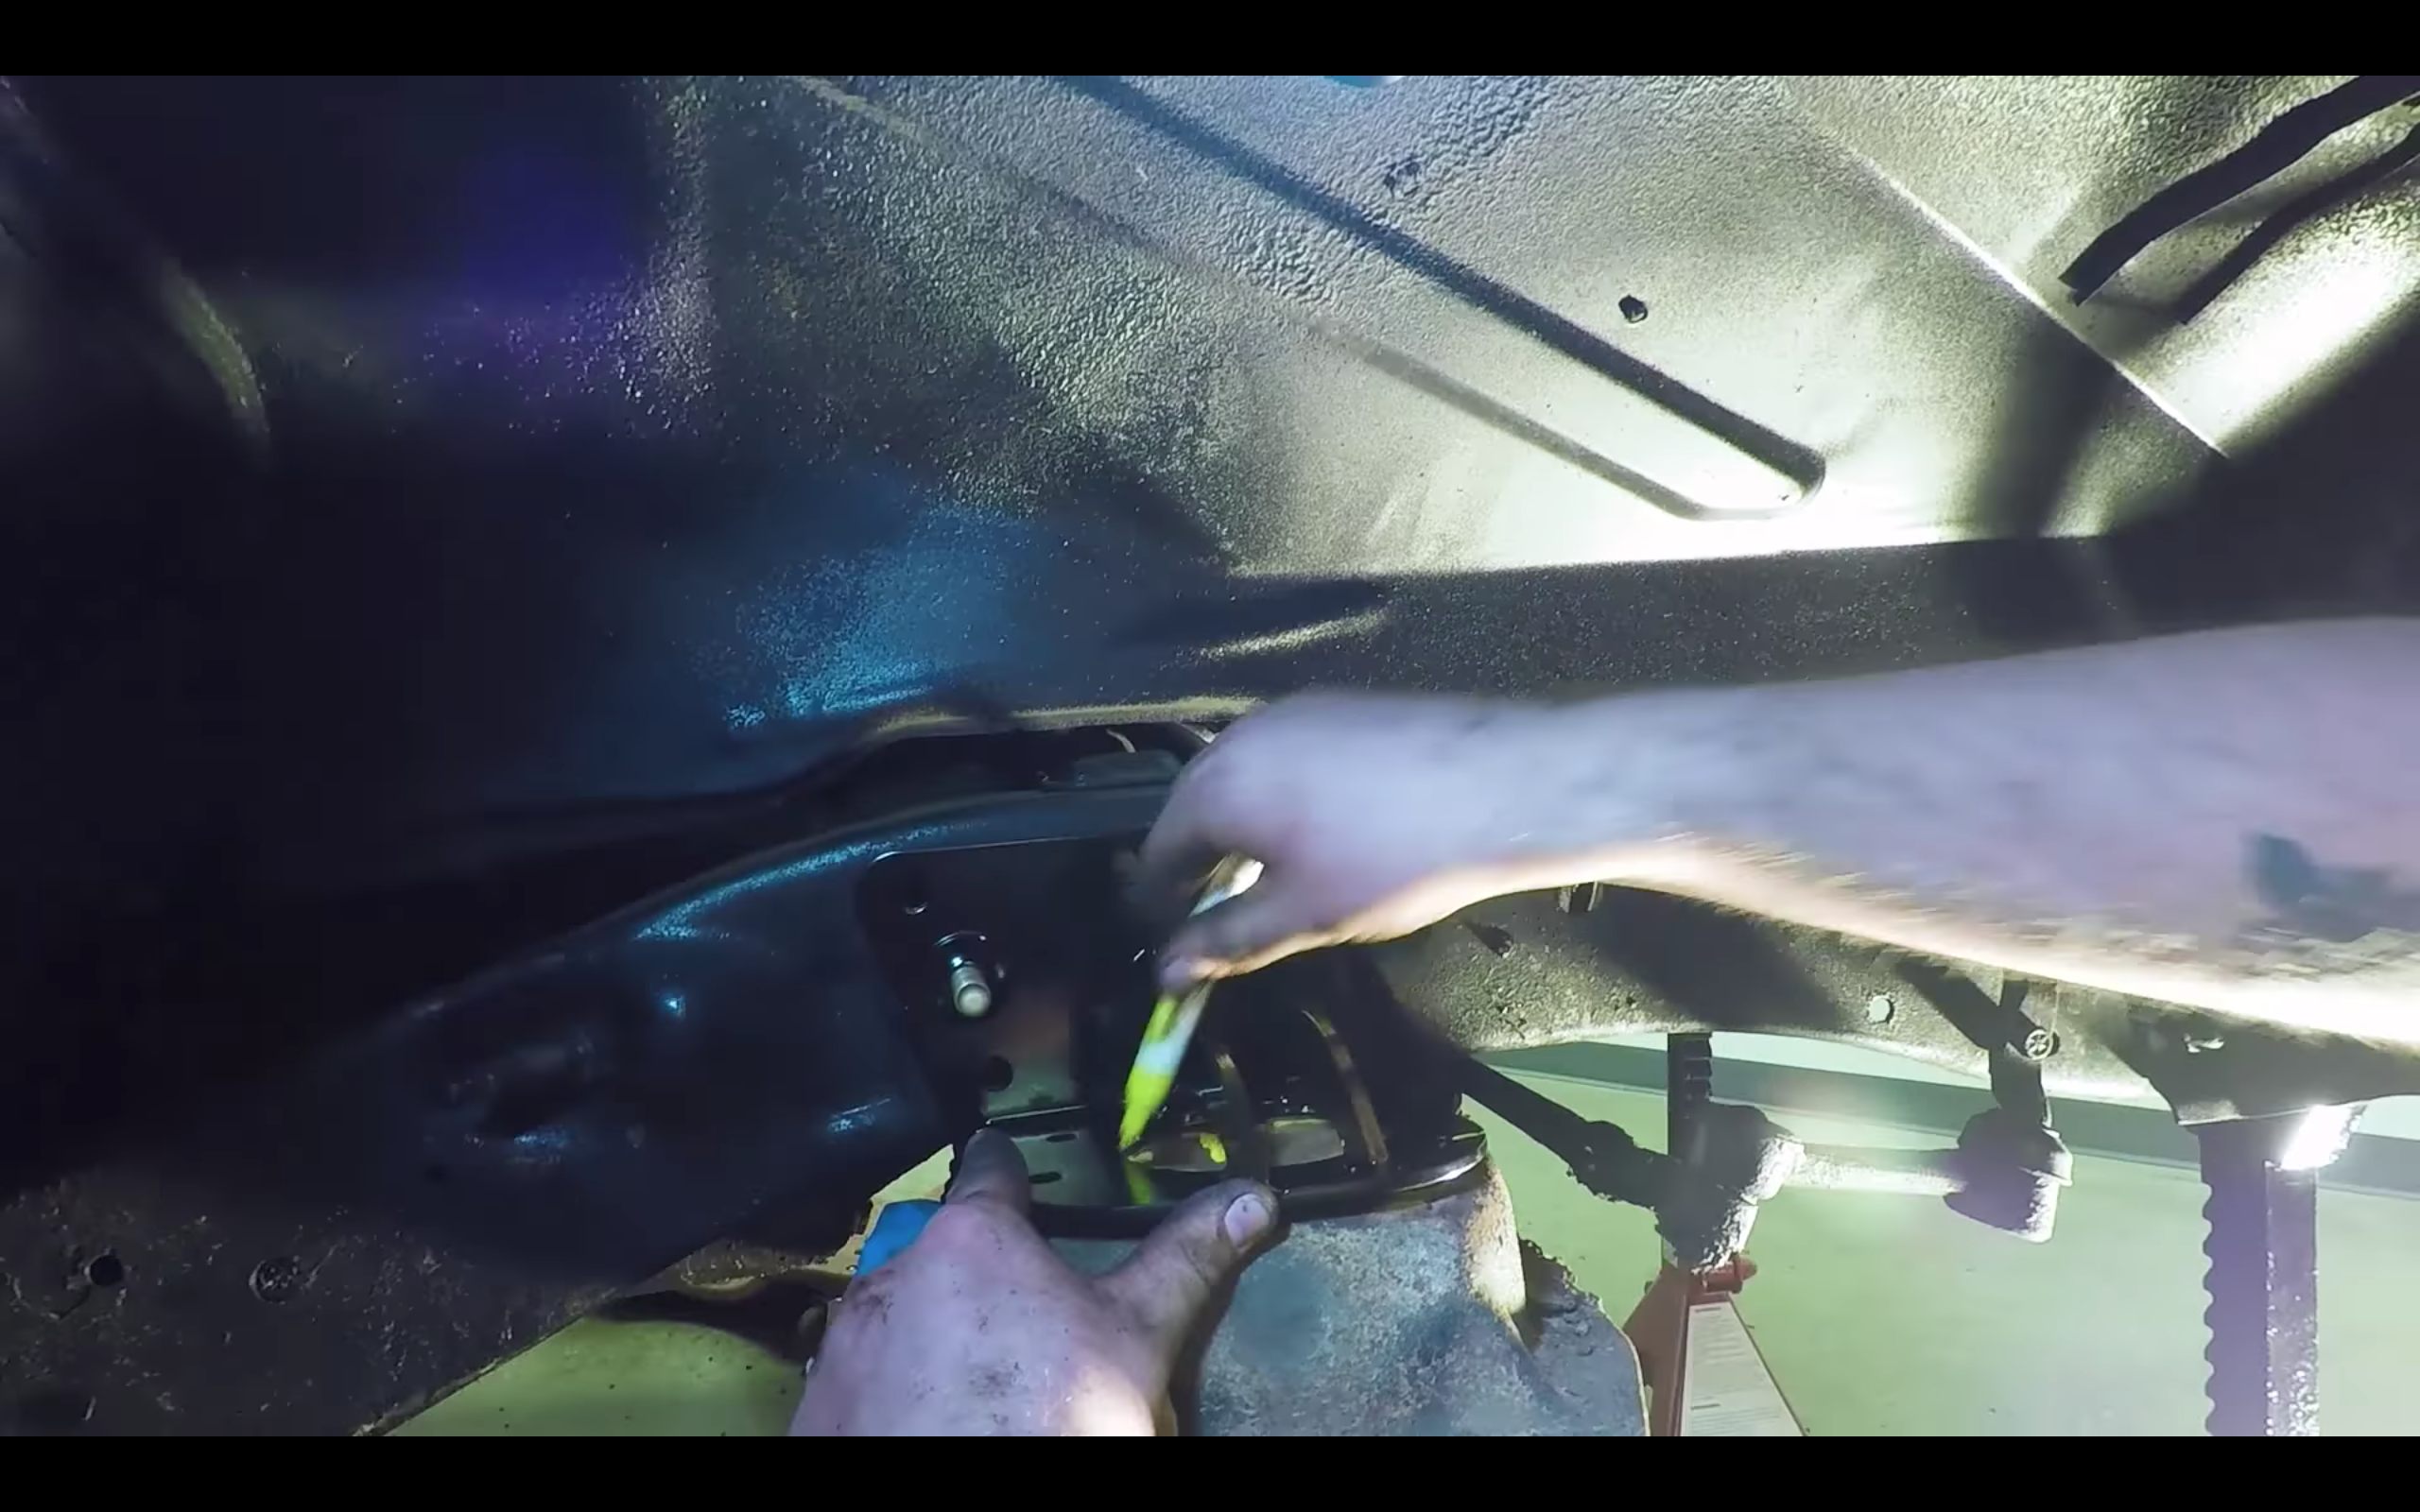
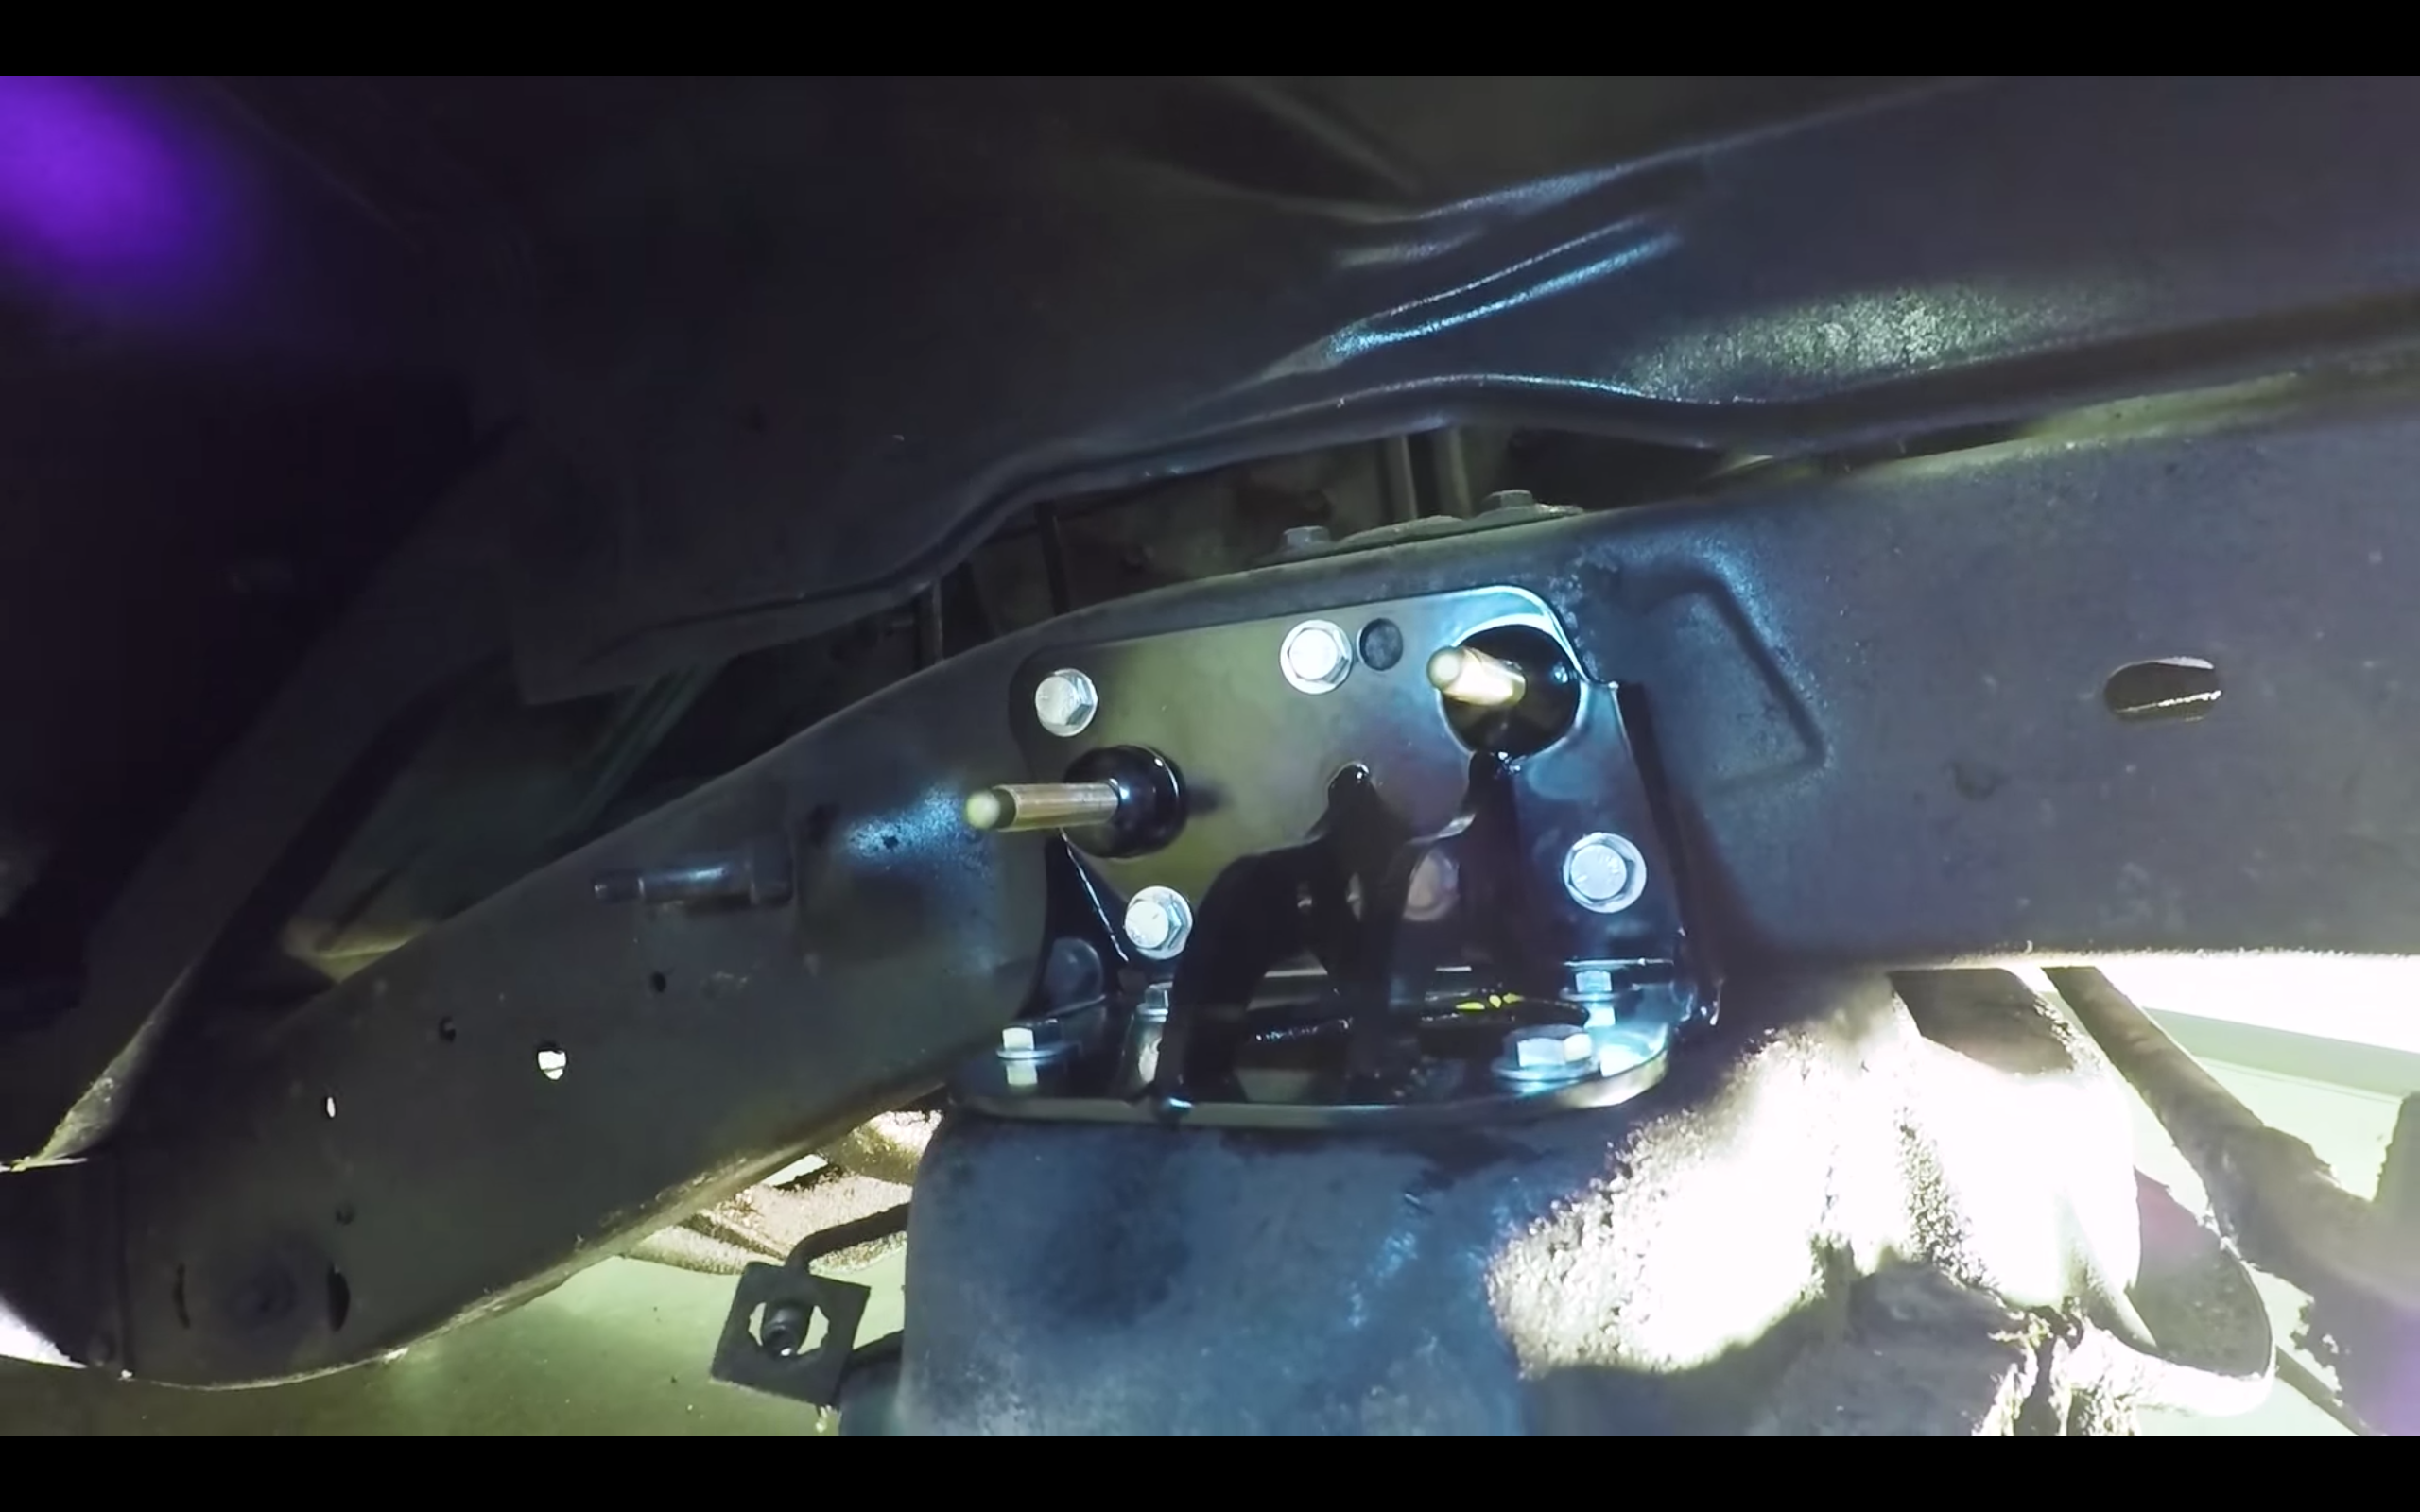
The install of new parts begins by bolting on the upper control-arm brackets in place. Remember, they are left, and right hand specific. Start by installing the lower control arms and watch for the protrusion on the crossmember that indexes the control arm to the frame so that it lines up when you tighten the U-bolts. With the lower arms installed, the upper control arms, coilovers, disc brake spindles, and sway bar can be attached to the truck. It might sound too easy, but once everything is bolted up, you’re good to go. Now all that’s left to do is drive.
QA1 has designed a suspension system that takes a once utilitarian vehicle and has given it new life as a hot rod hauler. If you’re like us, you’re probably ready to upgrade your classic hauler’s suspension, and now thanks to QA1, we all can.